…with a touch of salt&pepper.
Just a simple test here.
I wanted to create a strong portrait lighting for this male subject. I thought on Rembrandt Light, one of my favourite lighting set-up.
Rembrandt light is great, I love that kind of lighting specially when you are shooting portraits on exterior locations, but I prefer other lighting set-ups for studio shots.
So, I did a couple of touches to create a darkish environment on the Rembrandt lighting set-up for studio scenes and achieve a more strong and dramatic portrait.
Find below some test which I did and some lines about the construction of this set-up.
Big thanks to the guys of Infinite-Realities for provide this great model.
I used a big soft box created with a portal light controlled by Kelvin temperature.
Then, I created a huge sphere wrapping all the scene, with a 16bit grey to white gradient to help Final Gathering to add soft environment light.
I also create a strong rim light to separate a little bit the subject from the background.
And finally to create more penumbra areas and strong feeling to the image, I put a light blocker close to the subject. With this basic geometry with a constant black shader the environment light created by FG is absorbed on the right side of the picture.
With this simple set-up my Rembrandt Light looks more dramatic, right?
- This is my scene. Quite simple.
- Take a look to the orthographic views to see the distribution of the lights and other elements involved on this set-up.
- Some parameters below.
- Some lighting study before touch the computer.

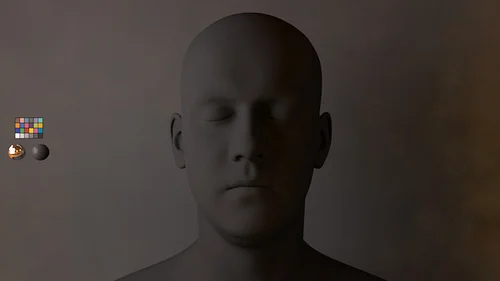
Blocking.

Some environment lighting added.
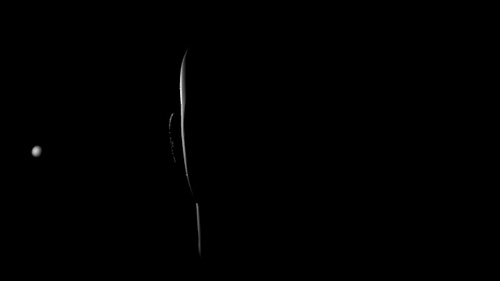
Blocking the environment light using a black panel.

Testing displacement maps.
First test with SSS.

Some passes to play with. (environment light).

Main soft box.
Rim light.

Reflection.
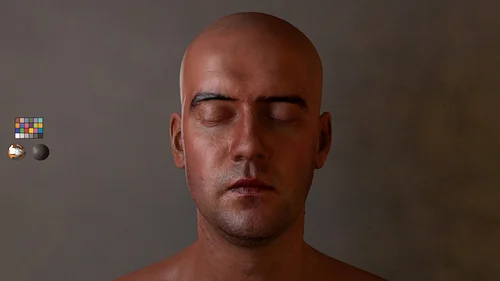
Final render.


