This is it. The new and definitive trailer for Godzilla.
In theatres May 16, 2014
More than two years of work in two different VFX facilites, but I had a lot of fun :)
This is it. The new and definitive trailer for Godzilla.
In theatres May 16, 2014
More than two years of work in two different VFX facilites, but I had a lot of fun :)
Another quick entry with my tips&tricks for Modo.
This time I’m going to write about setting up Mudbox’s vector displacements in Modo.
Just finishing this simple scene and having a lot of fun playing with Legos.
Another couple render tests, having a lot of fun with Lego figurines and learning Modo at the same time :)
Another of those steps that I need to do when I’m working on any kind of vfx project and I consider “a must”.
This is how I set up my Zbrush displacements in Modo.
I continue with my transition to Modo. I already know more or less the basics of the software and I have adapted my way of working to be productive in Modo. It’s time to make my first image and put in practice all that I learnt last week.
I have chosen a simple theme. After watching The Lego Movie (and some great references that they used) I wanted to create something related with it. It’s simple enough to allow me to finish the image in half a day or so. Say hello to all my mates who worked on the movie, we worked together on Happy Feet while ago.
The model for the character is quite simple, perfect to try all the modeling tools that come with Modo. Great so far. The work plane is quite useful, love it.
Modo’s uv mapping tools are great and very fast. I love atlas projection and unwrap. I’ll be using them all the time. For this particular model I used only unwrap. Just select a few edgest and that’s it, done. I didn’t worry much about seams, I can fix that later in Mari.
I’m using only one UDIM, this model and textures are simple enough to use only un uv space.
I worked on the textures in Mari. I could have used Modo paint tools, but I’m used to paint in Mari, and it’s definitely faster and more powerful.
Only needed three texture channels. Color, Specular and Bump maps. I used two different bump maps, one with fine noise for the plastic, and another one with scratches and imperfections.
All the textures are 8k resolution sRGB and Scalar and 16bit .tiff
For the look-dev I created an Image Based Lighting rig. With an overcast HDRI, perfect to create atmospheric lighting without too much direct light coming from the sun. It gives me perfect reflections and nice contrast between light and shade.
Always working with a Linear Workflow.
Only used one single shader, with no layers. Simple shader with a bit of reflection driven by a specular map.
For the ground I used a simple grid sculpted in Zbrush. Just a few dunes and procedural noise to simulate sand.
I did a few tests to find the best way to setup Zbrush displacements in Modo.
I’ll be posting soon how to do it. It’s not that complicated :)
For lensing, I used a 50mm focal length camera. I created a low poly version of my characters and ground, just to block the camera angle and lighting.
Finally, I updated the proxy models with the final ones.
To lit the scene I used a nice high resolution panorama shot by myself. It gave me the perfect atmosphere and reflection for this shot. But I couldn’t get the perfect shadows.
I wanted to lit this like a miniature, so I wanted a very strong key light with a perfect and hard shadow. I just removed the sun from the HDRI and then added a 3D light just behind the characters.
I dind’t need to render aov’s or render passes, I just rendered a quick id matte to control the ground and the characters.
This is the final render.
And finally, the black and white image that I conceived from the very beginning.
New Maleficent trailer has been released. You can see there some of the creatures that we made at MPC.
You know I’m migrating to Modo.
Multi UDIM workflow is on my daily basis tasks, so this is how I do the setup.
The new trailer for Godzilla has been released today.
I finish my work on this project just a few weeks ago, enjoy it!
Just pointing up to a great tool that I’ve been using lately.
It’s a fast, stable and free .obj viewer for Mac, I’m using it a lot while scanning on set, just works great! give it a try.
All the information here http://meshlab.sourceforge.net/
And a couple of screenshots.
Have you seen the VFX Breakdown for The Lone Ranger released today?
You can see there our work done at MPC.
New trailer for Maleficent, one of my latest projects at MPC.
Looking terrific!
Sometimes you may need to fix the nadir of the HDRI panoramas used for lighting and look-development.
It’s very common that your tripod is placed on the ground of your pictures, specially if you use a Nodal Ninja panoramic head or similar. You know, one of those pano heads that you need to shoot images for zenit and nadir.
I usually do this task in another specific tools for VFX panoramas like PtGui, but if you dont’ have PtGui the easiest way to handle this is in Nuke.
It is also very common when you work on a big VFX facility, that other people work on the stitching process of the HDRI panoramas. If they are in a hurry they might stitch the panorama and deliver it for lighting forgetting to fix small (or big) imperfections.
In that case, I’m pretty sure that you as lighting or look-dev artist will not have PtGui installed on your machine, so Nuke will be your best friend to fix those imperfections.
This is an example that I took while ago.One of the brackets for one of the angles. As you can see I’m shooting remote with my laptop but it’s covering a big chunk of the ground.
When the panorama was stitched, the laptop became a problem. This panorama is just a preview, sorry for the low image quality.
Fixing this in an aquirectangular panorama would be a bit tricky, even worse if you are using a Nodal Ninja type pano head.
So, find below how to fix it in Nuke. I’m using a high resolution panorama that you can download for free at akromatic.com
Disney has released a new trailer for Maleficent, where you can see some of the character work that we did at MPC.
P-maps or position maps are one of those render passes that can save your life sometimes. They are really useful for compositing artist, matte painters or texture artists. You can save a lot of time rendering p-maps out from your rendering engine and avoid those tiny changes in a 3D software to rely on 2D or 2.5D techniques.
I personally use p-maps for different purposes, let me tell you some of them.
To place cards or another 2,5D or 3D elements
To re-lit completely your scene
To add subtle lighting information (or not that subtle)
To project through camera
This is the gear and setup that I’ve using lately for my shootings.
I’ve been shooting in Northern Spain for a few days surrounded by amazing places.
This two images were taken with my iPhone and you can show here all my HDRI for VFX gear to be used “on the go”. The panoramas for this location will be posted on akromatic.com soon.
For now, you can check another panorama taken that same day with the same gear.
Find it below.
More information at akromatic.com
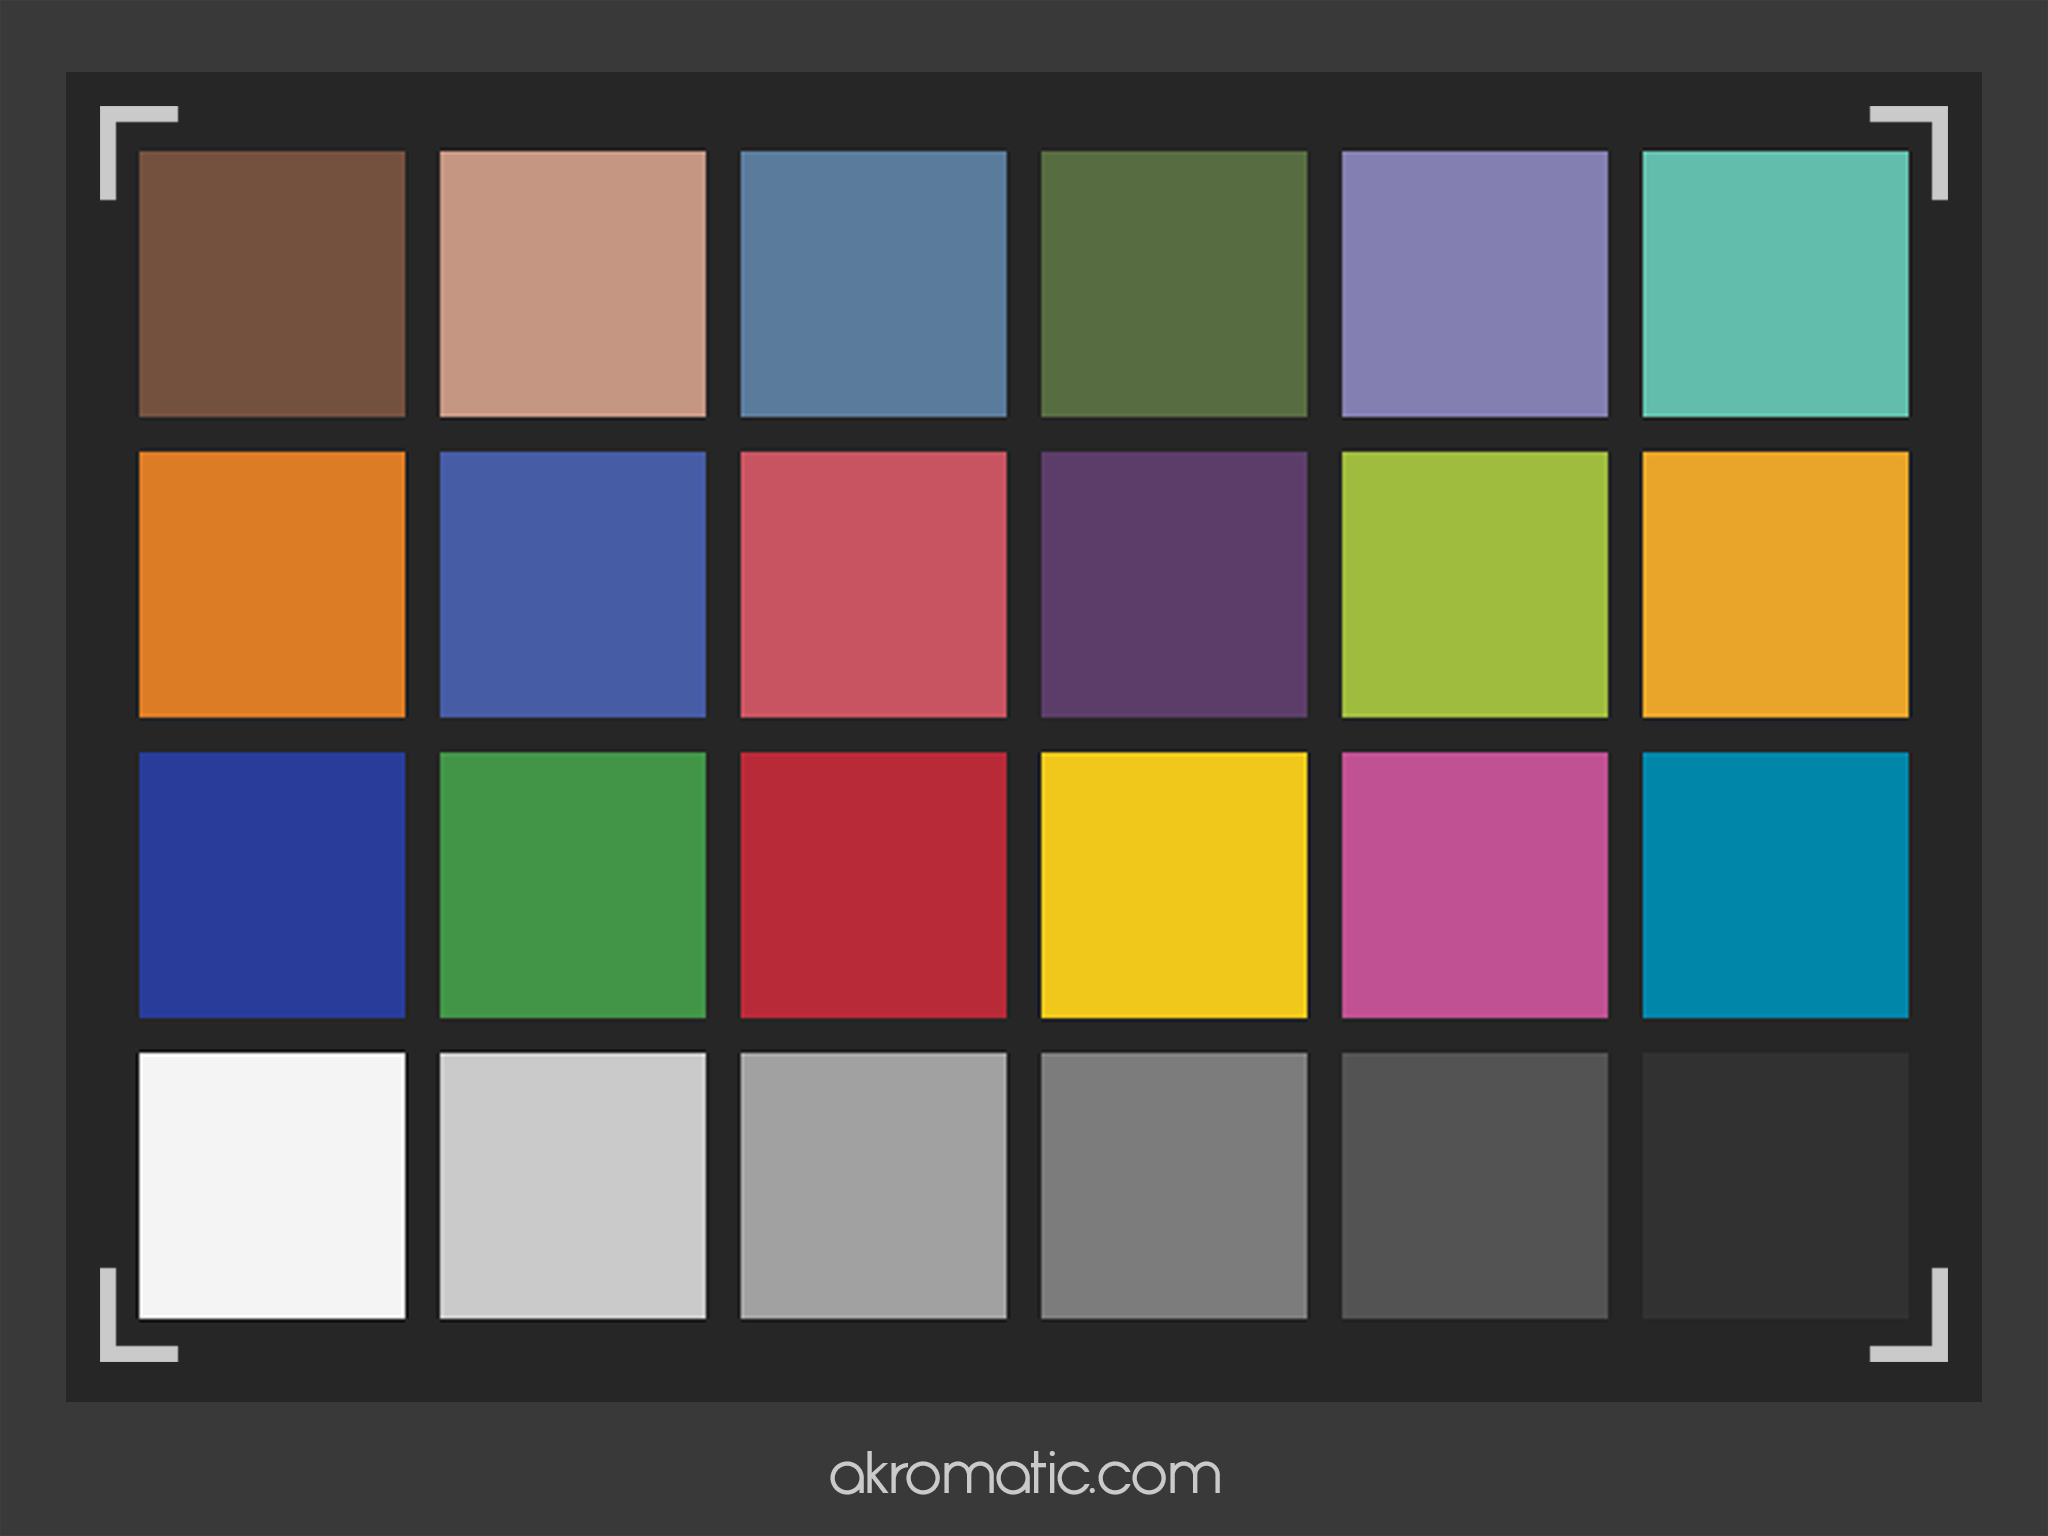
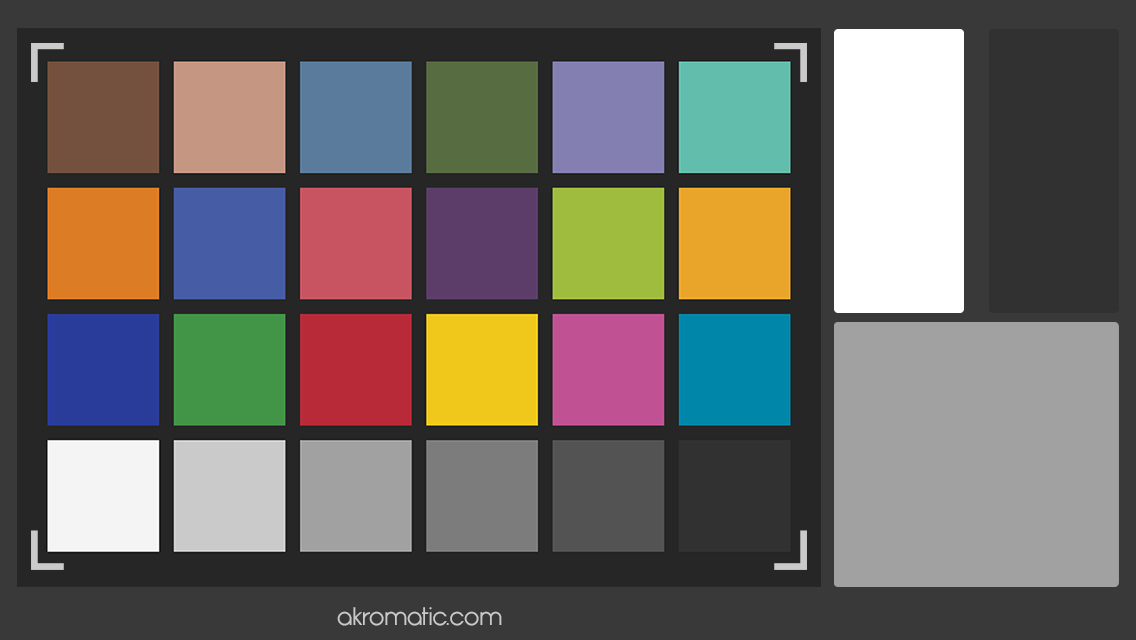
Just in case you forget your real colour checkers, you can download these ones and use them on your iPad mini, iPad air or iPhone.
They don’t replace the original ones but at least, you won’t be completely lost on set.
The only thing you have to do is download the following images and open them in your device.
I recommend using 100% of brightness.
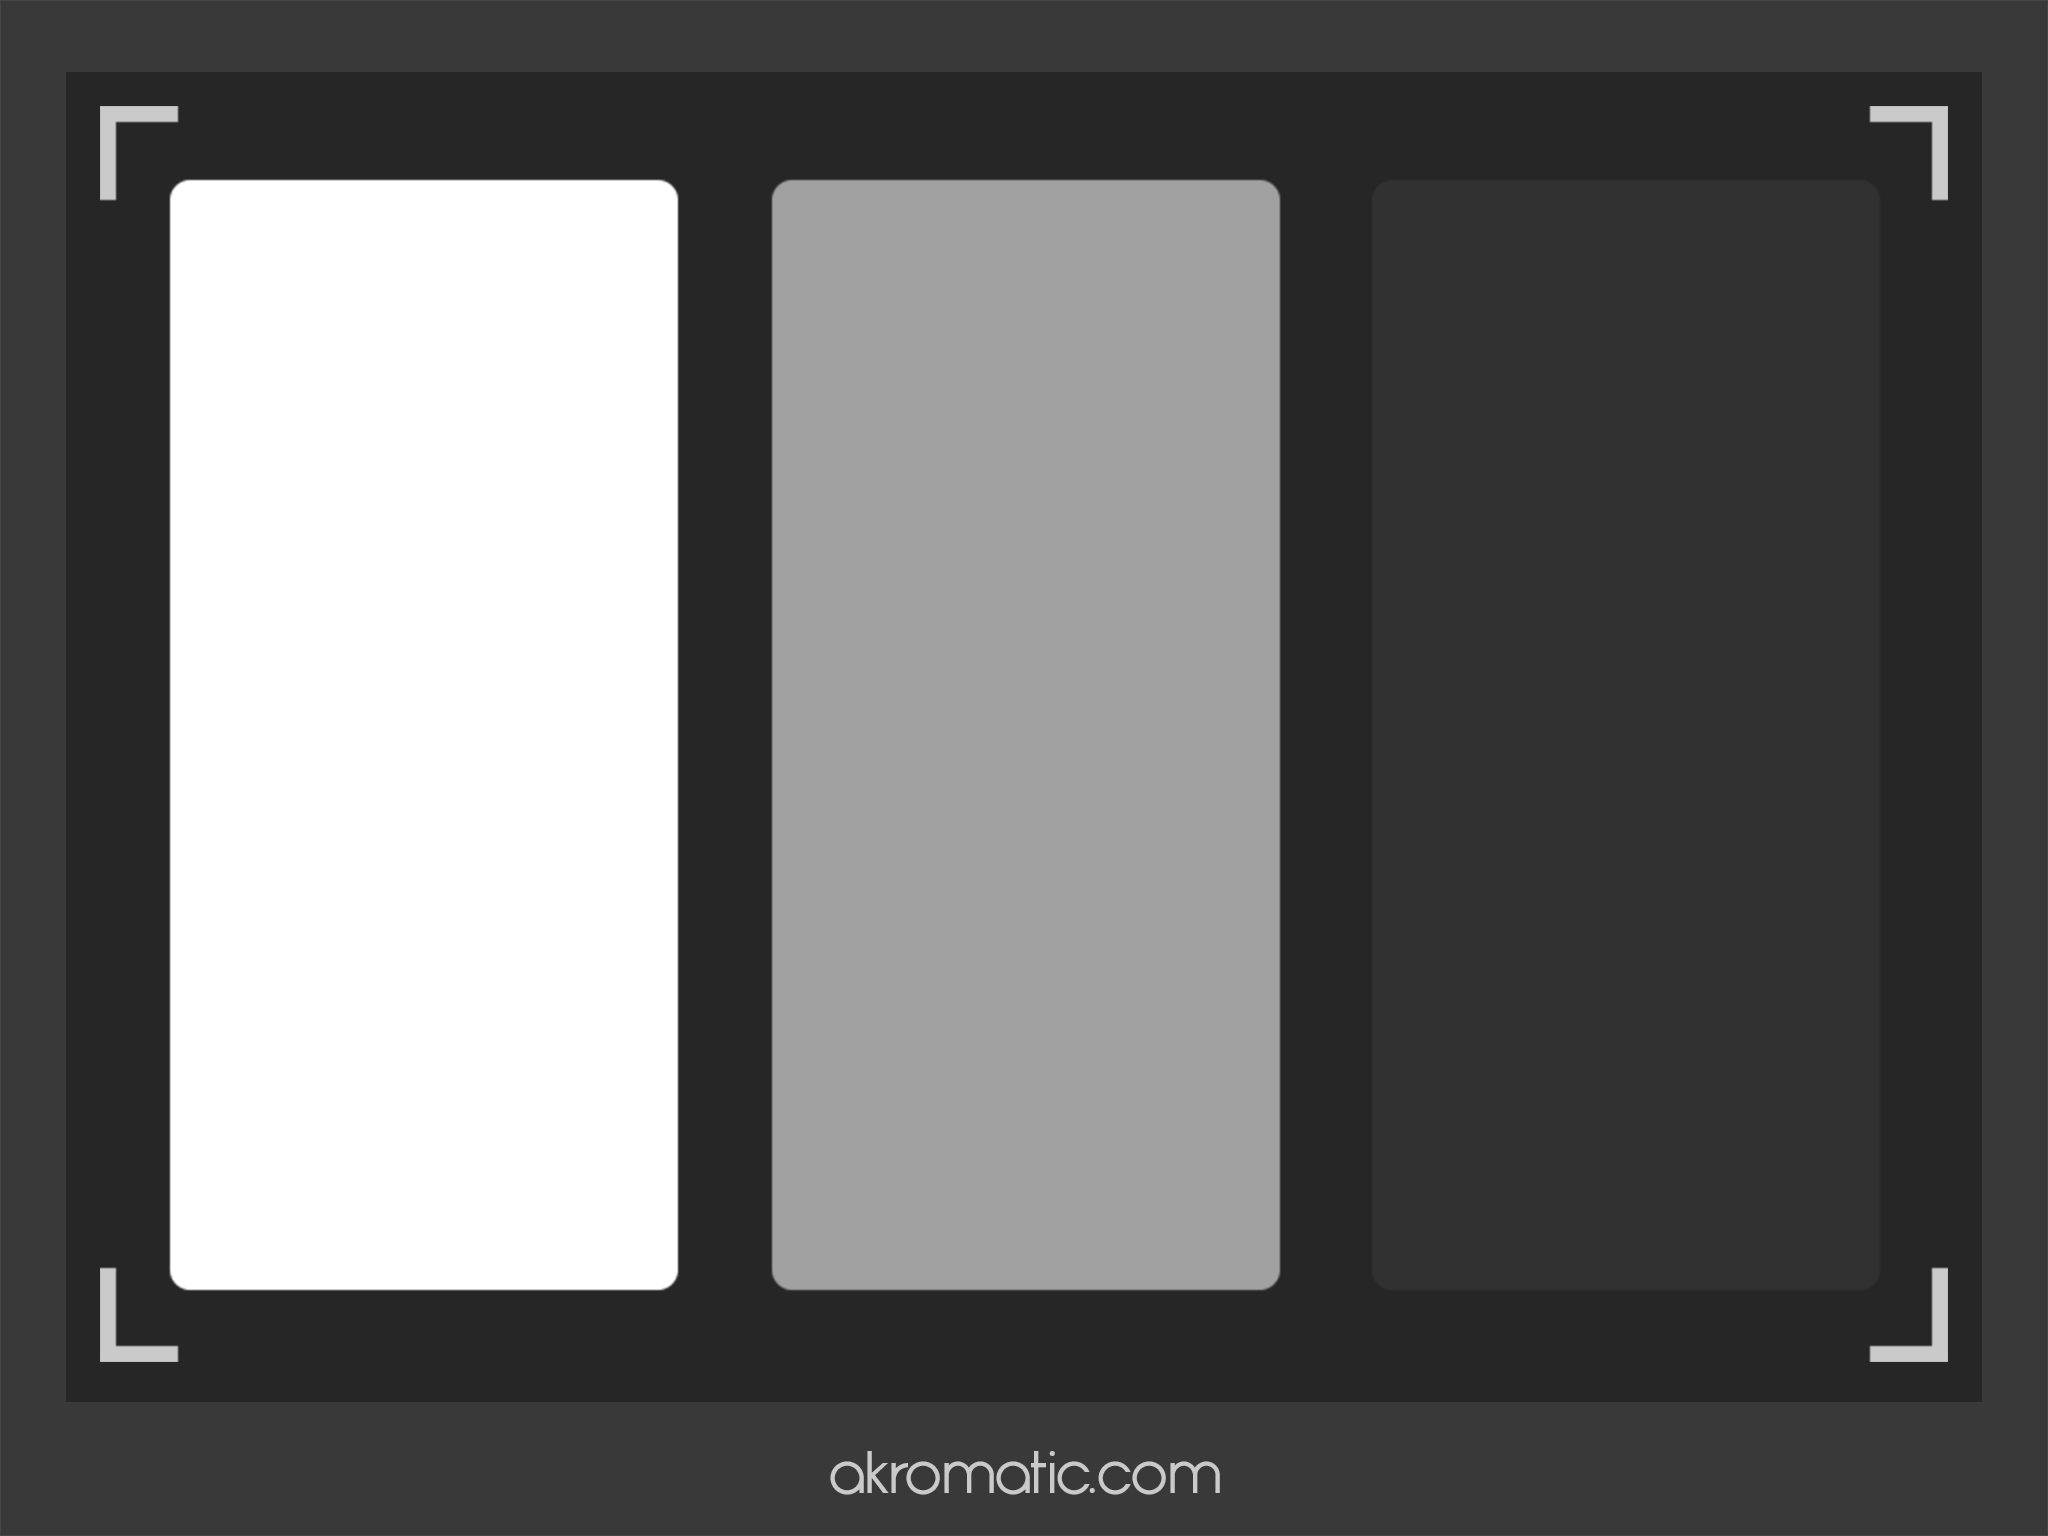
White Balance checker for iPad mini.
Have you seen the new spectacular reel from MPC?
I worked on some of those shows while I was working there.
Finally Warner Bros and Legendary have released the first trailer for the new Godzilla, and it’s looking terrific!
I’ve been working hard on this over the last year.
Enjoy!
