akromatic
Lighting spheres "tiny" /
Central Saint Martins free HDRI /
I shot another HDRI for Akromatic that you can download for free for your look-dev and lighting tests.
Check it out at the Akromatic website.
Akromatic's workshop /
Just a few photos from the Akromatic's workshop, working on our spheres for VFX.
Central Saint Martins free HDRI /
HDRIs at Tate Modern /
A couple of HDRI maps that I shot at Tate Modern last week.
You can download them for free in the akromatic website.
A bit more photogrammetry /
Just a few more screenshots and renders of the last photogrammetry stuff that I've been doing. All of these are part of some training that I'll be teaching soon. Get in touch if you want to know more about it.

Shipping 3/8 adaptors /
On behalf of akromatic.
We are shipping our new 3/8 adaptors that can fit all of our Lighting Checker handles. This is the best way to attach any of our Lighting Checkers individually to any standard 3/8 professional tripod.
This adaptor is included when purchasing Lighting Checker "Mono" from our online store.
If you need to buy additional adaptors for other kits or other purposes, you can buy them as well in our store.
These 3/8 adaptors are made of high quality aluminium.
Akromatic 3/8 adaptors /
In order to improve our custom plate solutions to attach akromatic spheres on your tripod, we came out with the akromatic adaptor, which will allow you to attach all of our spheres and carbon fibre handles to any tripod with standard 3/8 attachment.
We'll be sending this adaptor with our akromatic kits very soon.
See it in action.
Visit akromatic.com for more information about this product.
Akromatic mini base available /
The "akromatic mini base" is already available here. Shipping worldwide as usual.
Akromatic pictures from the studio /
Just a few images of our Akromatic productos during a look-development session for VFX.

Ellenborough Park Sunrise /
I shot a new HDRI panorama for 3D Lighting and Look-development for akromatic.com
Check it out here, it's free!
Akromatic base /
As VFX artists we always need to place our color charts and lighting checkers (or practical spheres) somewhere on the ground while shooting bracketed images for panoramic HDRI creation. And we know that every single look-development and / or lighting artist is going to request at least all these references for their tasks back at the facility.
I'm tired of seeing my VFX peers working on set placing their lighting checkers and color charts on top of their backpacks or hard cases to make them visible on their HDRIs. In the best scenario they usually put the lighting checkers on a tripod with it's legs bended.
I've been using my own base to place my lighting checkers and all my workmates keep asking me about it, so it's time to make it available for all of you working on set on a daily basis.
The akromatic base is light, robust and made of high quality stainless steel. It is super simple to attach our lighting checkers to it and keep them safe and more important, visible in all your images. Moving all around the set with your lighting checkers and color charts from take to take is now simple, quick and safe.
The akromatic base is compatible with our lighting checkers "Mono" and "Twins".
London Bridge Underground IBL /
I shot a new high resolution HDRI panorama for akromatic.com
It is completely free and it comes with clean plates, lighting and color references and calibrated IBL light-rigs for arnold and v-ray.
Check it out here.
Turnham Green Park HDRI /
I just published another high resolution HDRI panorama for VFX.
This set includes all the original brackets, HDRI panoramas, lighting and color references for look-development and 3D lighting and an IBL setup ready to use.
Check akromatic's site for information and downloads.
Sunny Boat HDRI panorama /
Sunny Boat HDRI equirectangular panorama.
I've been working on a new series of HDRI equirectangular panoramas for VFX.
Check the first one published on akromatic's site.
HDRI shooting (quick guide) /
This is a quick introduction to HDRI shooting on set for visual effects projects.
If you want to go deeper on this topic please check my DT course here.
Equipment
This list below is a professional equipment for HDRI shooting. Good results can be achieved using amateur gear, don't necessary need to spend a lot of money for HDRI capturing, but the better equipment you own the easier, faster and better result you'll get. Obviously this gear is based on my taste.
- Lowepro Vertex 100 AW backpack
- Lowepro Flipside Sport 15L AW backpack
- Full frame digital DSLR (Nikon D800)
- Fish-eye lens (Nikkor 10.5mm)
- Multi purpose lens (Nikkor 28-300mm)
- Remote trigger
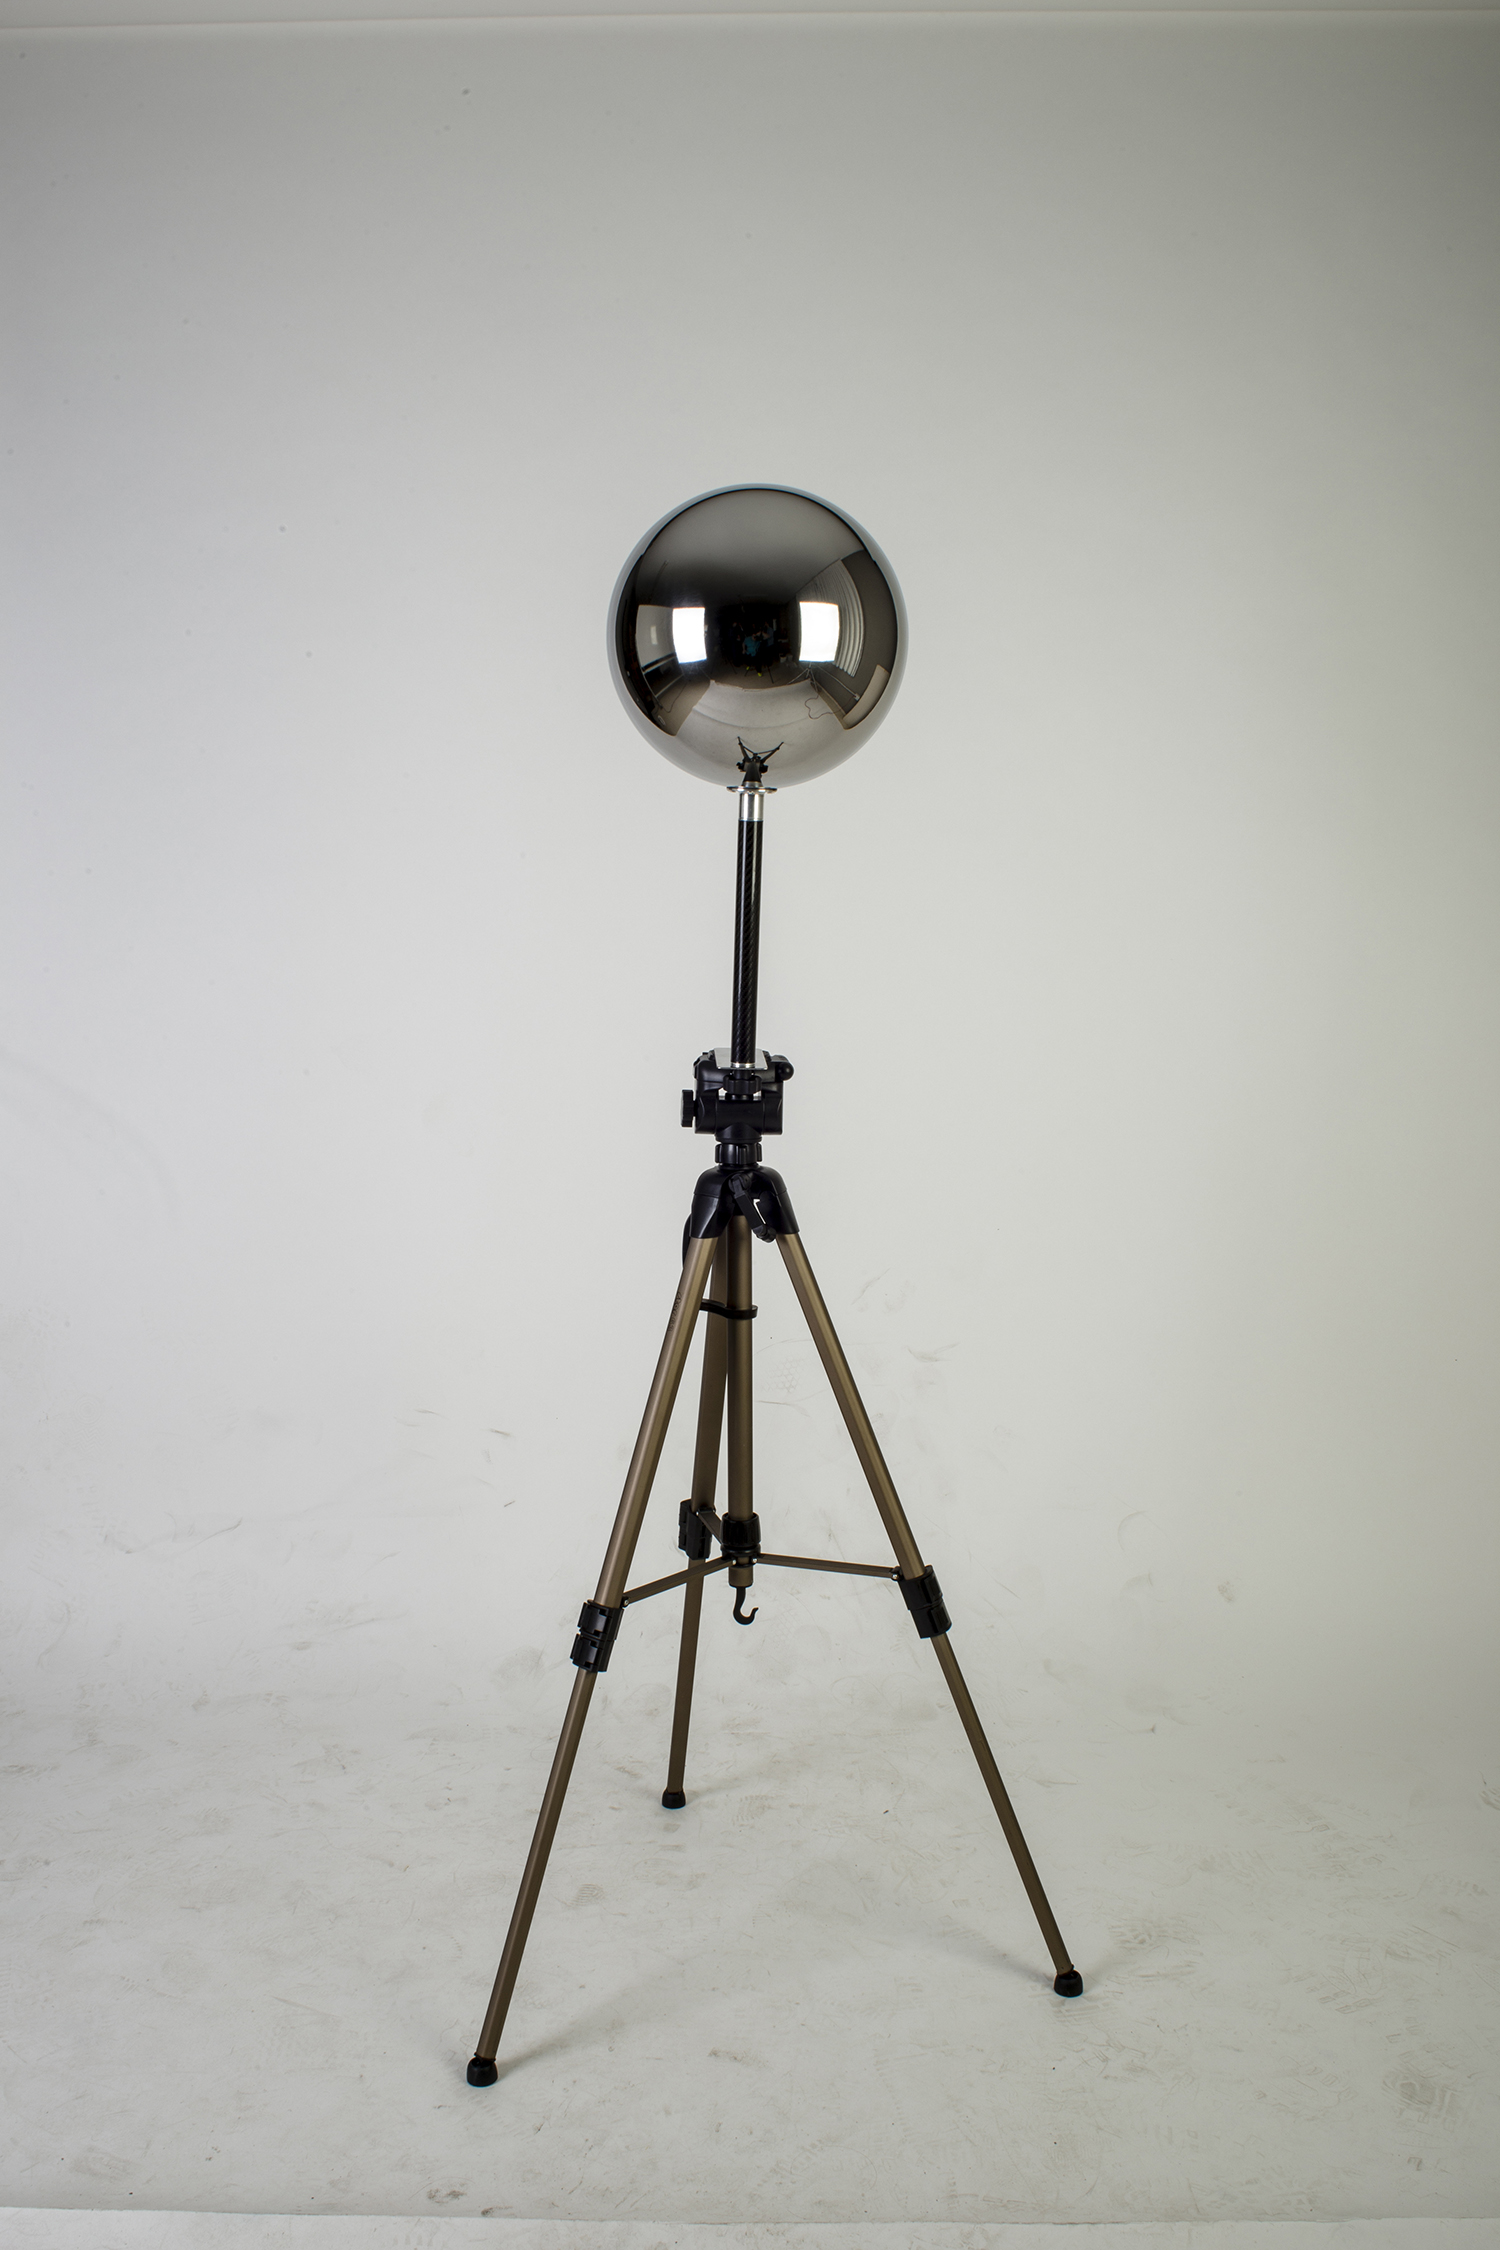
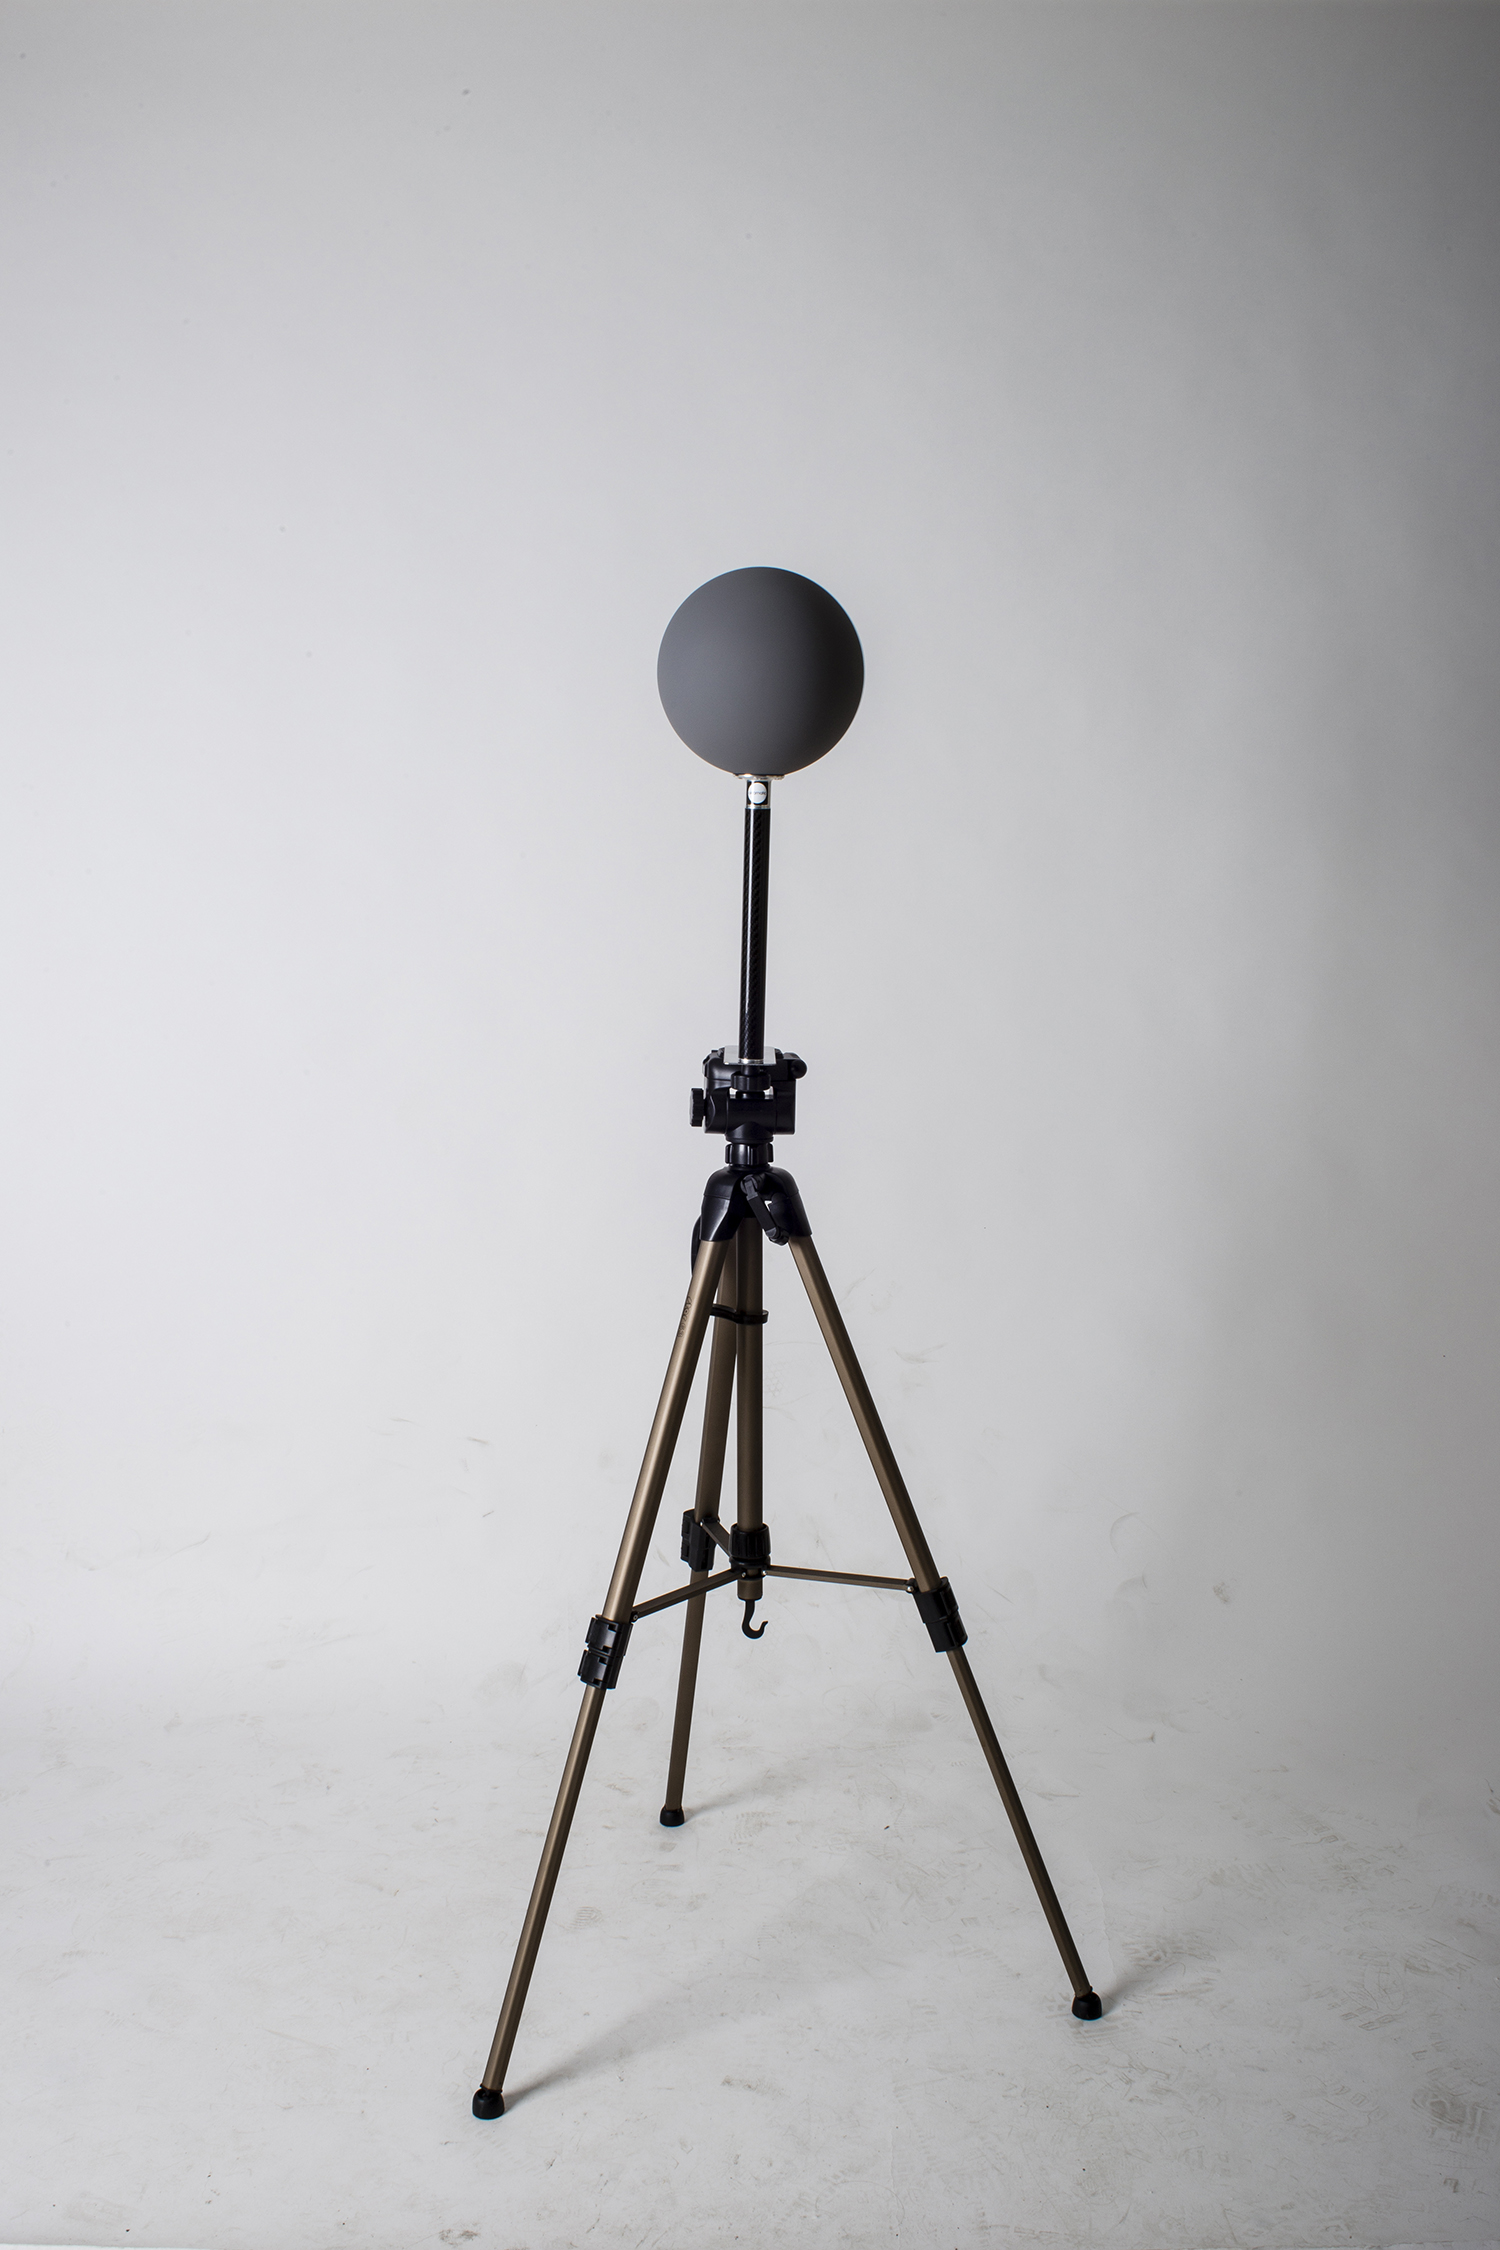
- Tripod
- Panoramic head (360 precision Atome or MK2)
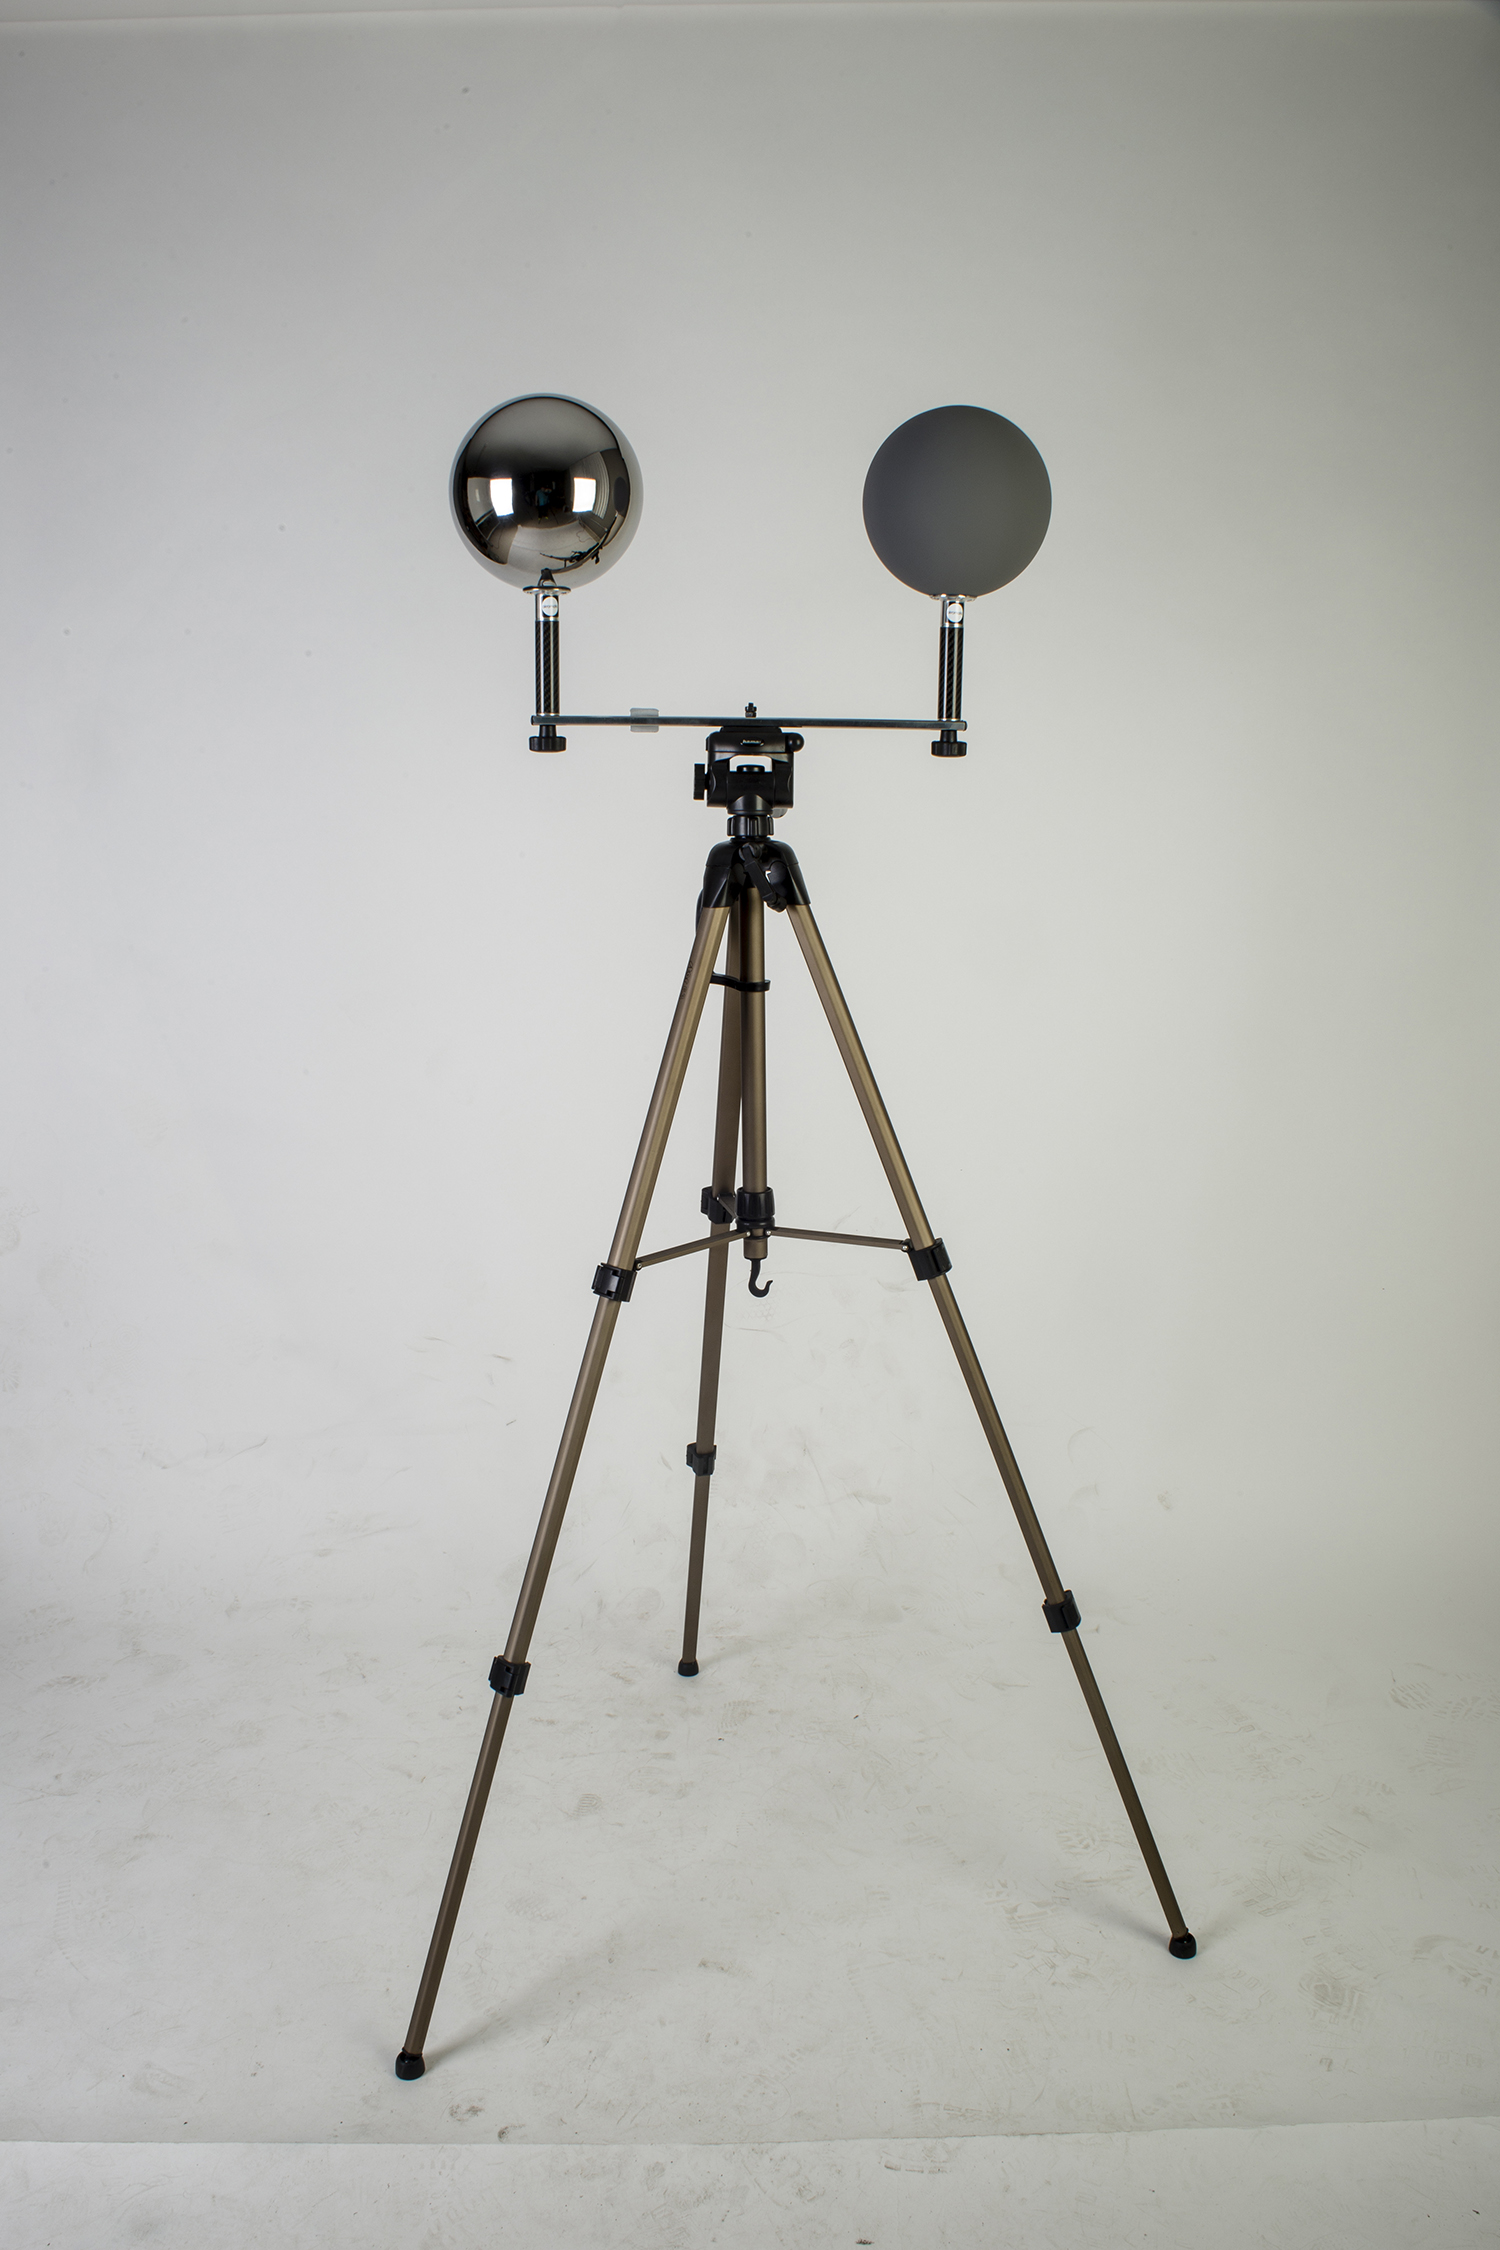
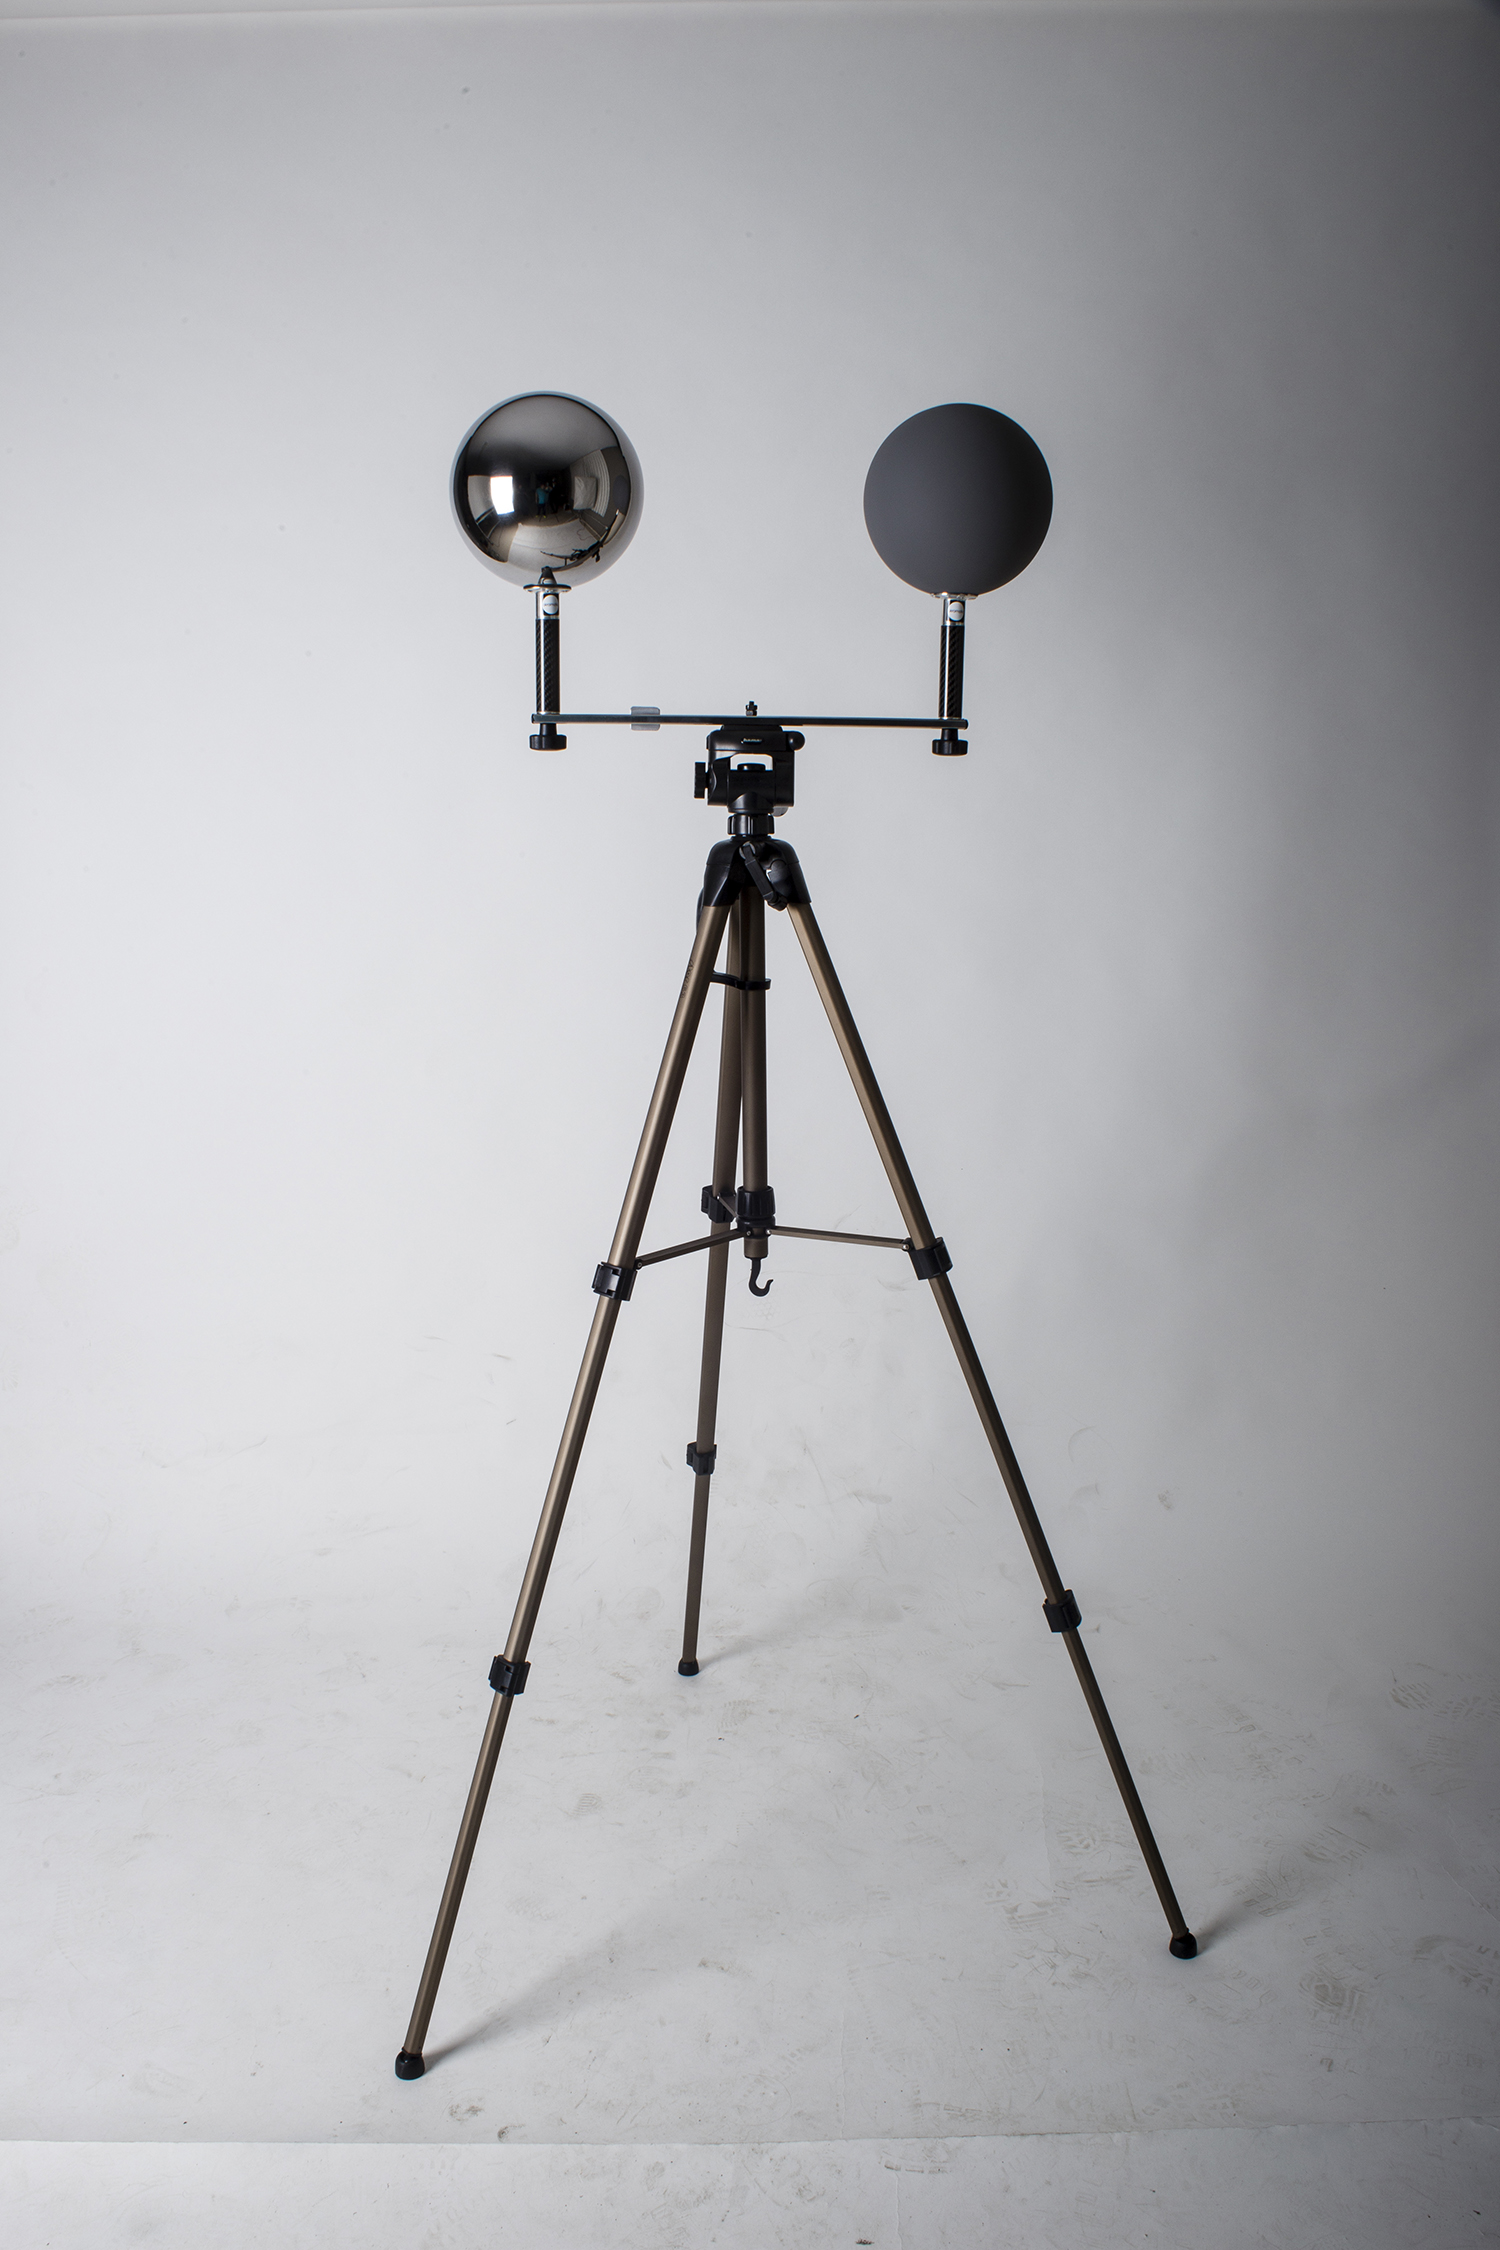
- akromatic kit (grey ball, chrome ball, tripod plates)
- Lowepro Nova Sport 35L AW shoulder bag (for aromatic kit)
- Macbeth chart
- Material samples (plastic, metal, fabric, etc)
- Tape measurer
- Gaffer tape
- Additional tripod for akromatic kit
- Cleaning kit
- Knife
- Gloves
- iPad or laptop
- External hard drive
- CF memory cards
- Extra batteries
- Data cables
- Witness camera and/or second camera body for stills
All the equipment packed up. Try to keep everything small and tidy.
All your items should be easy to pick up.
Most important assets are: Camera body, fish-eye lens, multi purpose lens, tripod, nodal head, macbeth chart and lighting checkers.
Shooting checklist
- Full coverage of the scene (fish-eye shots)
- Backplates for look-development (including ground or floor)
- Macbeth chart for white balance
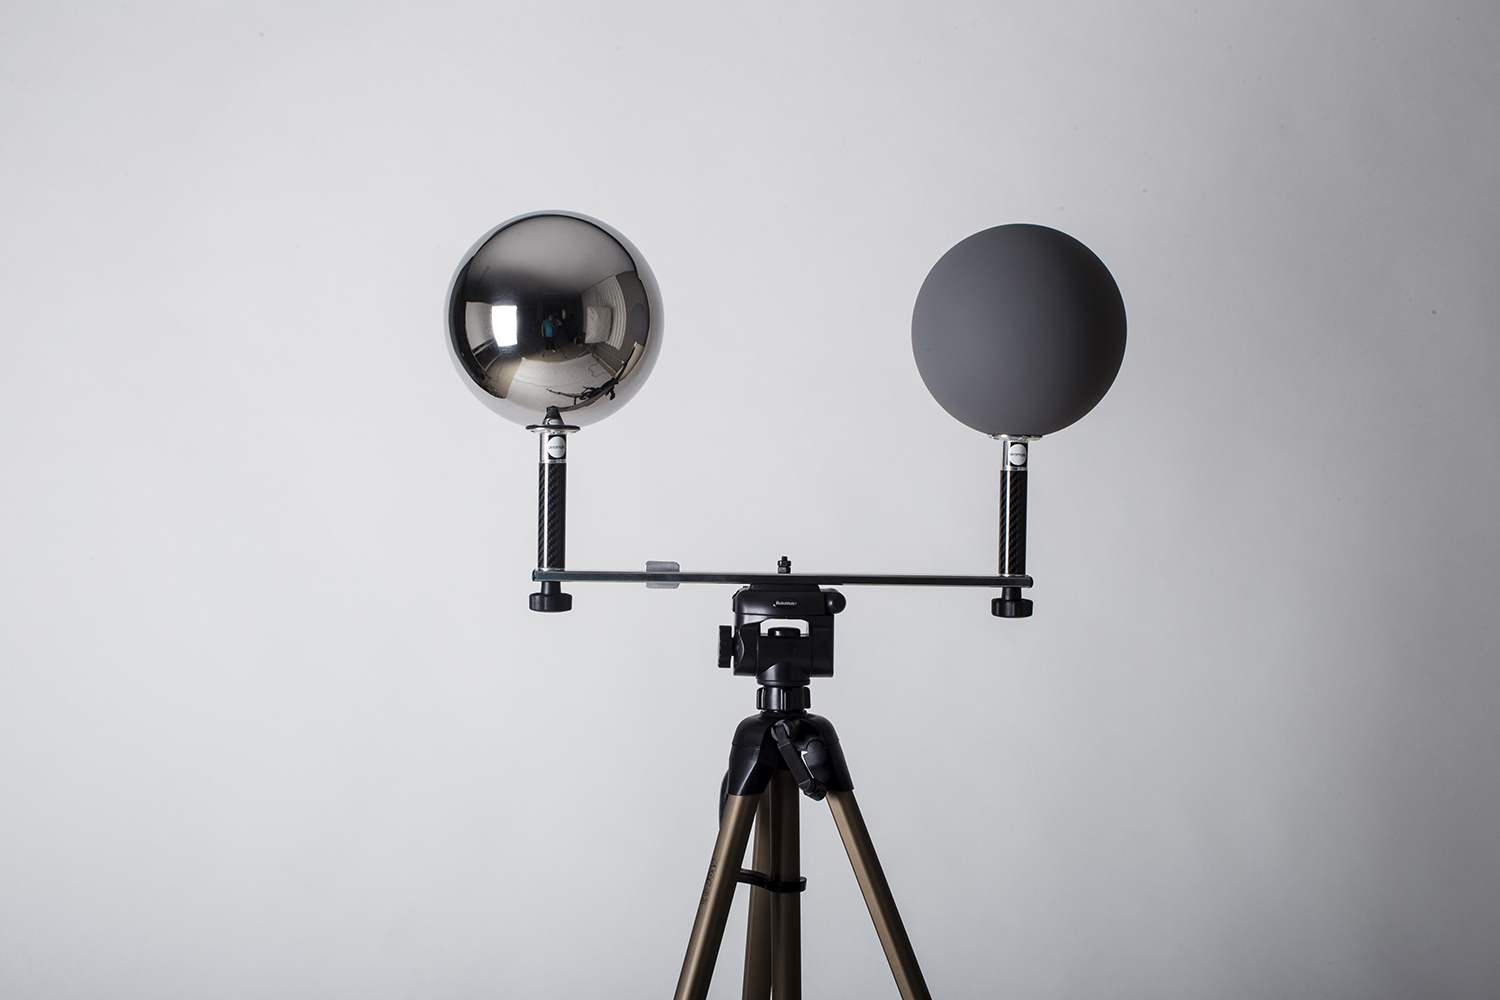
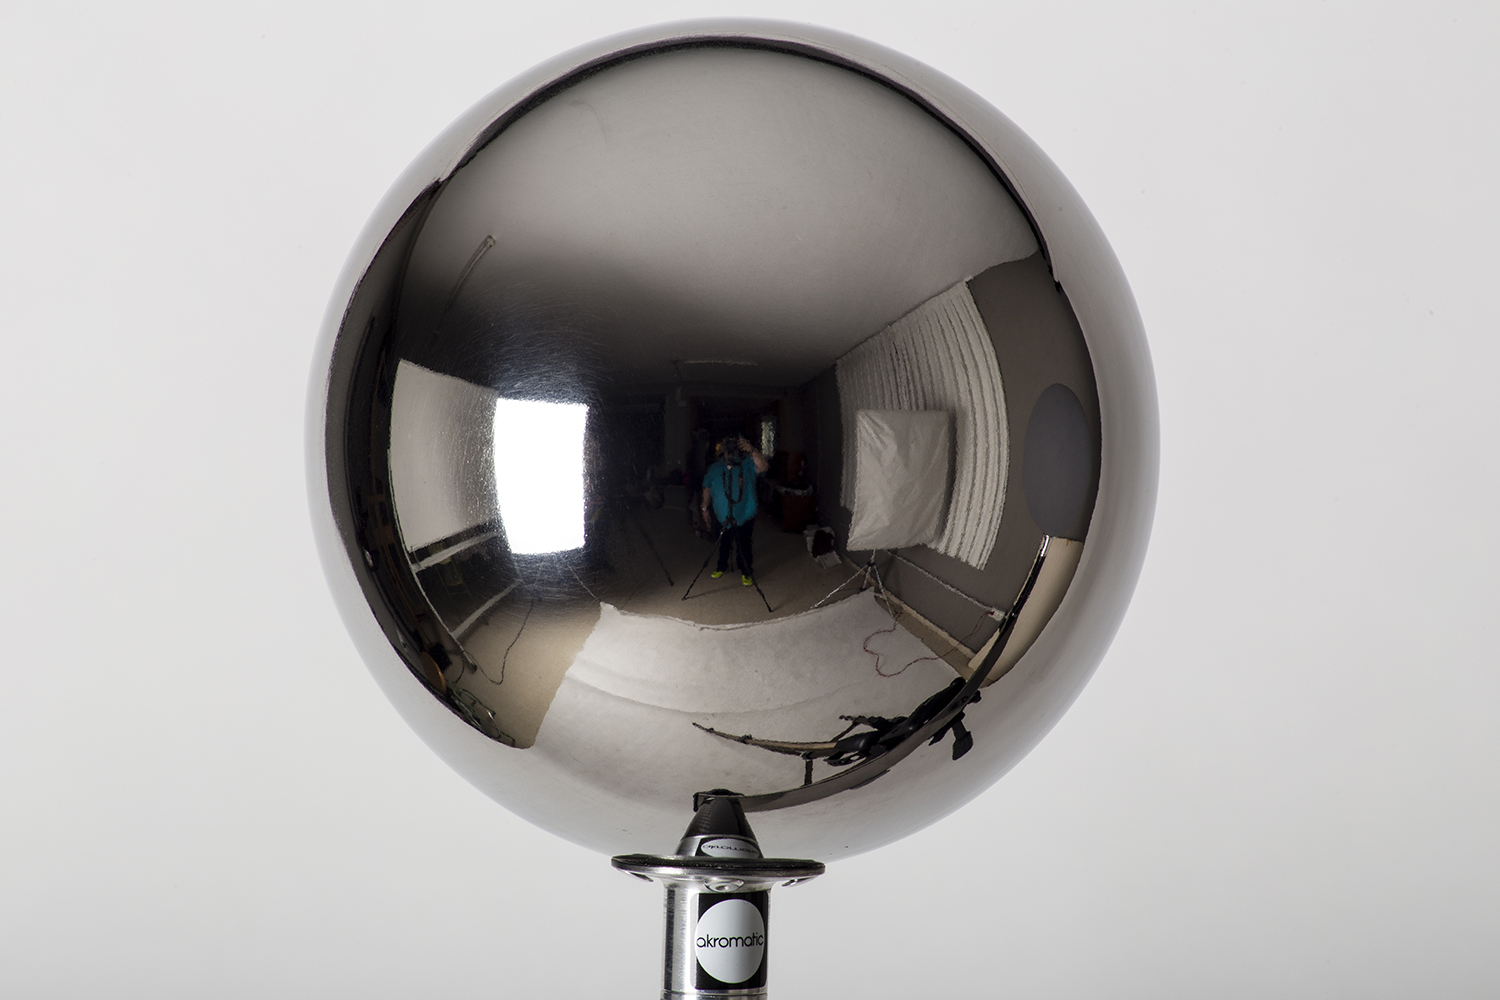
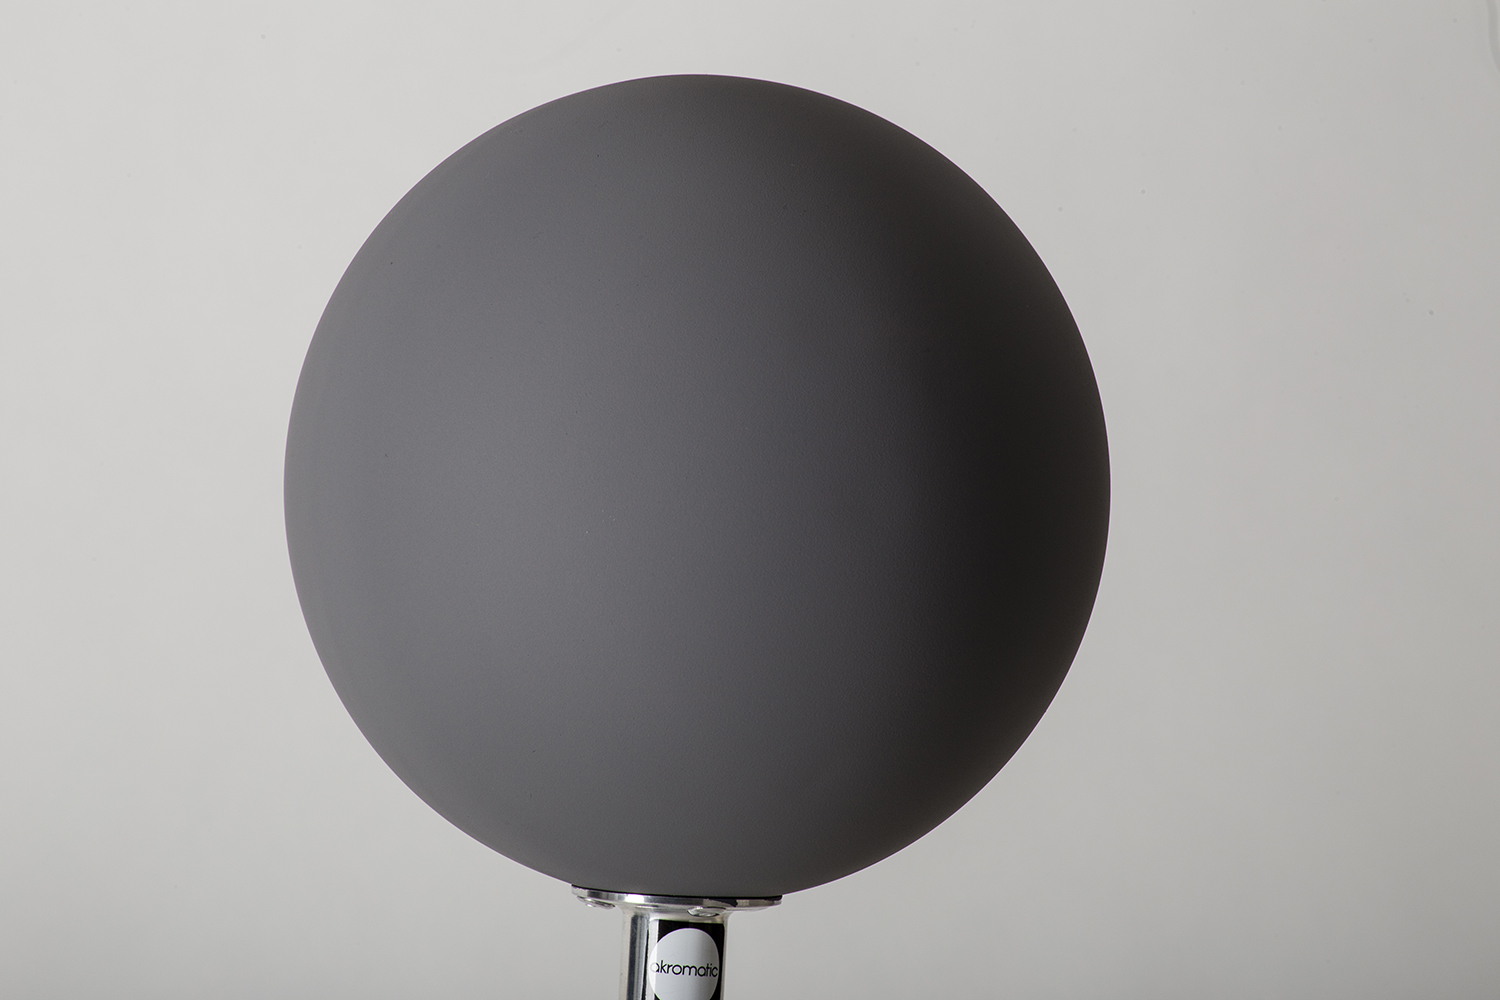
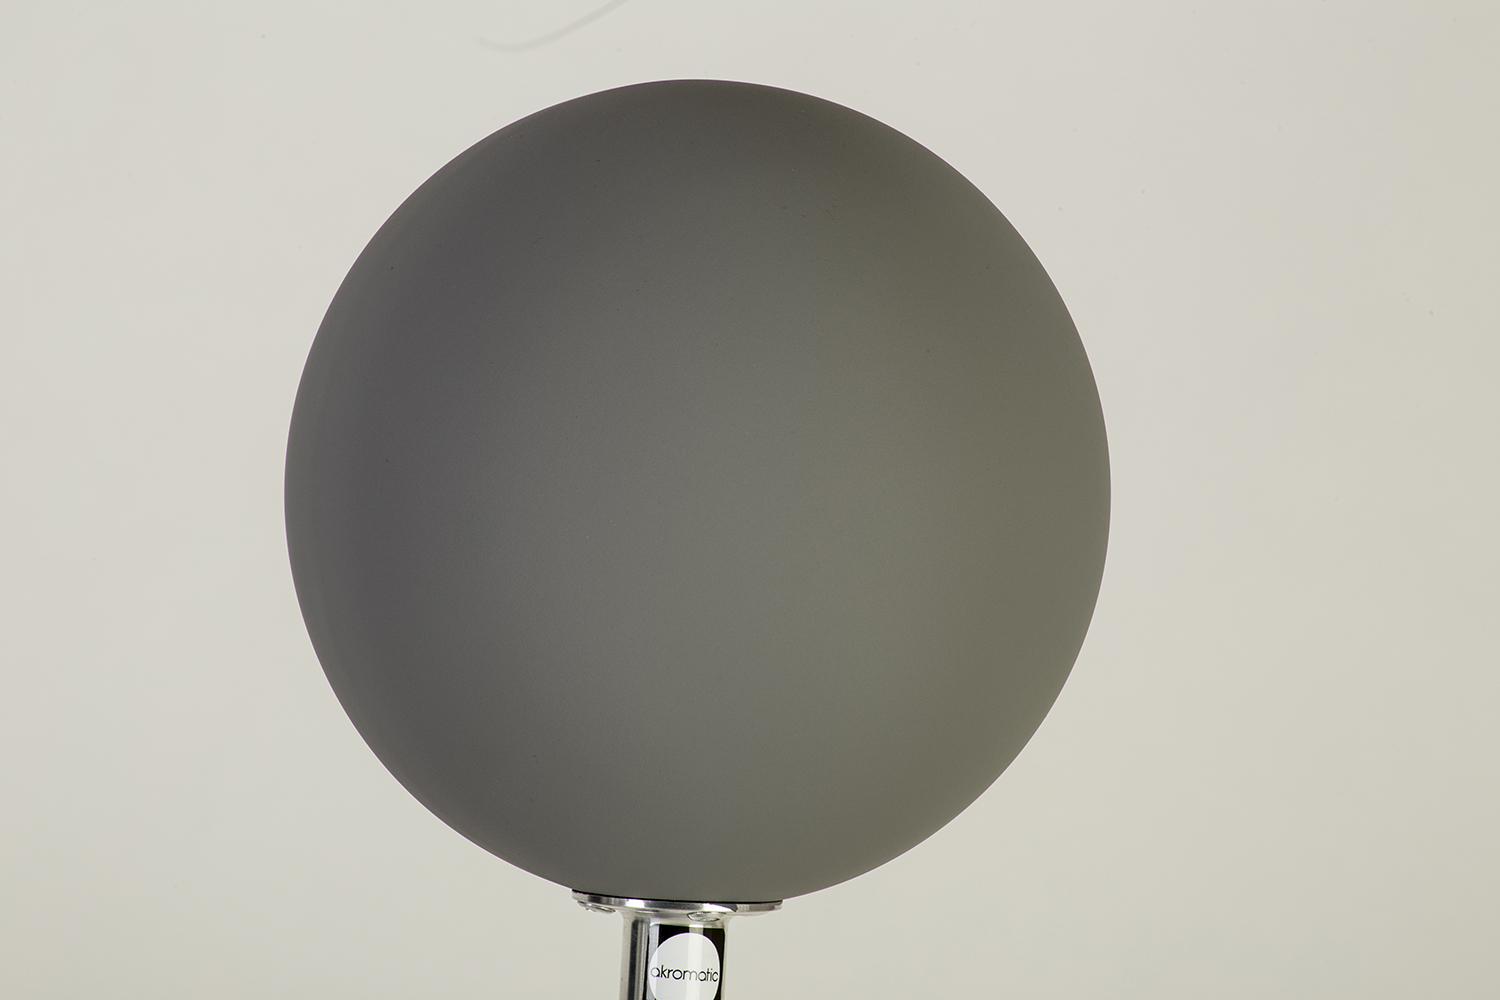
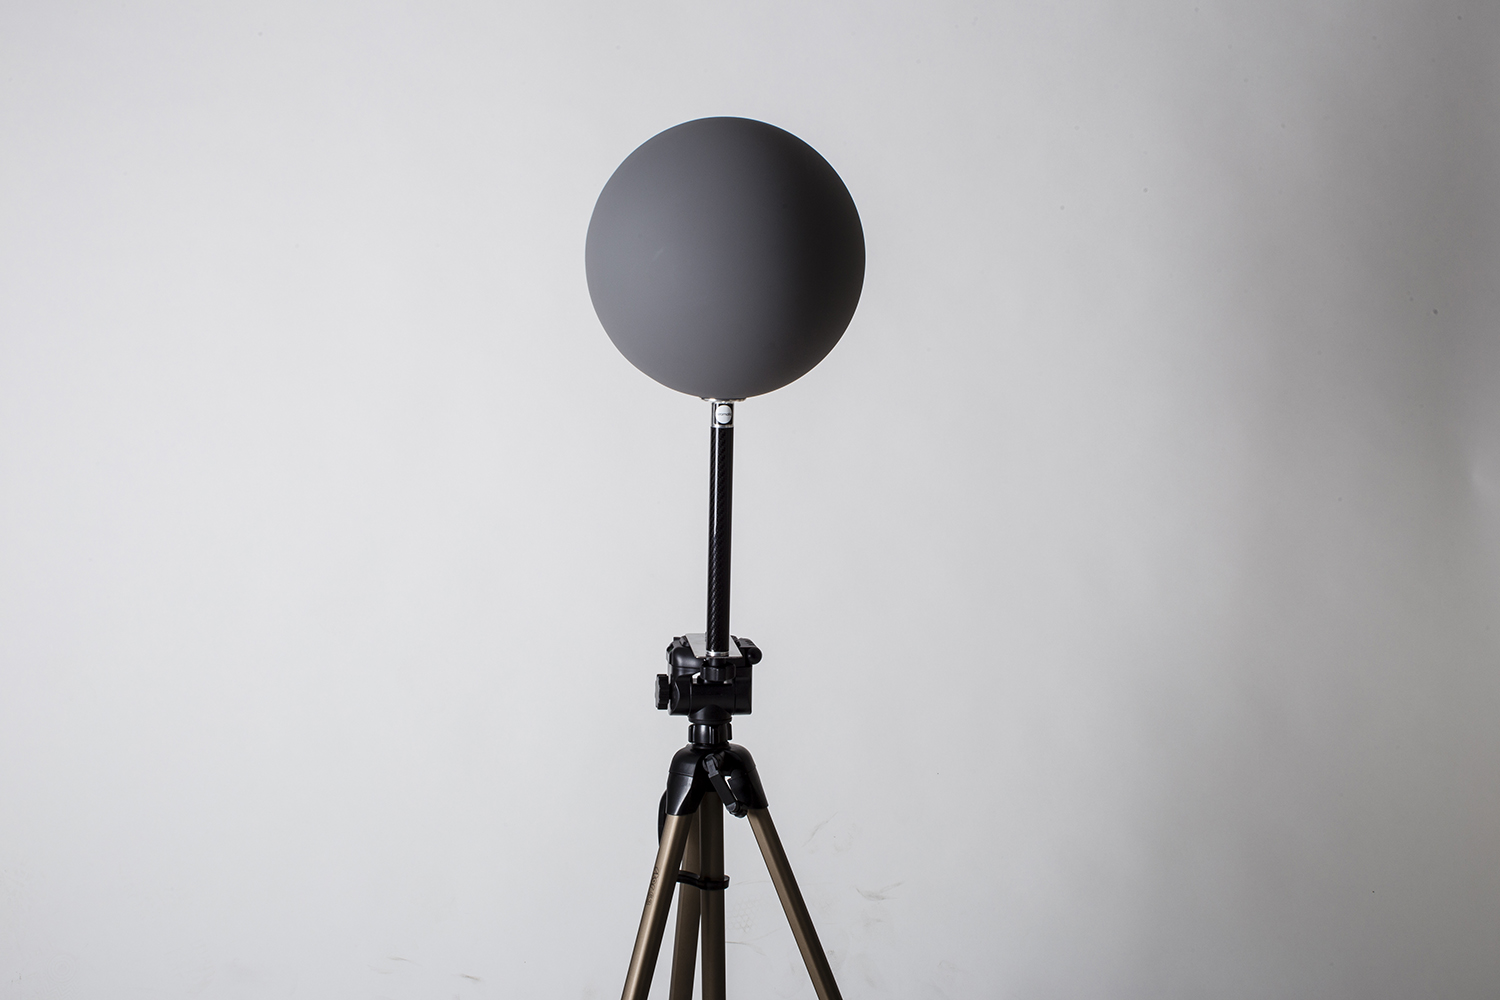
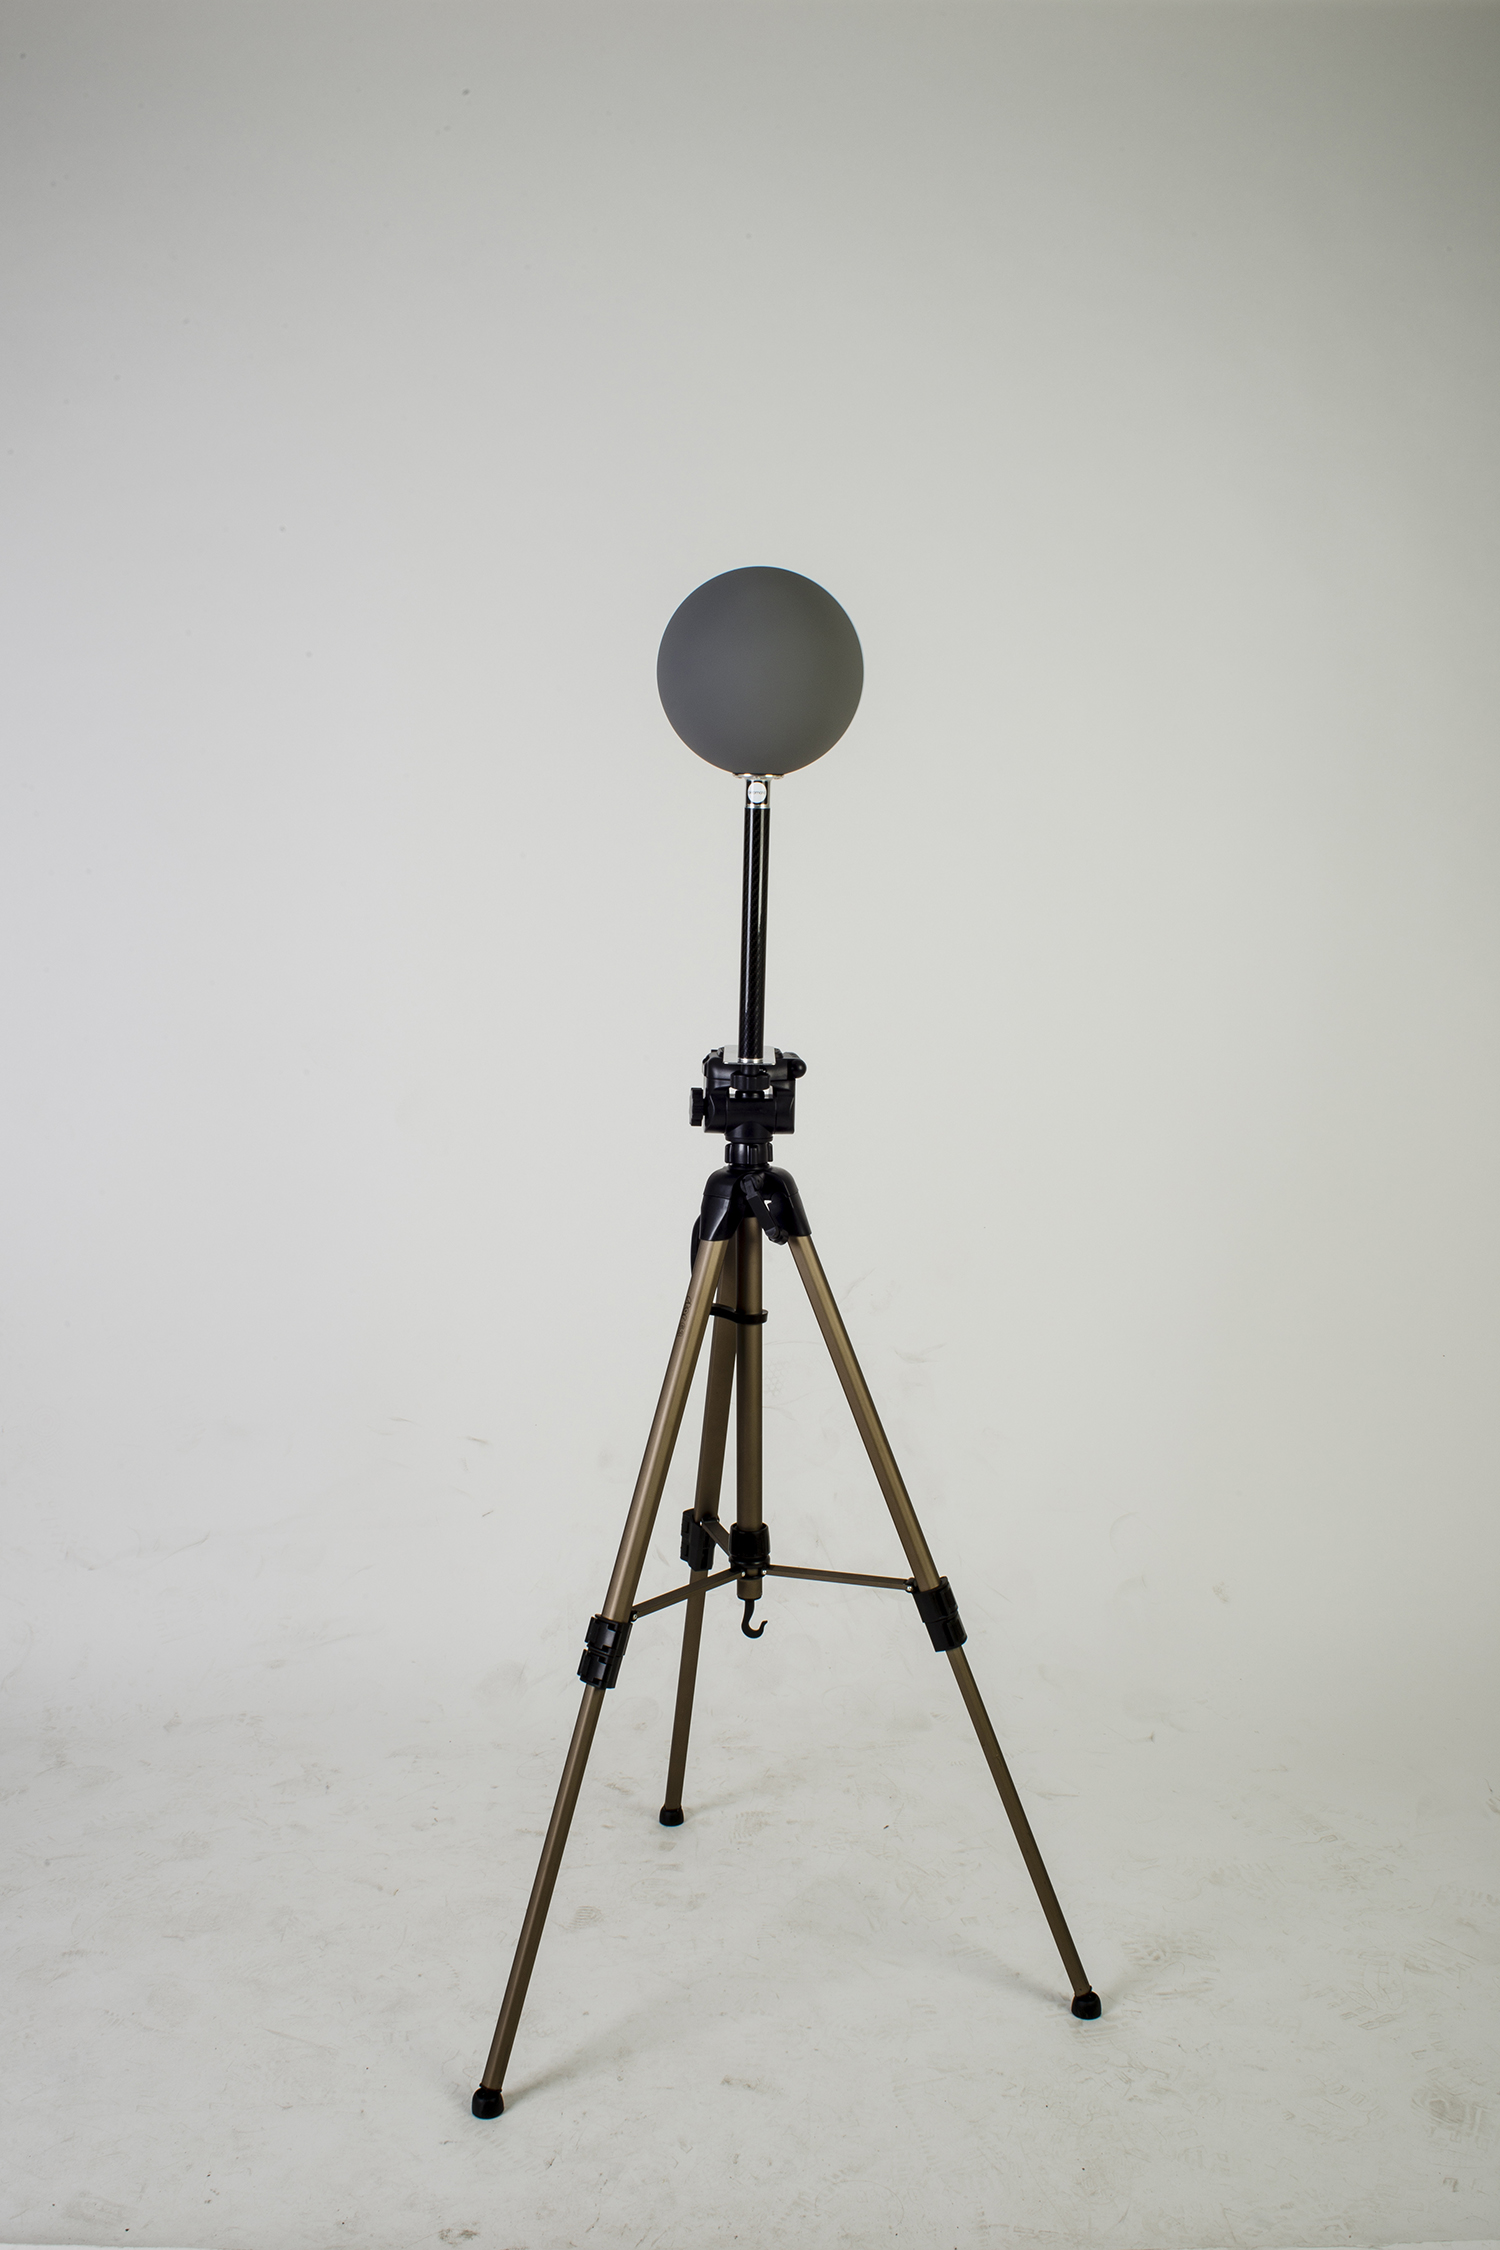
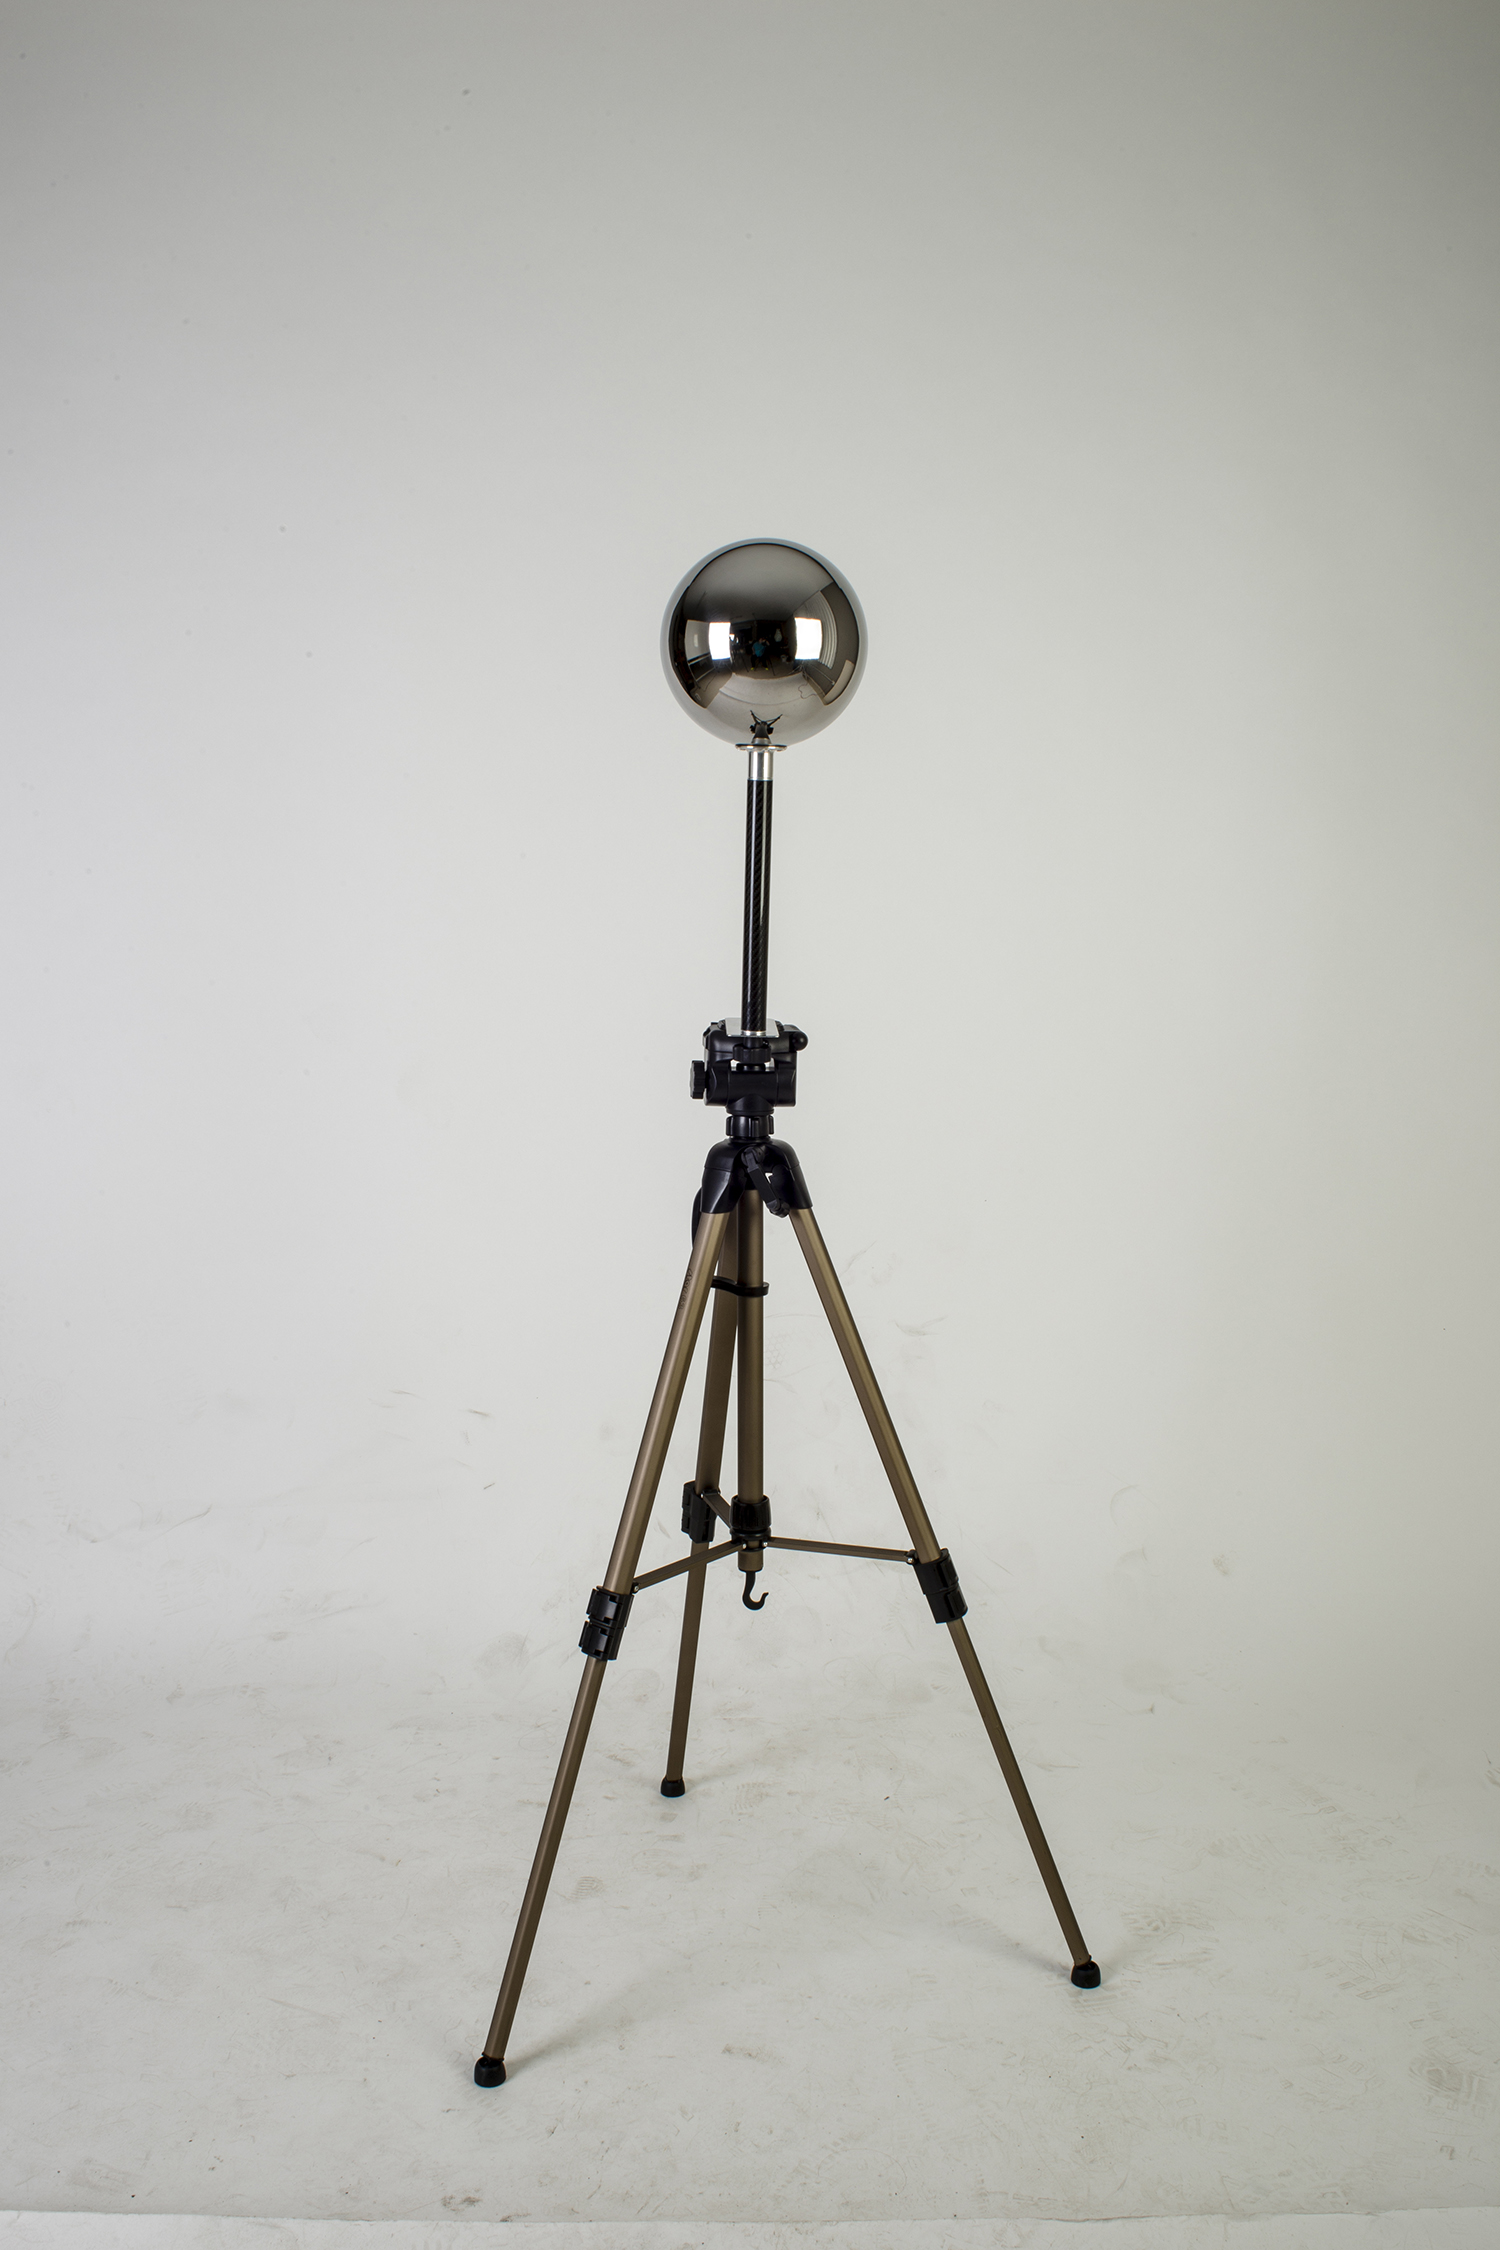
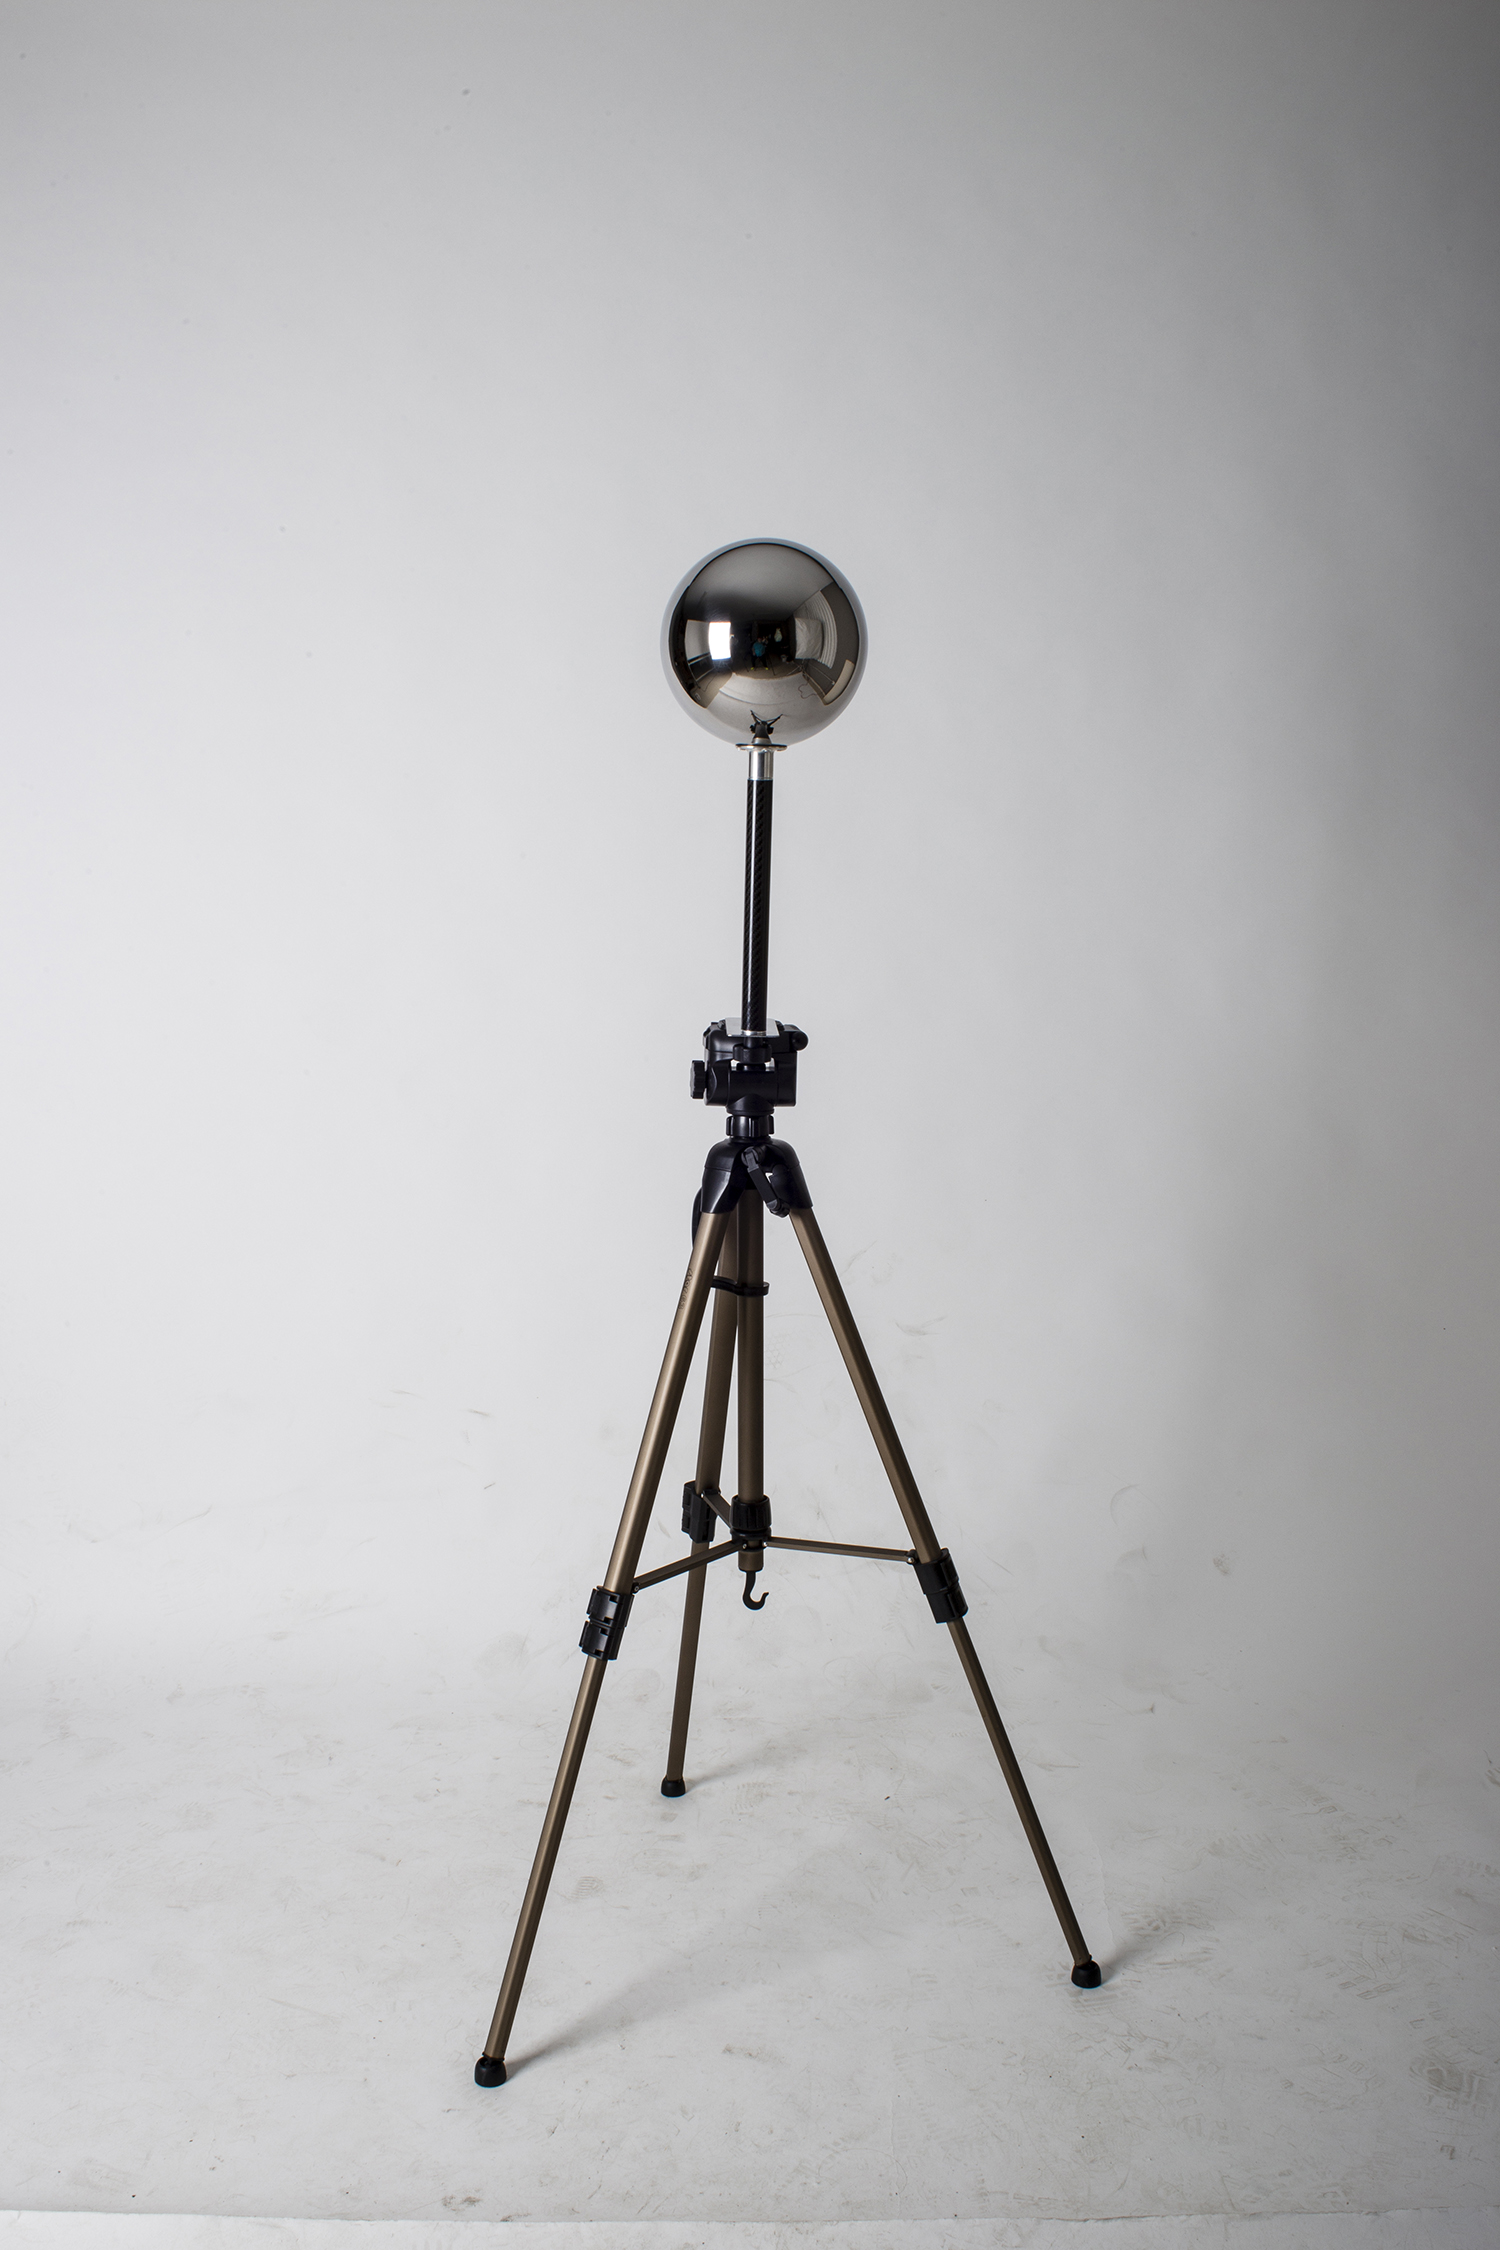
- Grey ball for lighting calibration
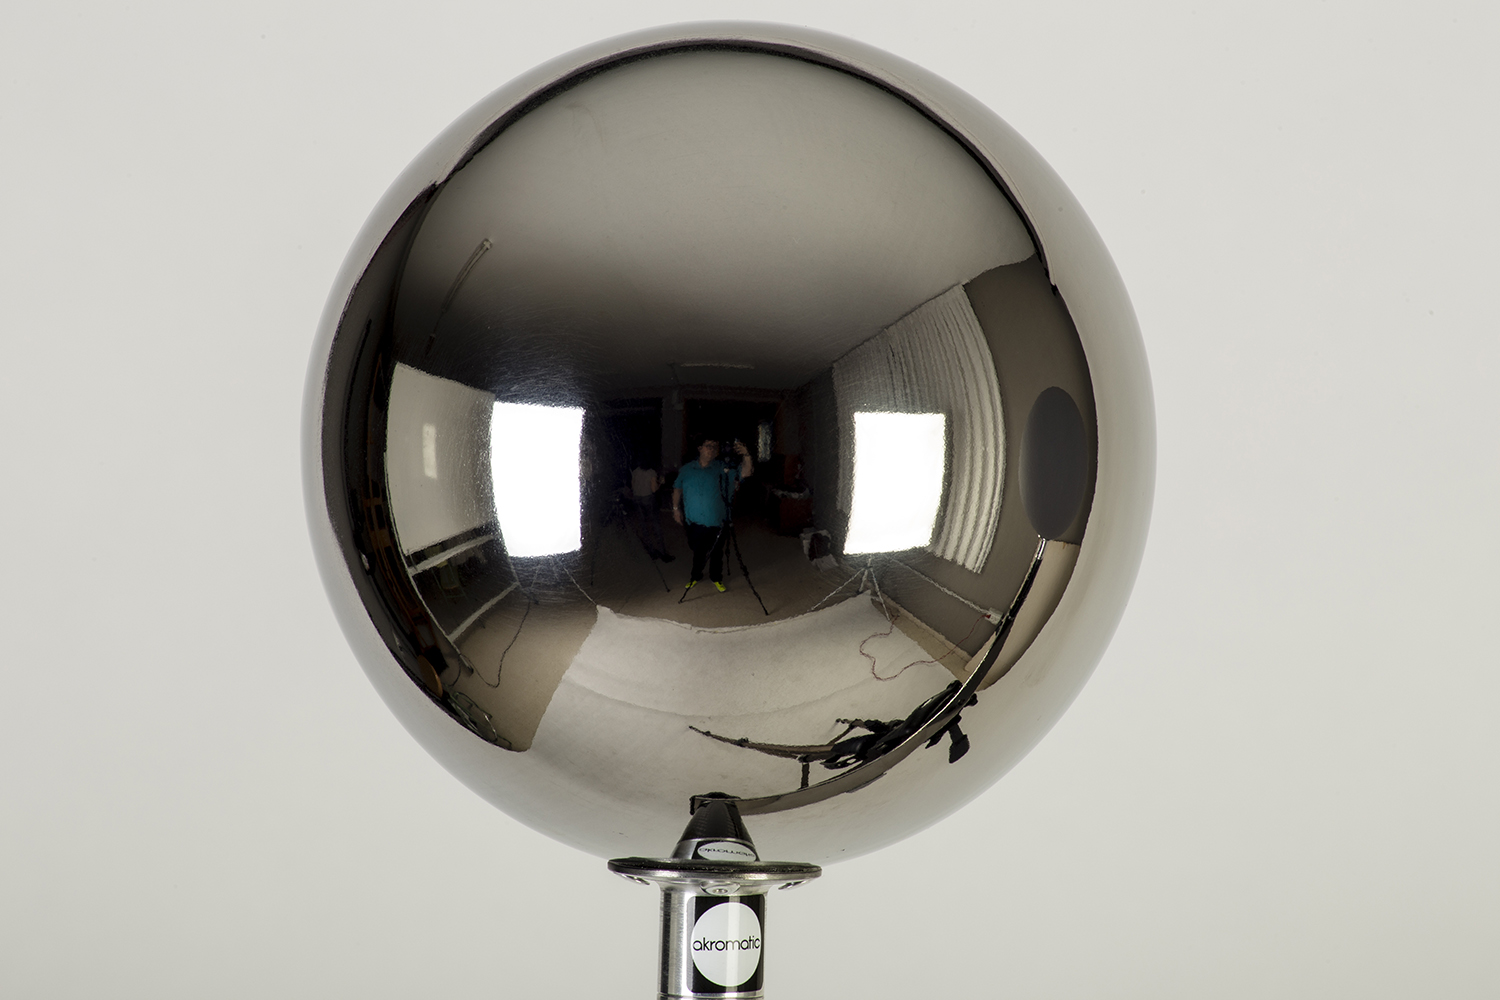
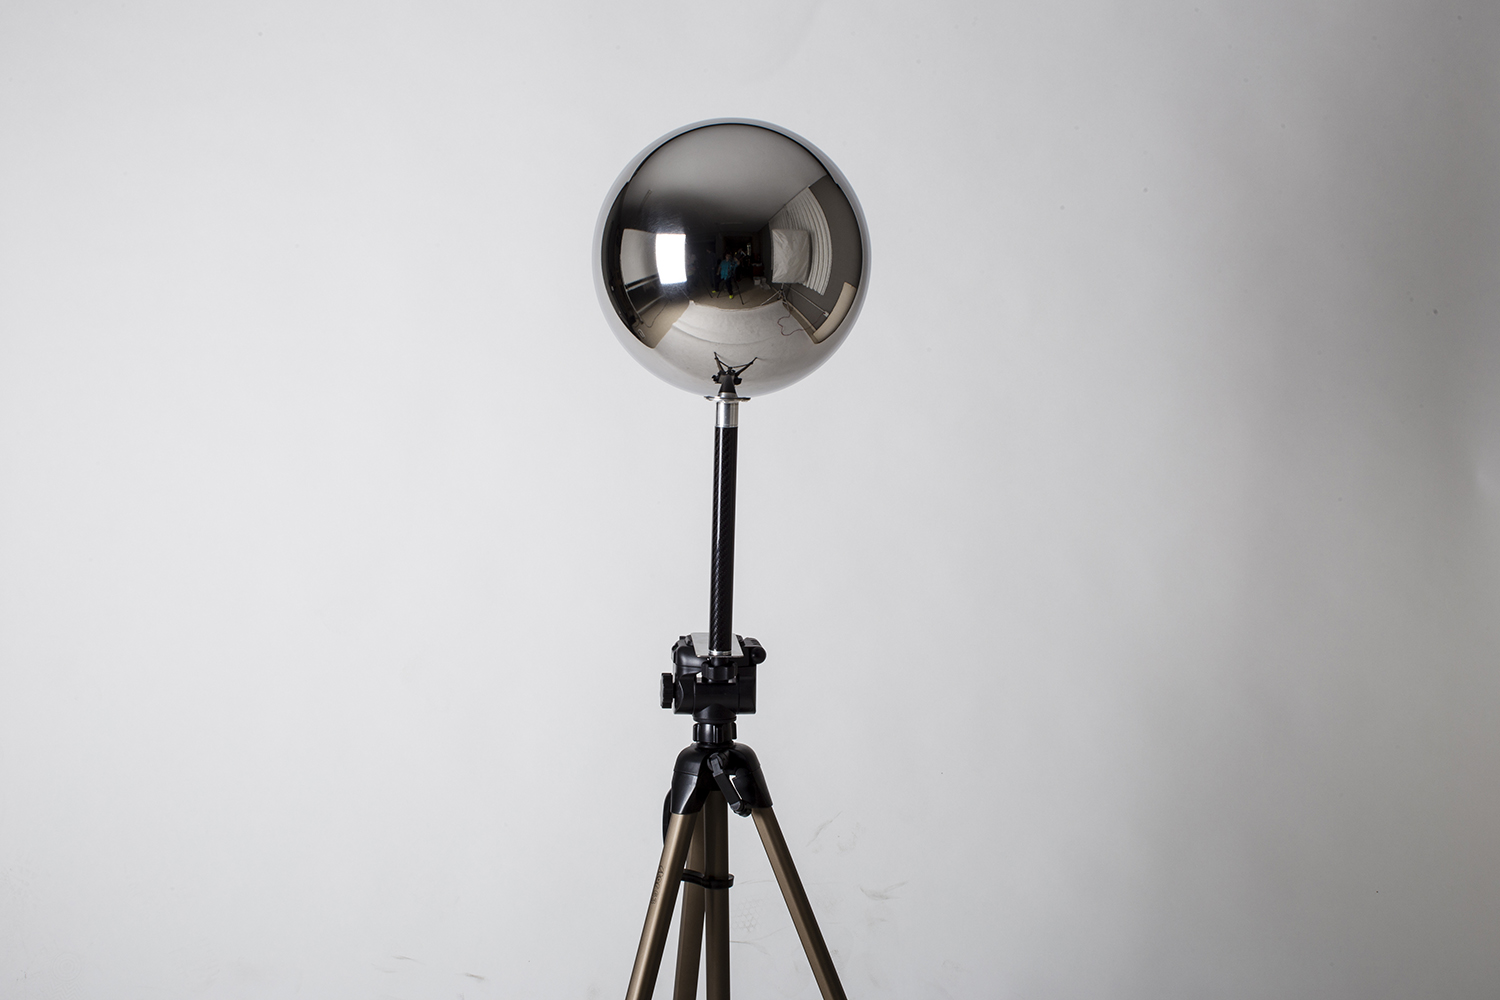
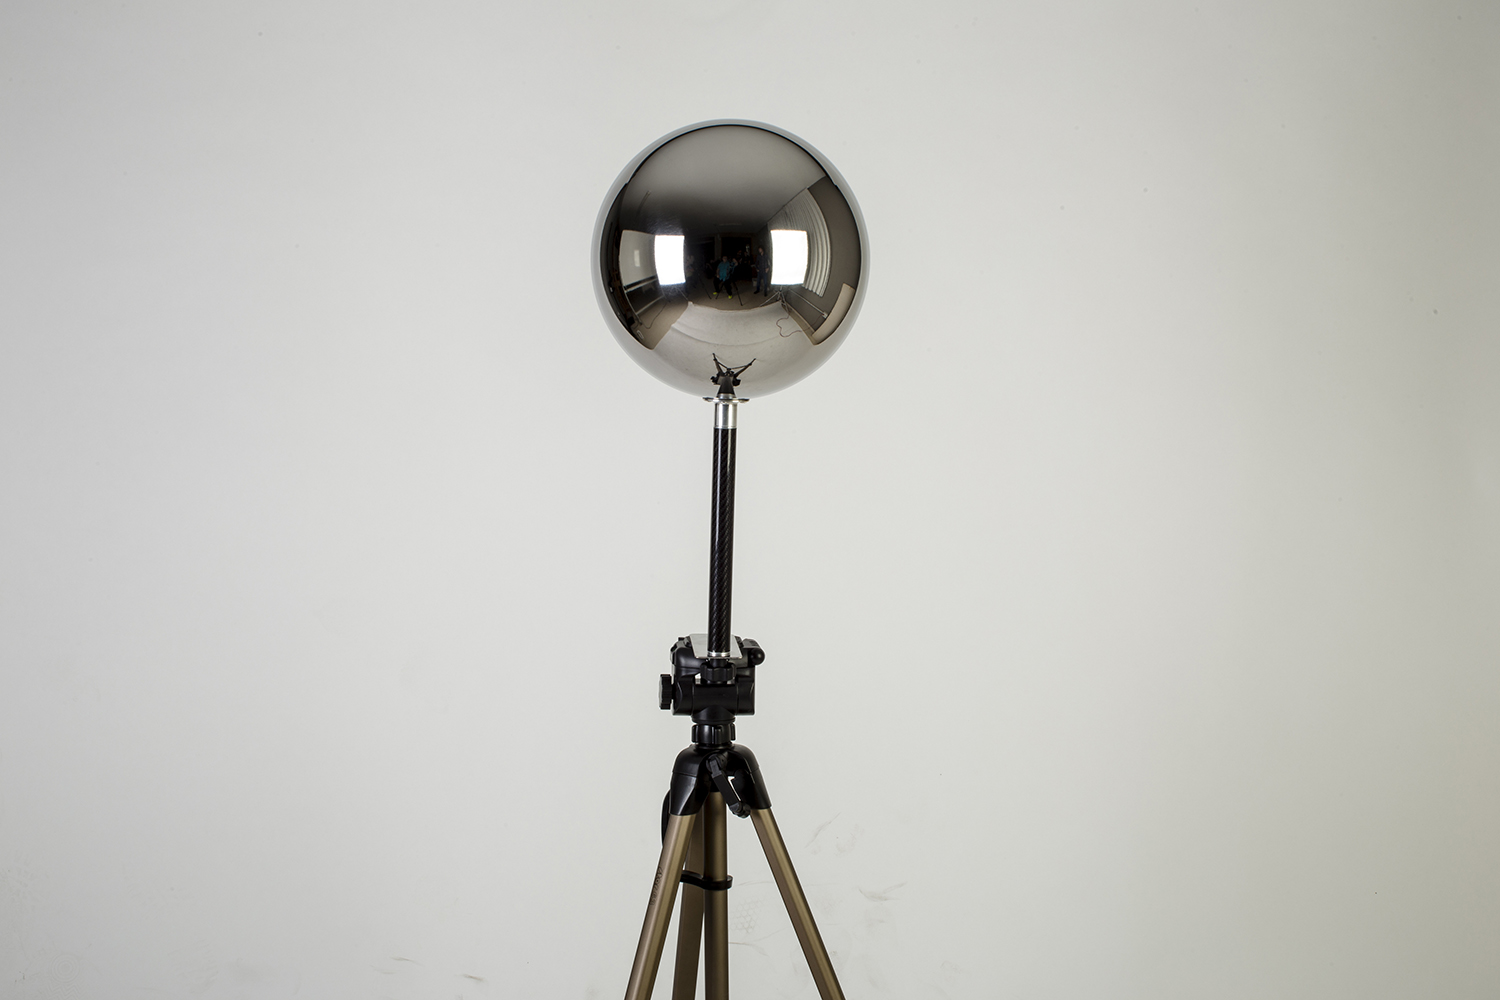
- Chrome ball for lighting orientation
- Basic scene measurements
- Material samples
- Individual HDR artificial lighting sources if required
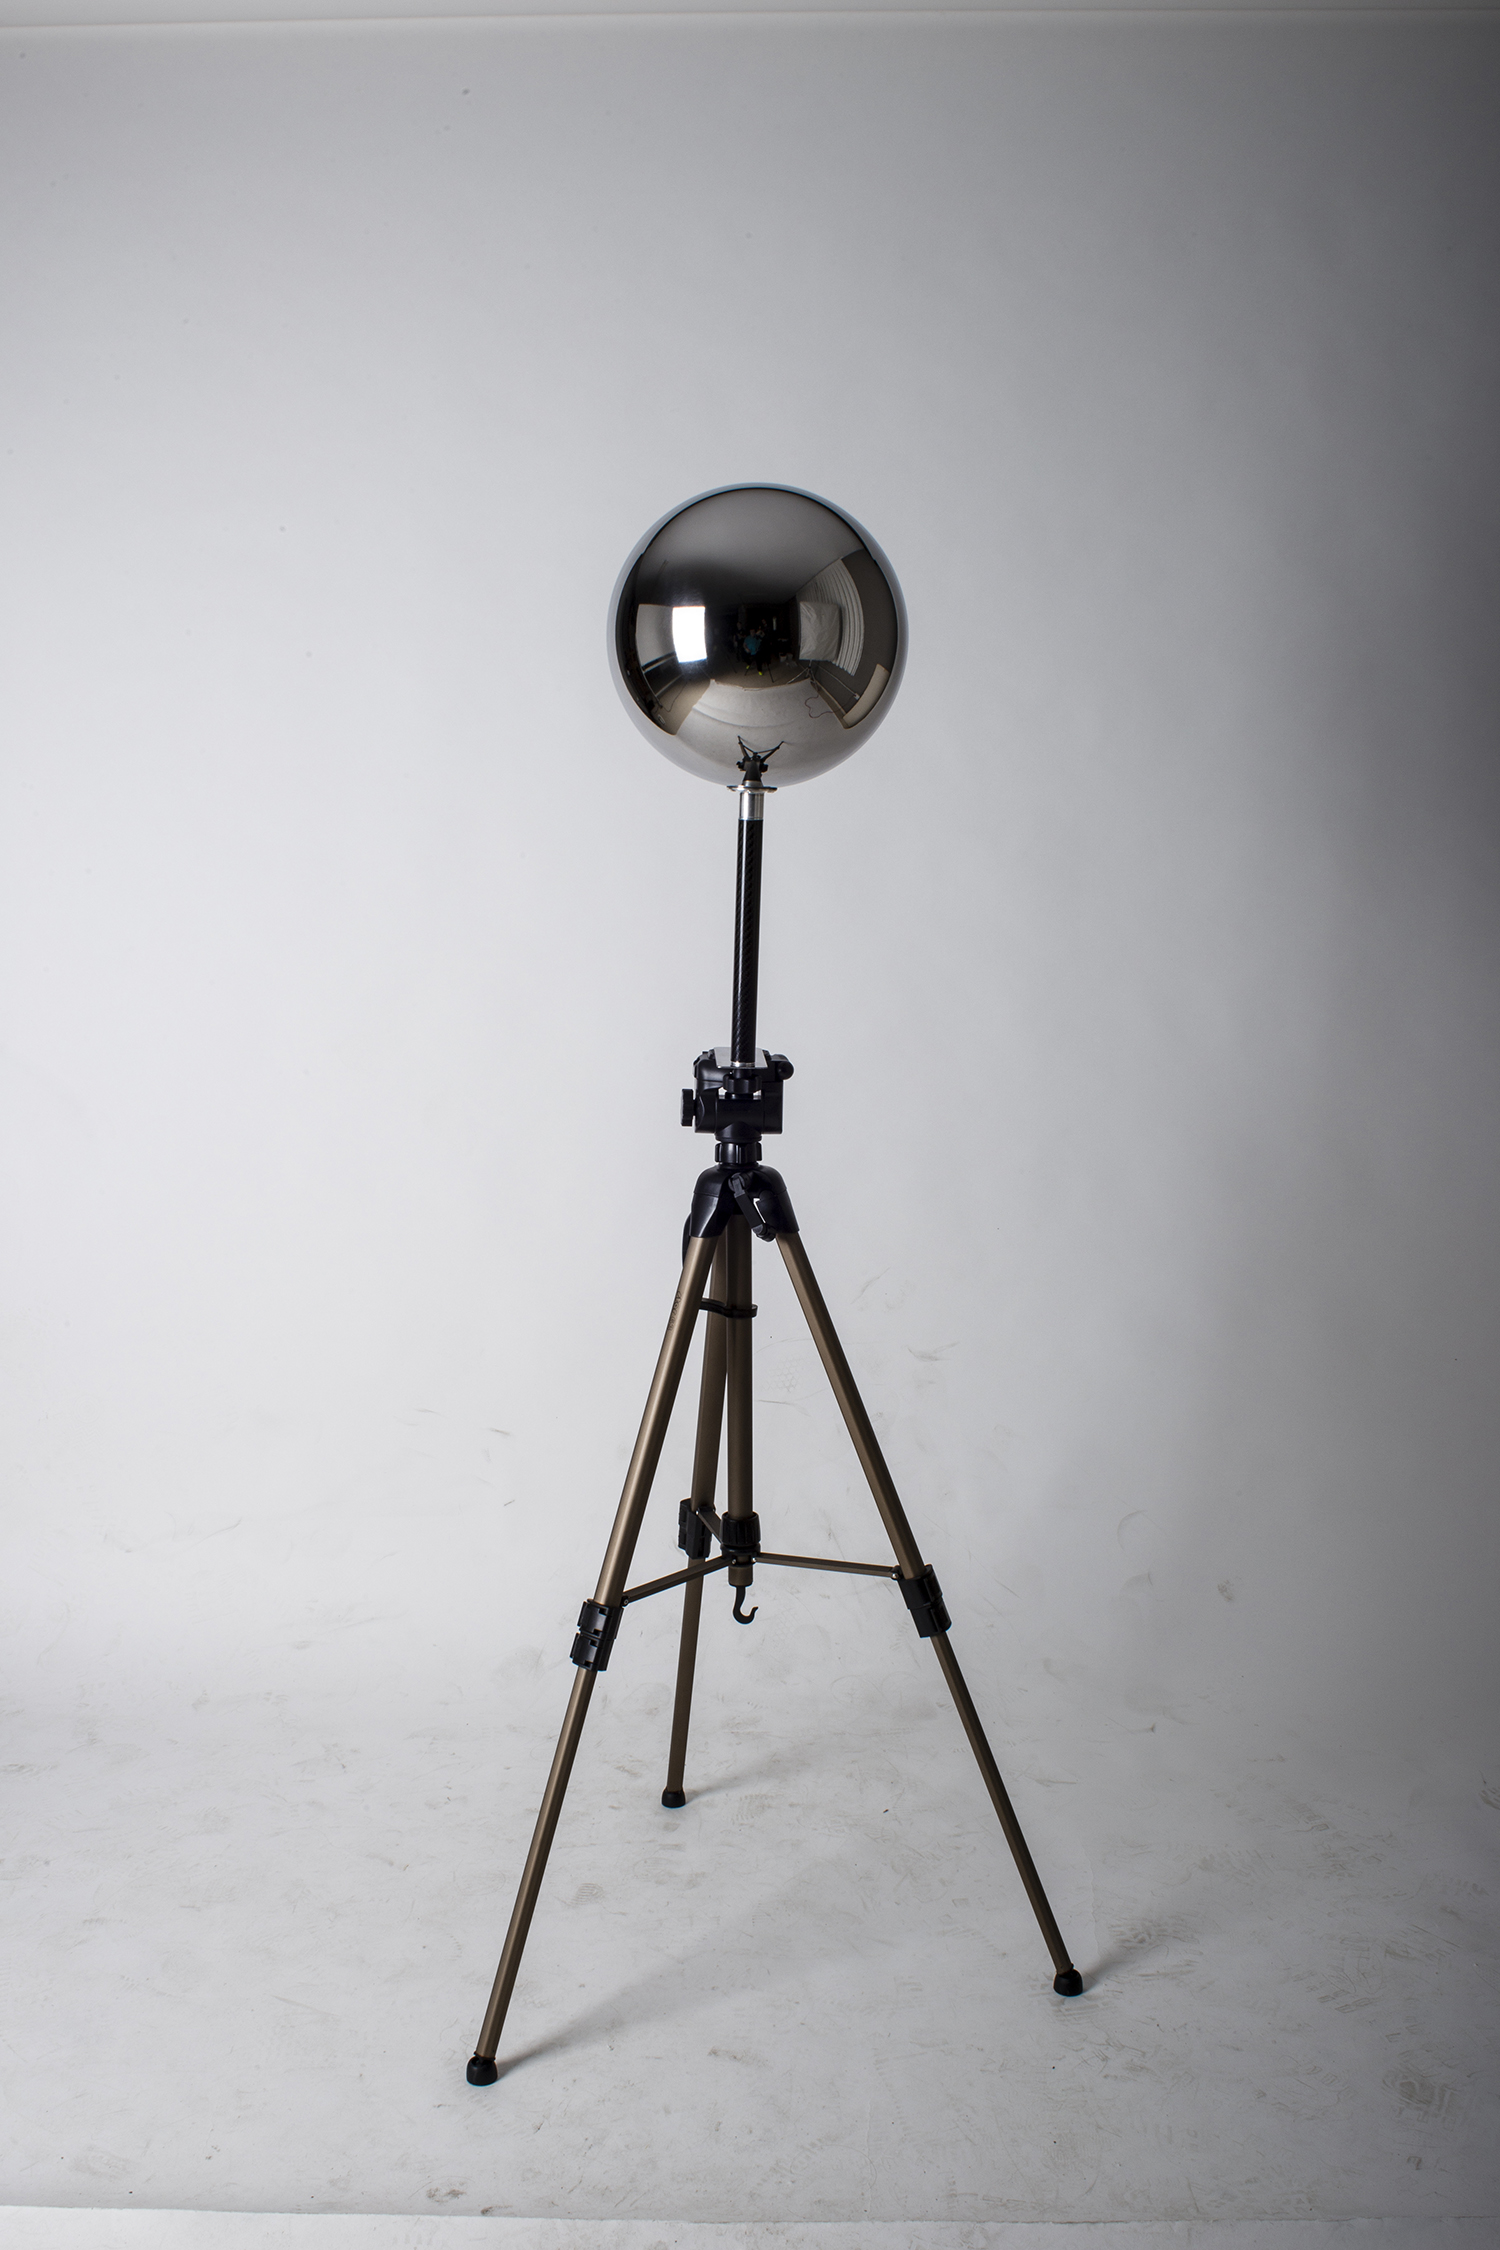
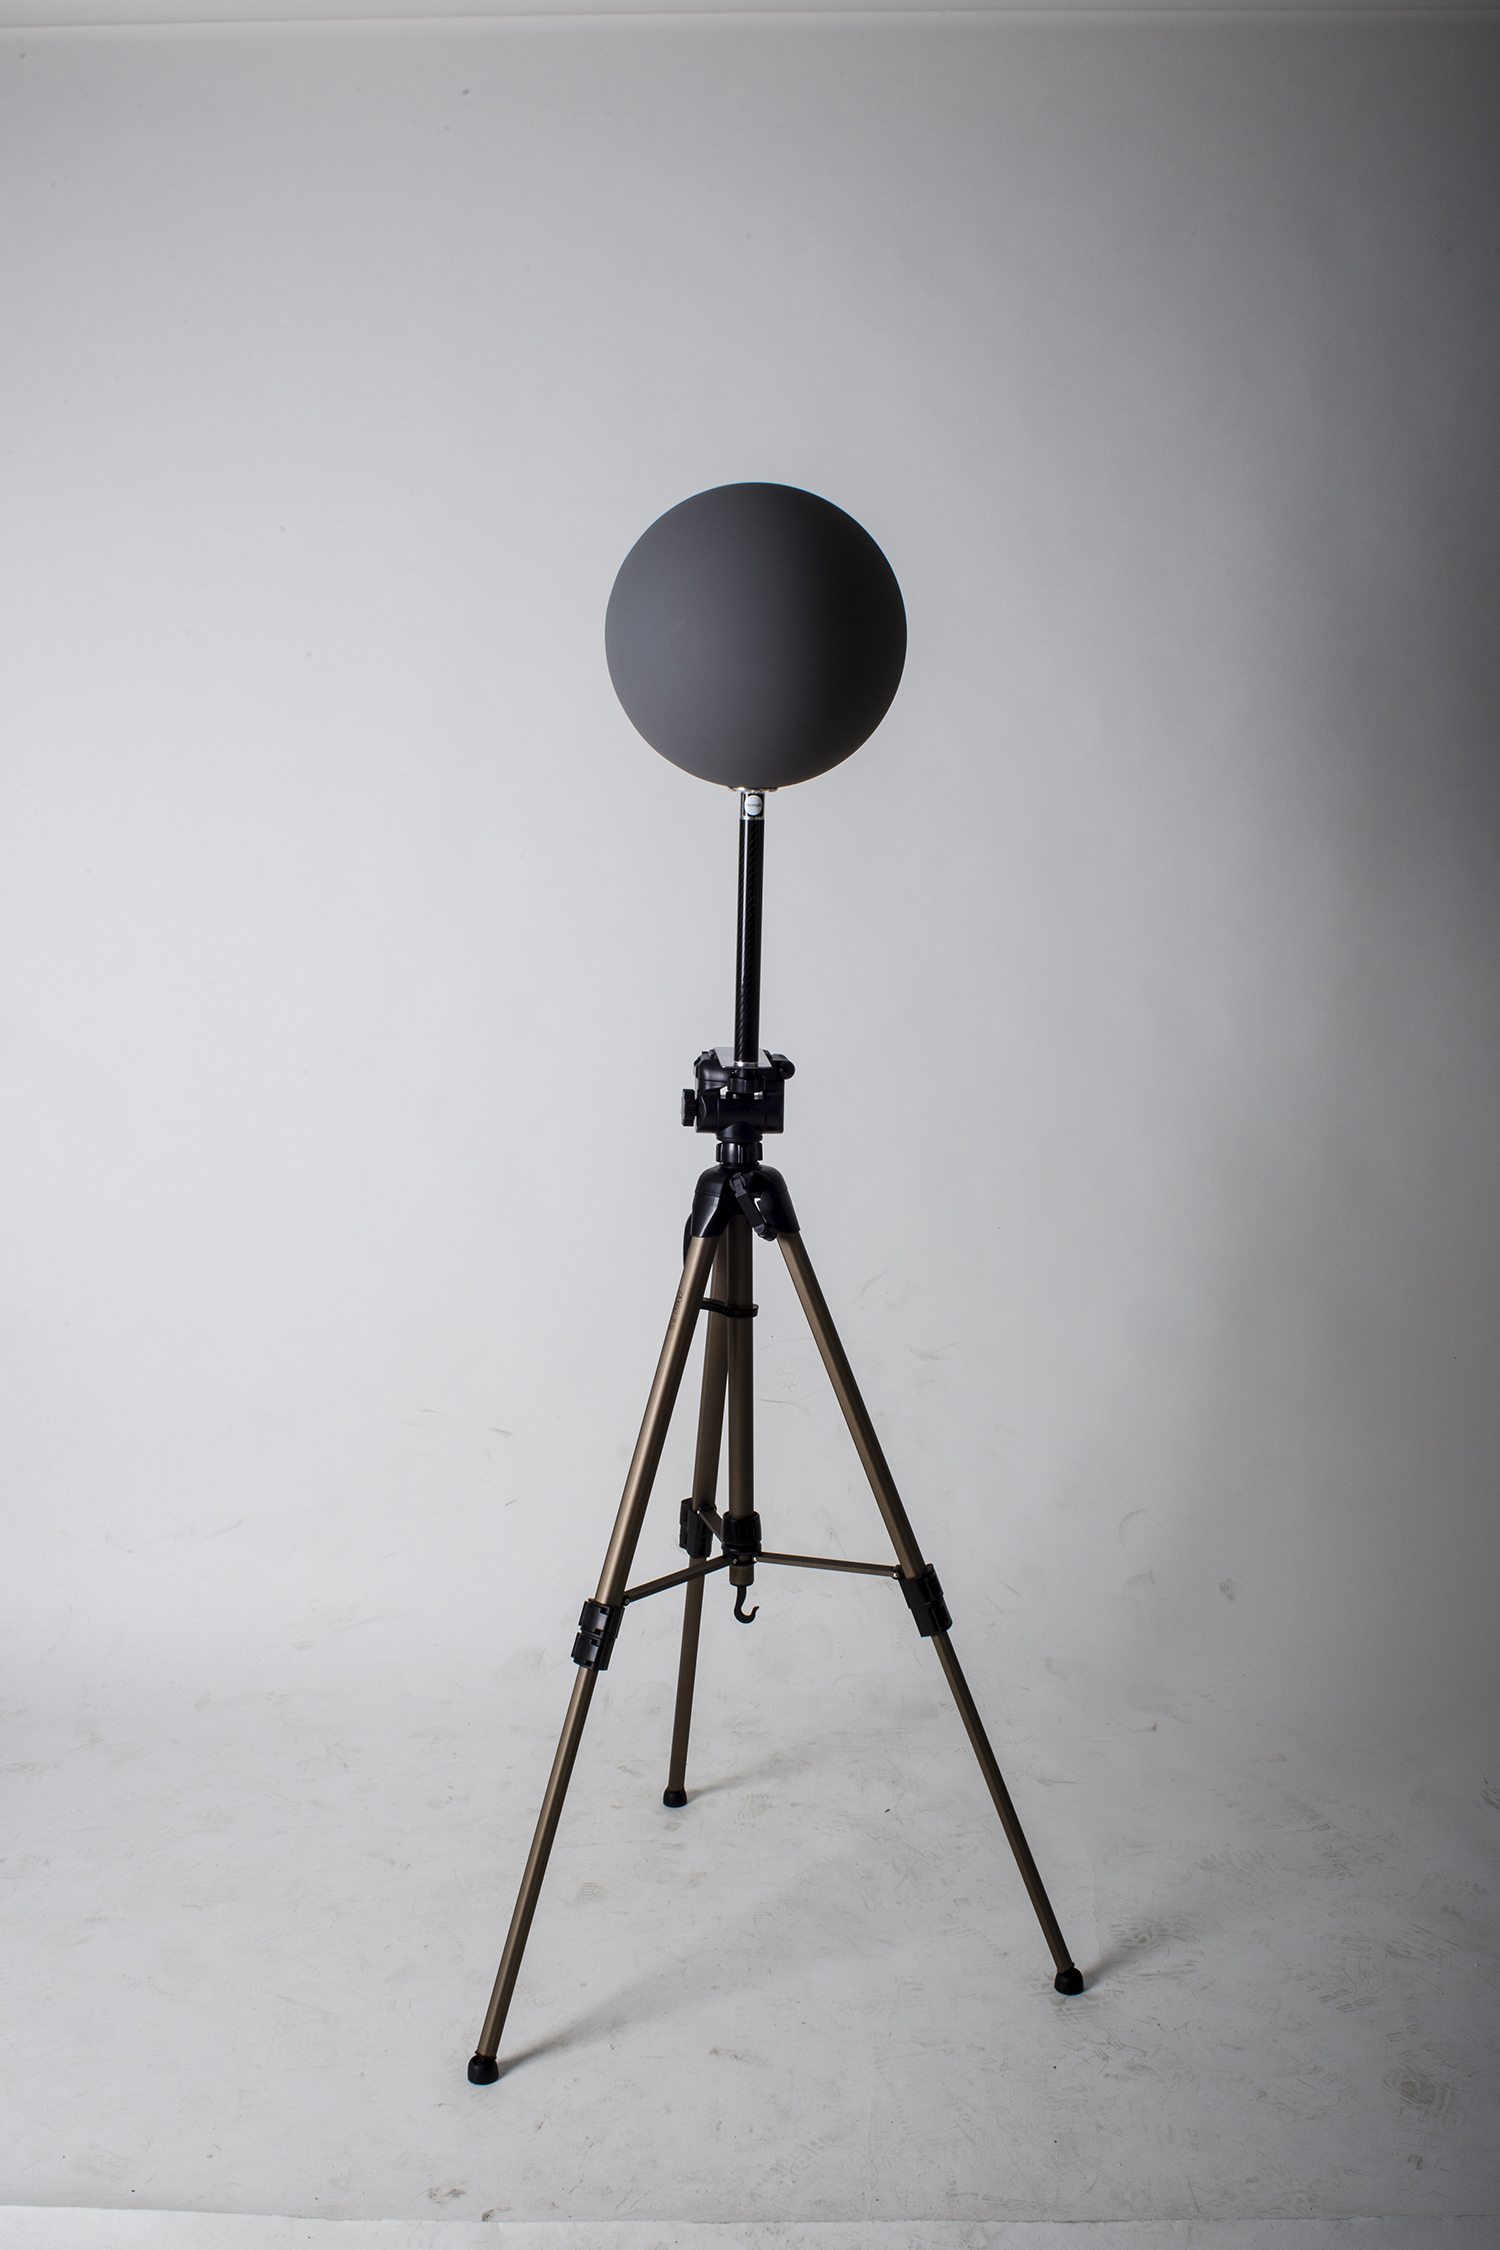
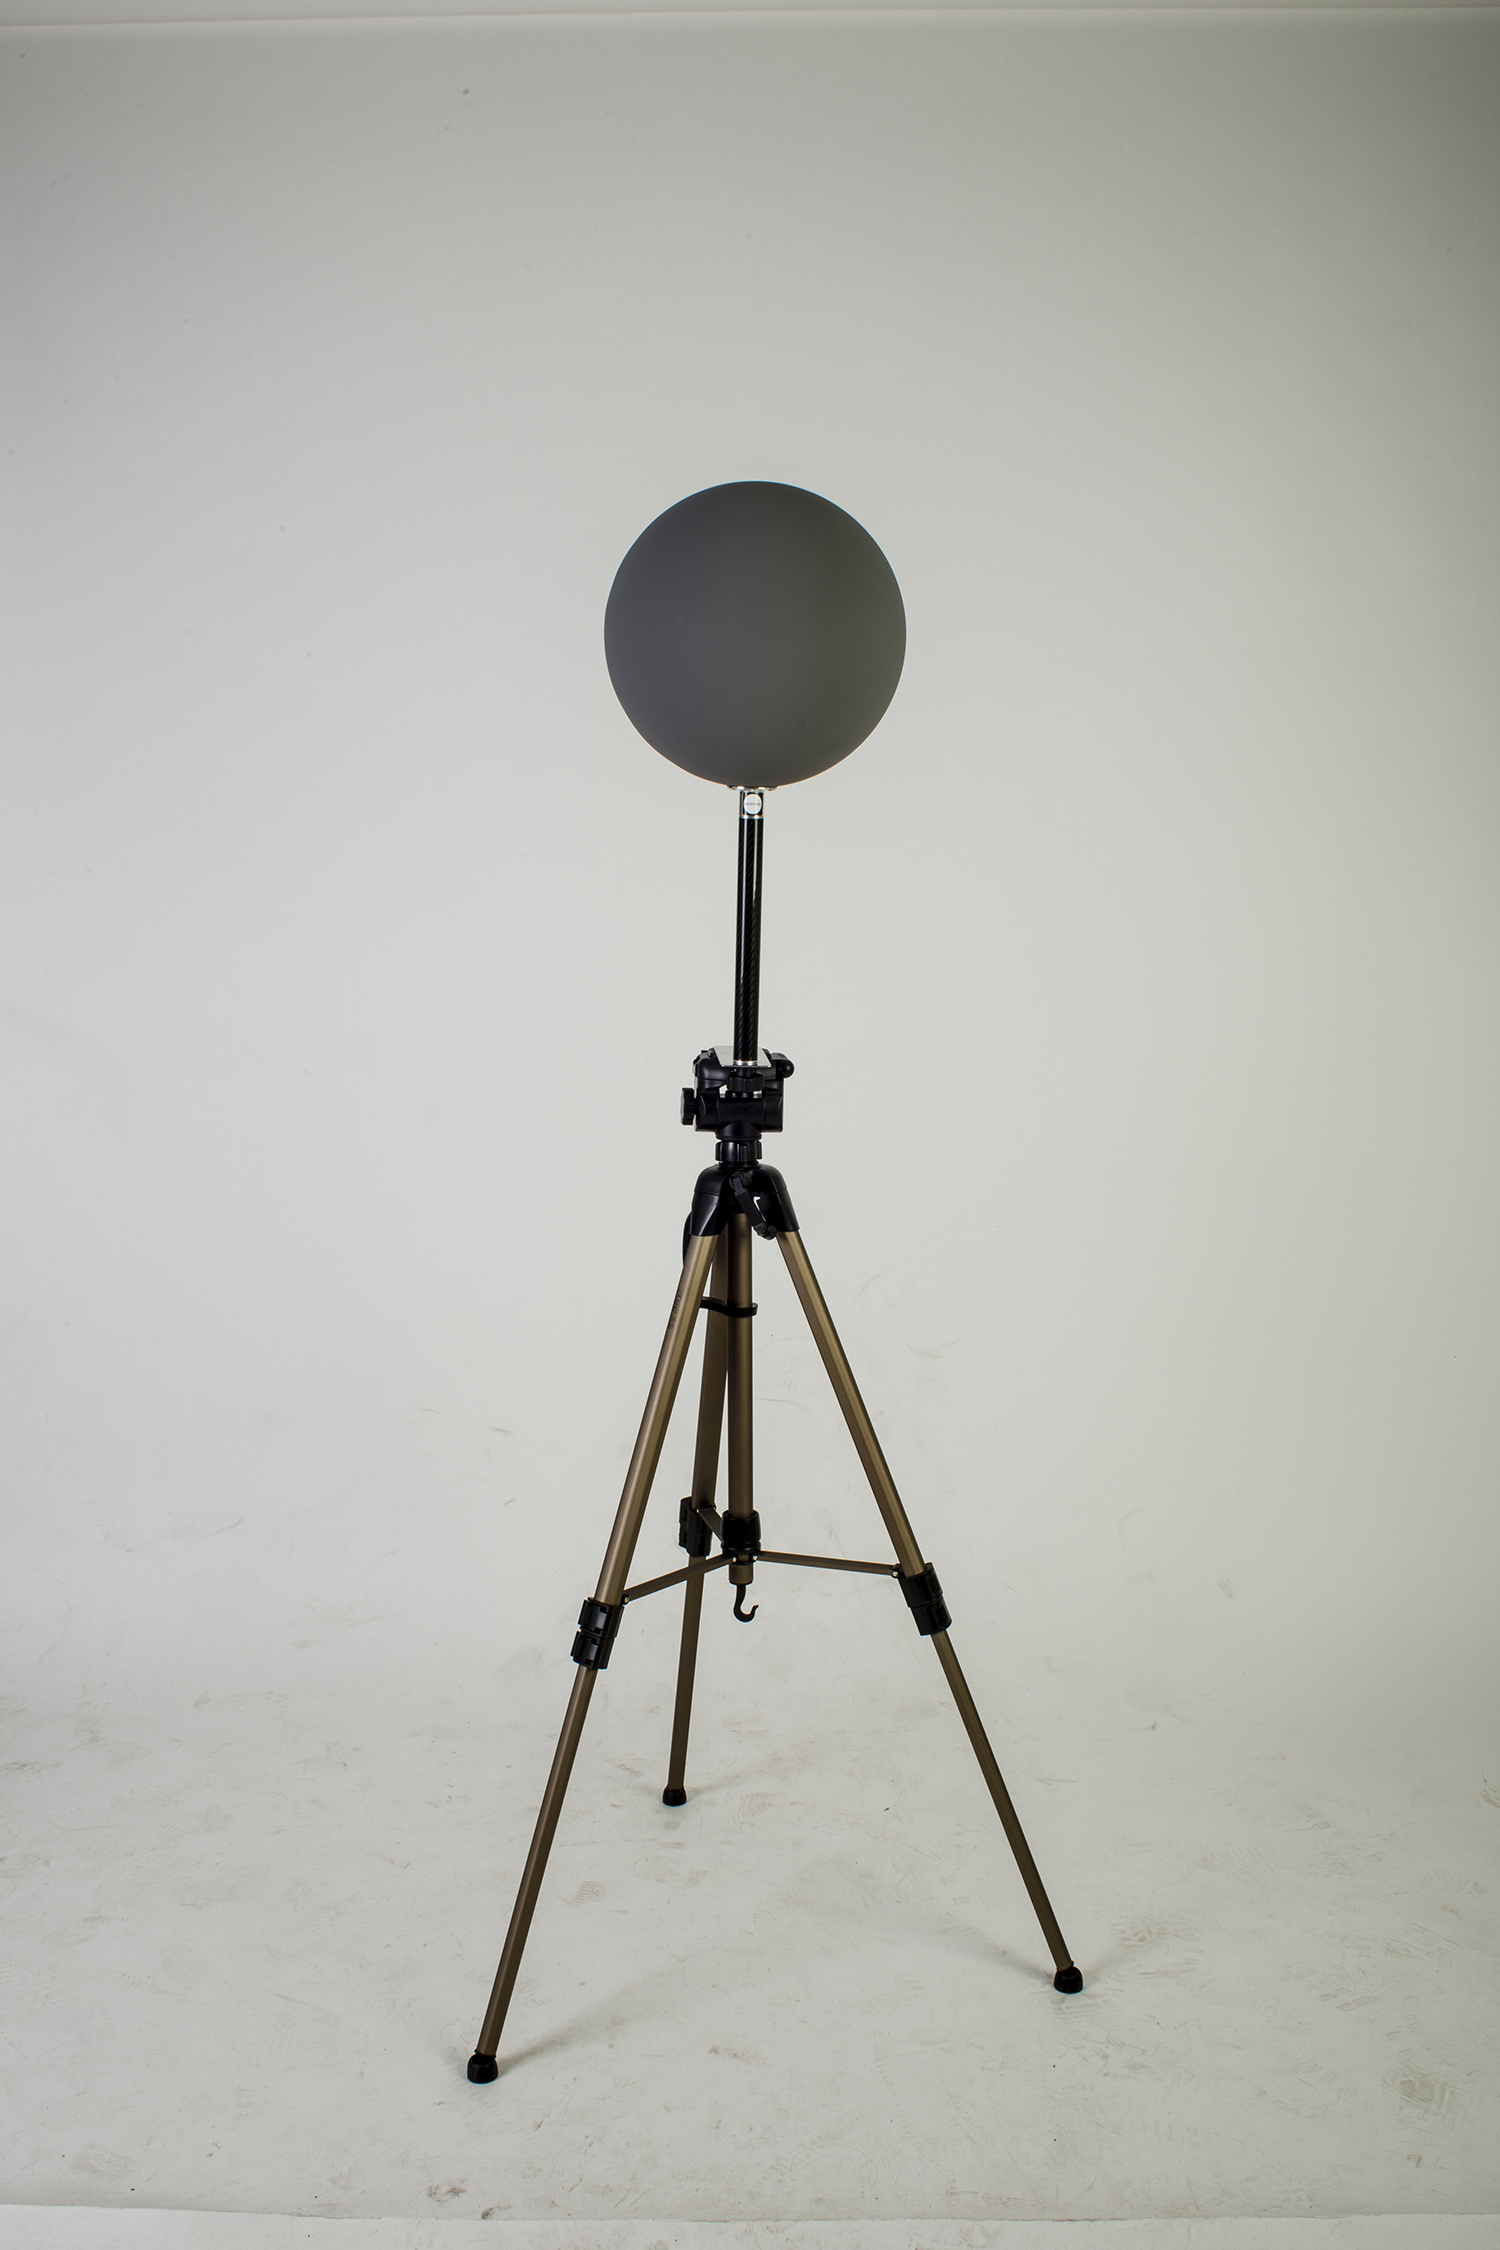
Grey and chrome spheres, extremely important for lighting calibration.
Macbeth chart is necessary for white balance correction.
Before shooting
- Try to carry only the indispensable equipment. Leave cables and other stuff in the van, don’t carry extra weight on set.
- Set-up the camera, clean lenses, format memory cards, etc, before start shooting. Extra camera adjustments would be required at the moment of the shooting, but try to establish exposure, white balance and other settings before the action. Know you lighting conditions.
- Have more than one CF memory card with you all the time ready to be used.
- Have a small cleaning kit with you all the time.
- Plan the shoot: Write a shooting diagram with your own checklist, with the strategies that you would need to cover the whole thing, knowing the lighting conditions, etc.
- Try to plant your tripod where the action happens or where your 3D asset will be placed.
- Try to reduce the cleaning area. Don’t put anything on your feet or around the tripod, you will have to hand paint it out later in Nuke.
- When shooting backplates for look-dev use a wide lens, something around 24mm to 28mm and cover always more space, not only where the action occurs.
- When shooting textures for scene reconstruction always use a Macbeth chart and at least 3 exposures.
Methodology
- Plant the tripod where the action happens, stabilise it and level it
- Set manual focus
- Set white balance
- Set ISO
- Set raw+jpg
- Set apperture
- Metering exposure
- Set neutral exposure
- Read histogram and adjust neutral exposure if necessary
- Shot slate (operator name, location, date, time, project code name, etc)
- Set auto bracketing
- Shot 5 to 7 exposures with 3 stops difference covering the whole environment
- Place the aromatic kit where the tripod was placed, and take 3 exposures. Keep half of the grey sphere hit by the sun and half in shade.
- Place the Macbeth chart 1m away from tripod on the floor and take 3 exposures
- Take backplates and ground/floor texture references
- Shoot reference materials
- Write down measurements of the scene, specially if you are shooting interiors.
- If shooting artificial lights take HDR samples of each individual lighting source.
Final HDRI equirectangular panorama.
Exposures starting point
- Day light sun visible ISO 100 F22
- Day light sun hidden ISO 100 F16
- Cloudy ISO 320 F16
- Sunrise/Sunset ISO 100 F11
- Interior well lit ISO 320 F16
- Interior ambient bright ISO 320 F10
- Interior bad light ISO 640 F10
- Interior ambient dark ISO 640 F8
- Low light situation ISO 640 F5
That should be it for now, happy shooting :)
akromatic Digital Lighting Checkers for arnold /
Every single facility or 3D artist around the globe have their own way to work with our Lighting Checkers, based on the render engine they use, shaders, pipeline in general. But just to make your life a bit easier, akromatic wants to provide you with a digital version of our Lighting Checkers to quickly match our physical version.
In this case we are offering you digital akromatic Lighting Checkers for arnold render.
We'll be posting other render engines soon.
Download here.
New akromatic lighting checkers /
News from akromatic.
"Based on the feedback and requirements of some VFX Facilities, we decided to release a new flavour of our calibrated paint.
Some Look-Development Artists prefer to use grey balls with higher specular components and other Artists are more comfortable using less shiny spheres.
It is matter of personal preference, so let us know which one is your flavour.
Original spheres: Gloss average around 30%
New spheres: Gloss average around 18%
Both of them are calibrated as Neutral Greys and hand painted."
New grey sphere, half hit by the sun, half in shade.
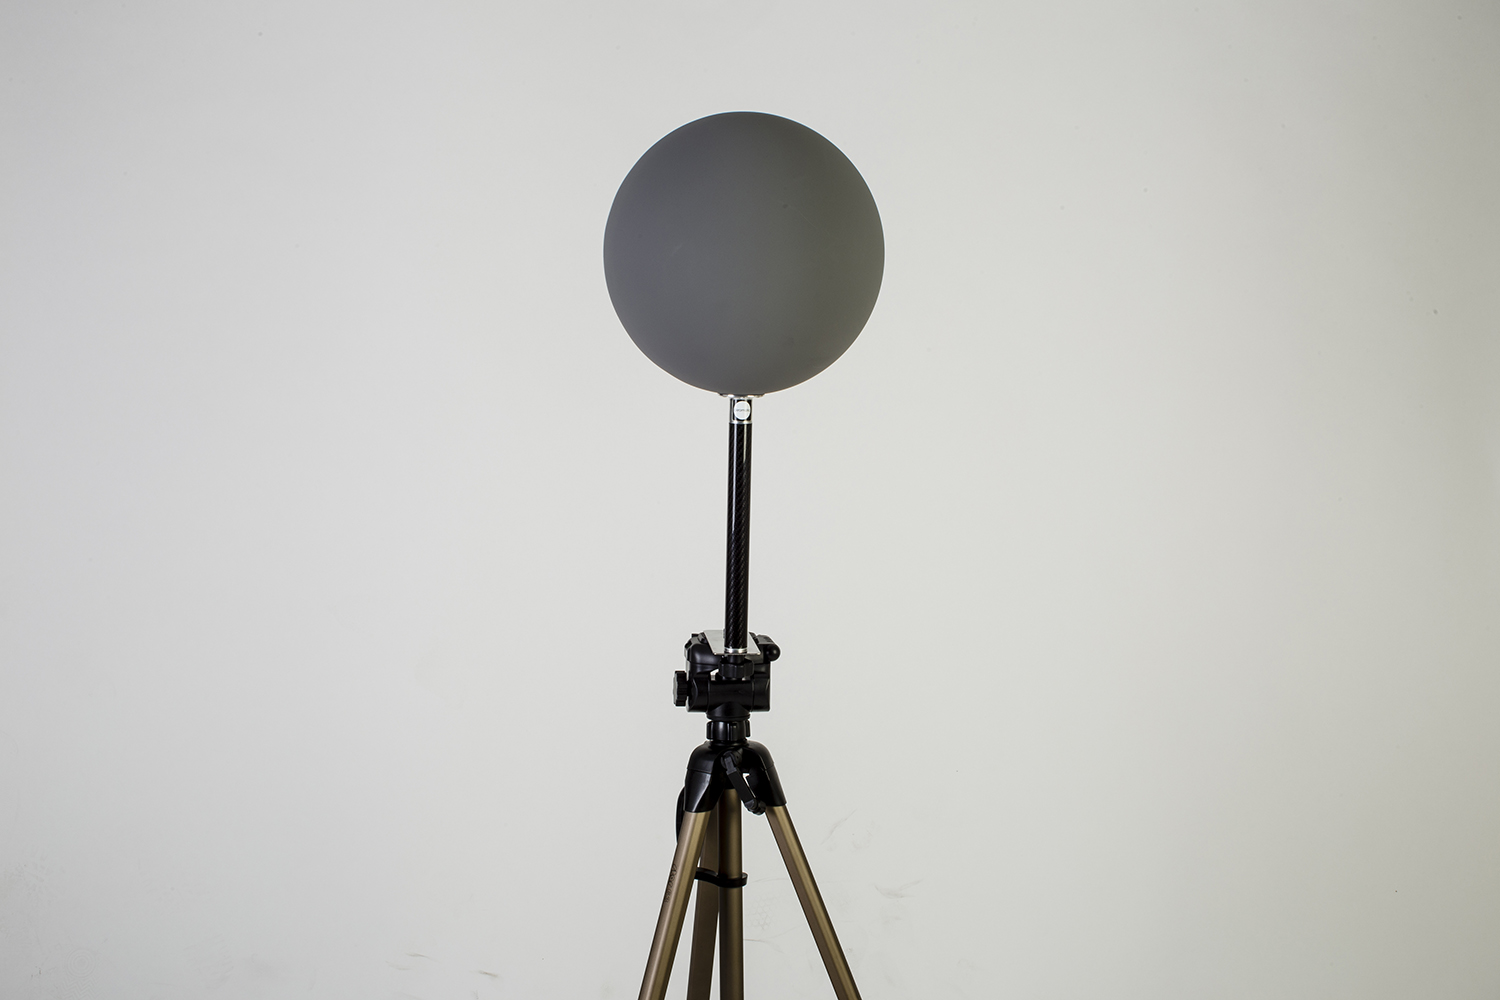
New grey flavour, close up. Soft lighting transition.
The mirror side remains the same. Carefully polished by hand.
Mirror side, close up.
All the information here.
HDRI: Drawing Room /
We have a new high resolution HDRI panorama for VFX at akromatic.com
Check it out here.