Hello,
I just finished recording about 3 hours of content going through a couple of my Nuke IBL templates. The first one is all about cleaning up and artifacts removal. You know, how to get rid of chunky tripods, removing people from set and what not. I will explain to you a couple of ways of dealing with these issues, both in 2D and in 3D using the powerful Nuke's 3D system.
In the second template, I will guide you through the neutralization process, that includes both linearization and white balance. Some people knows this process as technical grading. A very important step that usually lighting supervisors or sequence supervisor deal with before starting to light any VFX shot.
Footage, scripts and other material will be available to you if you are supporting one of the tiers with downloadable material.
Thanks again for your support! and if you like my Patreon feed, please help me to spread the word, I would love to get at least 50 patrons, we are not that far away!
All the info on my Patreon feed.
IBL
IBL pack 0001 /
IBL pack 0001 is available for purchase.
30 different lighting situations ready to use in Maya 2017 and Arnold.
Just import your 3D assets and start look-deving and lighting.
Detailed information here.
London Bridge Underground IBL /
I shot a new high resolution HDRI panorama for akromatic.com
It is completely free and it comes with clean plates, lighting and color references and calibrated IBL light-rigs for arnold and v-ray.
Check it out here.
IBL and sampling in Clarisse /
Using IBLs with huge ranges for natural light (sun) is just great. They give you a very consistent lighting conditions and the behaviour of the shadows is fantastic.
But sampling those massive values can be a bit tricky sometimes. Your render will have a lot of noise and artifacts, and you will have to deal with tricks like creating cropped versions of the HDRIs or clampling values out of Nuke.
Fortunately in Clarisse we can deal with this issue quite easily.
Shading, lighting and anti-aliasing are completely independent in Clarisse. You can tweak on of them without affecting the other ones saving a lot of rendering time. In many renderers shading sampling is multiplied by anti-aliasing sampling which force the users to tweak all the shaders in order to have decent render times.
- We are going to start with this noisy scene.
- The first thing you should do is changing the Interpolation Mode to
MipMapping in the Map File of your HDRI.
- Then we need to tweak the shading sampling.
- Go to raytracer and activate previz mode. This will remove lighting
information from the scene. All the noise here comes from the shaders.
- In this case we get a lot of noise from the sphere. Just go to the sphere's material and increase the reflection quality under sampling.
- I increased the reflection quality to 10 and can't see any noise in the scene any more.
- Select again the raytracer and deactivate the previz mode. All the noise here is coming now from lighting.
- Go to the gi monte carlo and disable affect diffuse. Doing this gi won't affect lighting. We have now only direct lighting here. If you see some noise just increase the sampling of our direct lights.
- Go to the gi monte carlo and re-enable affect diffuse. Increase the quality until the noise disappears.
- The render is noise free now but it still looks a bit low res, this is because of the anti-aliasing. Go to raytracer and increase the samples. Now the render looks just perfect.
- Finally there is a global sampling setting that usually you won't have to play with. But just for your information, the shading oversampling set to 100% will multiply the shading rays by the anti-aliasing samples, like most of the render engines out there. This will help to refine the render but rendering times will increase quite a bit.
- Now if you want to have quick and dirt results for look-dev or lighting just play with the image quality. You will not get pristine renders but they will be good enough for establishing looks.
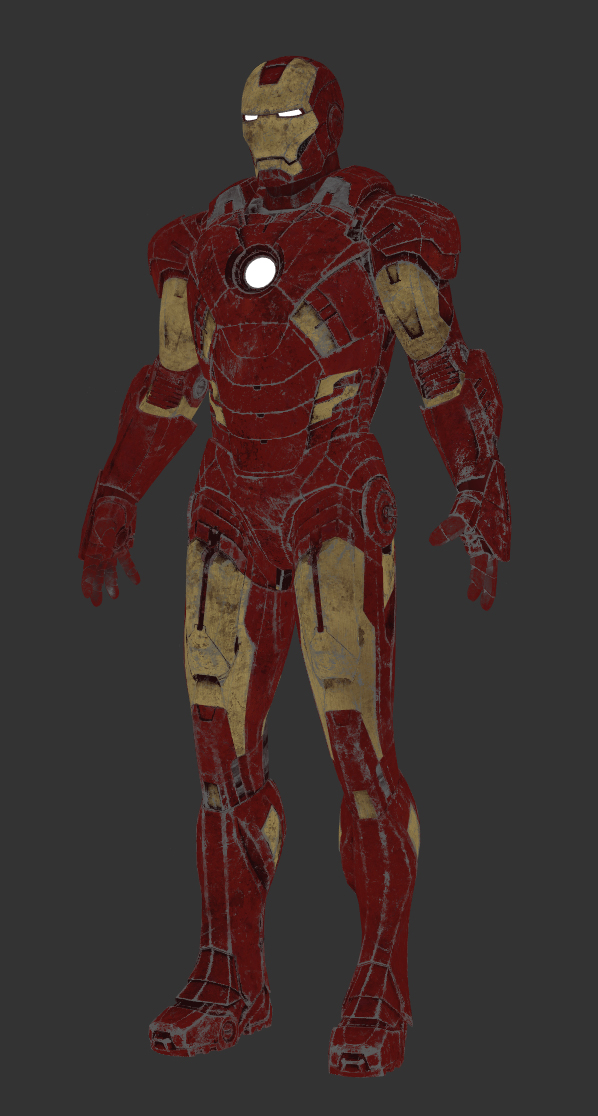
Iron Man Mark 7 /
Speed texturing & look-deving session for this fella.
It will be used for testing my IBLs and light-rigs.
Renders with different lighting conditions and backplates on their way.
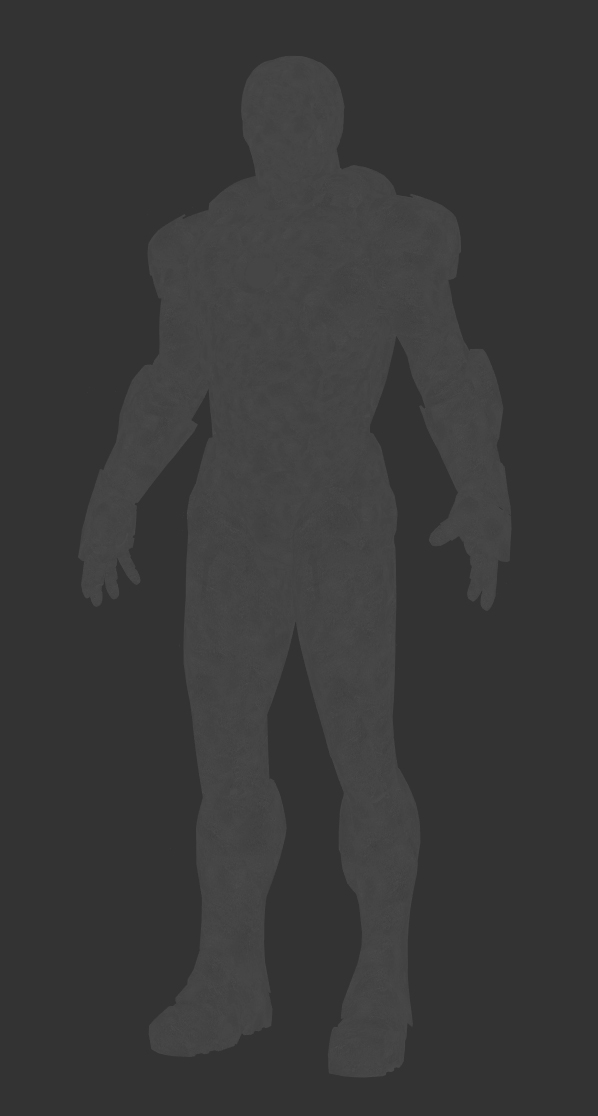
These are the texture channels that I painted for this suit. Tried to keep everything simple. Only 6 texture channels, 3 shaders and 10 UDIMs.
Color
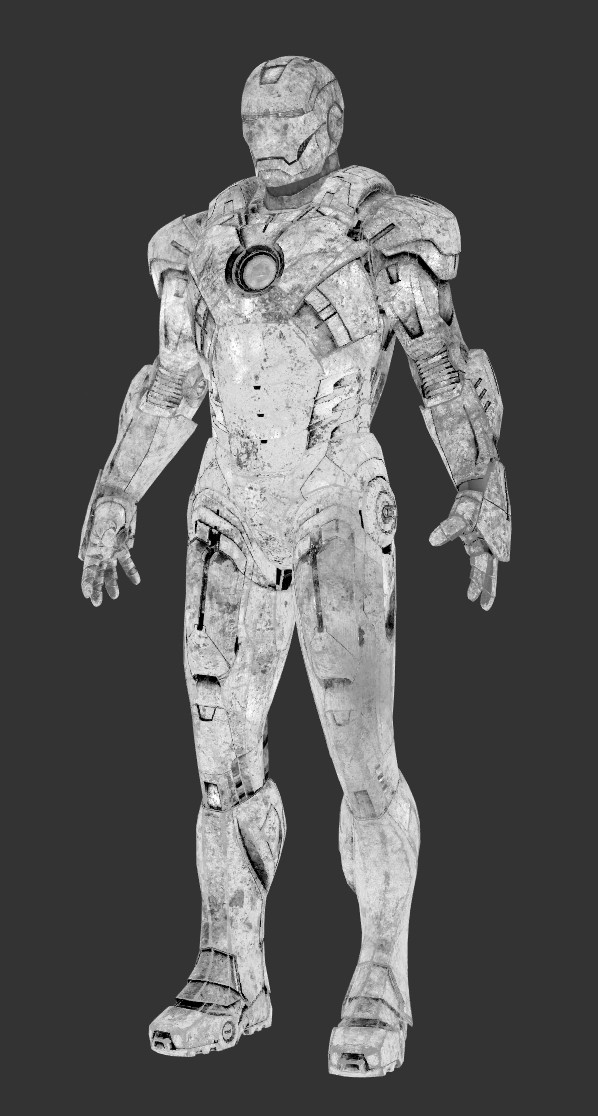
Specular
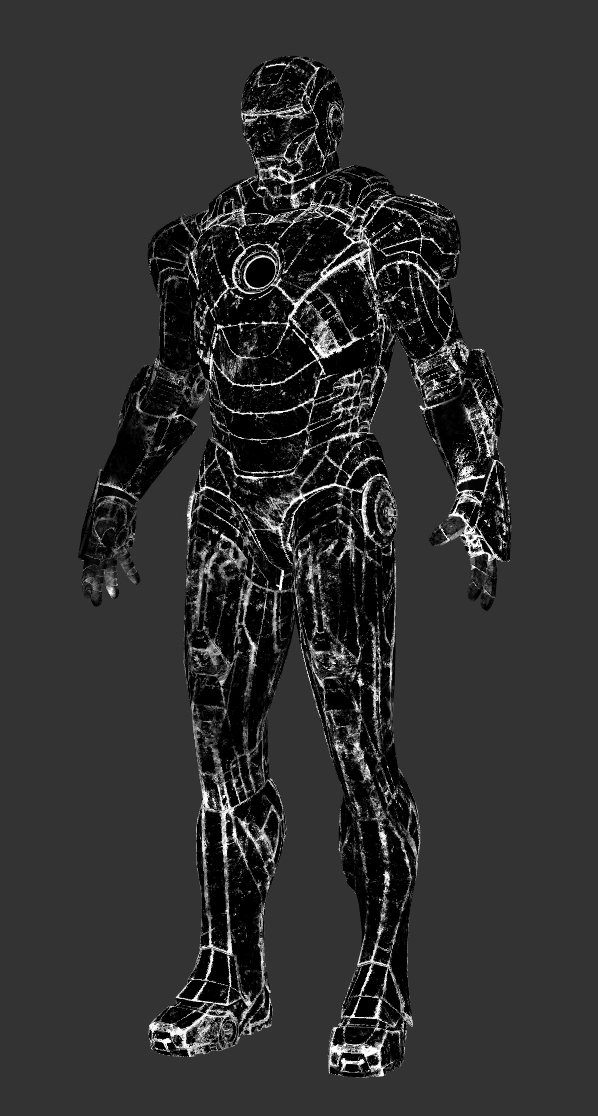
Mask 1
Color 2

Roughness

Fine displacement
Turnham Green Park HDRI /
I just published another high resolution HDRI panorama for VFX.
This set includes all the original brackets, HDRI panoramas, lighting and color references for look-development and 3D lighting and an IBL setup ready to use.
Check akromatic's site for information and downloads.
Image Based Lighting in Clarisse /
I've been using Isotropix Clarisse in production for a little while now. Recently the VFX Facility where I work announced the usage of Clarisse as primary Look-Dev and Lighting tool, so I decided to start talking about this powerful raytracer on my blog.
Today I'm writing about how to set-up Image Based Lighting.
- We can start by creating a new context called ibl. We will put all the elements needed for ibl inside this context.
- Now we need to create a sphere to use as "world" for the scene.
- This sphere will be the support for the equirectangular HDRI texture.
- I just increased the radius a lot. Keep in mind that this sphere will be covering all your assets inside of it.
- In the image view tab we can see the render in real time.
- Right now the sphere is lit by the default directional light.
- Delete that light.
- Create a new matte material. This material won't be affected by lighting.
- Assign it to the sphere.
- Once assigned the sphere will look black.
- Create an image to load the HDRI texture.
- Connect the texture to the color input of the matte shader.
- Select the desired HDRI map in the texture path.
- Change the projection type to "parametric".
- HDRI textures are usually 32bit linear images. So you need to indicate this in the texture properties.
- I created two spheres to check the lighting. Just press "f" to fit them in the viewport.
- I also created two standard materials, one for each sphere. I'm creating lighting checkers here.
- And a plane, just to check the shadows.
- If I go back to the image view, I can see that the HDRI is already affecting the spheres.
- Right now, only the secondary rays are being affected, like the reflection.
- In order to create proper lighting, we need to use a light called "gi_monte_carlo".
- Right now the noise in the scene is insane. This is because all the crazy detail in the HDRI map.
- First thing to reduce noise would be to change the interpolation of the texture to Mipmapping.
- To have a noise free image we will have to increase the sampling quality of the "gi_monte_carlo" light.
- Noise reduction can be also managed with the anti aliasing sampling of the raytracer.
- The most common approach is to combine raytracer sampling, lighting sampling and shading sampling.
- Around 8 raytracing samples and something around 12 lighting samples are common settings in production.
- There is another method to do IBL in Clarisse without the cost of GI.
- Delete the "gi_monte_carlo" light.
- Create an "ambient_occlusion" light.
- Connect the HDRI texture to the color input.
- In the render only the secondary rays are affected.
- Select the environment sphere and deactivate the "cast shadows" option.
- Now everything works fine.
- To clean the noise increase the sampling of the "ambient_occlusion" light.
- This is a cheaper IBL method.
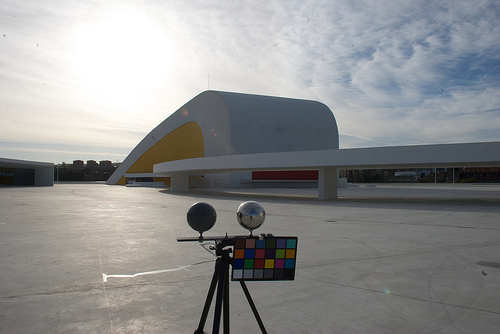
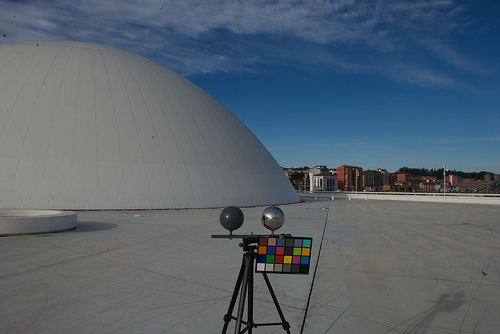
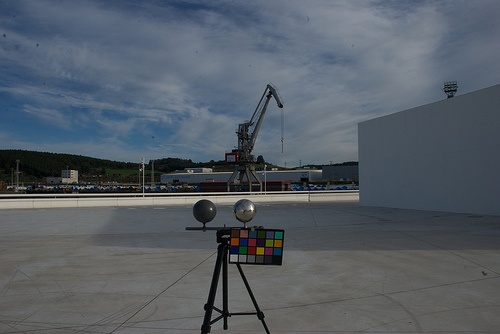
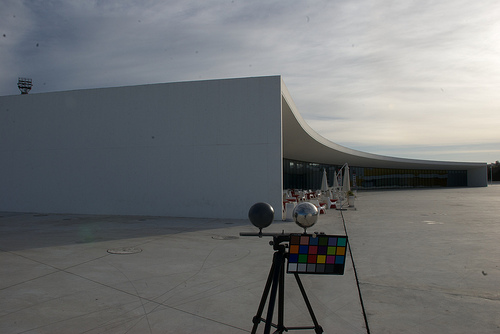
Niemeyer Building Panorama /
Another panorama for 3D lighting shot in Oscar Niemeyer’s building in Aviles, in the north of Spain.


Love Vray's IBL /
When you work for a big VFX or animation studio you usually light your shots with different complex light rigs, often developed by highly talented people.
But when you are working at home or for small studios or doing freelance tasks or whatever else.. you need to simplify your techniques and tray to reach the best quality as you can.
For those reasons, I have to say that I’m switching from Mental Ray to V-Ray.
One of the features that I most love about V-Ray is the awesome dome light to create image based lighting setups.
Let me tell you a couple of thing which make that dome light so great.
- First of all, the technical setup is incredible simple. Just a few clicks, activate linear workflow, correct the gamma of your textures and choose a nice hdri image.
- Is kind of quick and simple to reduce the noise generated by the hdri image. Increasing the maximum subdivisions and decreasing the threshold should be enough. Something between 25 to 50 or 100 as max. subdivision should work on common situations. And something like 0.005 is a good value for the threshold.
- The render time is so fast using raytracing stuff.
- Even using global illumination the render times are more than good.
- Displacement, motion blur and that kind of heavy stuff is also welcome.
- Another thing that I love about the dome light using hdri images is the great quality of the shadows. Usually you don’t need to add direct lights to the scene. If the hdri is good enough you can match the footage really fast and accurately enough.
- The dome light has some parameters to control de orientation of your hdri image and is quite simple to have a nice preview in the Maya’s viewport.
- In all the renders that you can see here, you probably realized that I’m using an hdri image with “a lot” of different lighting points, around 12 different lights on the picture. In this example I put a black color on the background and I changed all the lights by white spots. It is a good test to make a better idea of how the dome light treats the direct lighting. And it is great.
- The natural light is soft and nice.
- These are some of the key point because I love the VRay’s dome light :)
- On the other hand, I don’t like doing look-dev with the dome light. Is really really slow, I can’t recommend this light for that kind of tasks.
- The trick is to turn off your dome light, and create a traditional IBL setup using a sphere and direct lights, or pluging your hdri image to the VRay’s environment and turn on the global illumination.
- Work there on your shaders and then move on to the dome light again.