Nice little article by fxguide about Iron Man 3 where you can see some of my work at Trixter Munich.
Enjoy.
Nice little article by fxguide about Iron Man 3 where you can see some of my work at Trixter Munich.
Enjoy.
Lets say that importing masks in to Mari 2 created in other software, is something very common and all the texture artist out there do every single day.
I’m talking about painted masks in Photoshop or Nuke, or baked masks in Maya, Softimage or just cavities, occlusions and other important maps generated in Zbrush or Mudbox.
Using all these programs and more is something pretty normal in any VFX boutique nowdays.
When I started working with the first alpha version of Mari 2 I found a bit tricky the way to import maps generated in others software packages in to Mari as layer masks.
The way to paint layer masks in Mari seems to be pretty straightforward but as I said if you want to import a texture as layer mask you need to follow some steps.
I’m pretty sure that if you are a new Mari 2 user you can’t find how to do this before spend some time struggling your mind to figure out how to do this simple thing.
I spent probably more than 30 minutes to find this out and just realize that a lot of texture artist are having the same problems to find a way to do it.
So, follow these steps to import layer masks in to Mari and save your precious time :)
And of course, if you have another fastest way to do it, I’ll be glad to hear it.
I’ve been working quite hard on this over the last few months at MPC London.
The new trailer for The Lone Ranger has been released today, and it looks superb!
I worked on this project for quite a while at MPC.
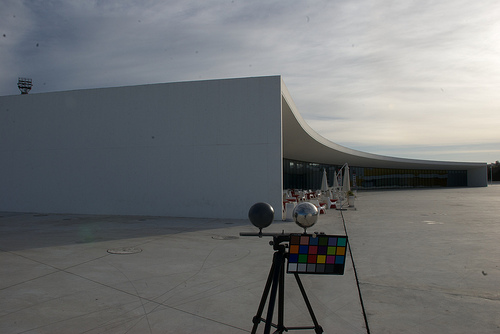
I built this rotating base for shooting references for modeling and texturing purposes.
Seems to work pretty good with a wide range of sizes from small objects to people around 1.85 cm and 80 kg.
It has two diferent positions, for 8 shots (45 degrees) and 16 shots (22,5 degrees).
MPC has published the VFX breakdown for Tim Burton’s Dark Shadows. You can see some of my texturing work on that project.
Enjoy.
Check my latest high res panorama for 3D lighting, this time shoot in the Louvre museum in Paris, France.
Please contact me if you need color, lighting and reflection references for this one.
Cheers.
Did you watch the new World War Z trailer?
I worked on this movie while ago at MPC London.
Just run :)
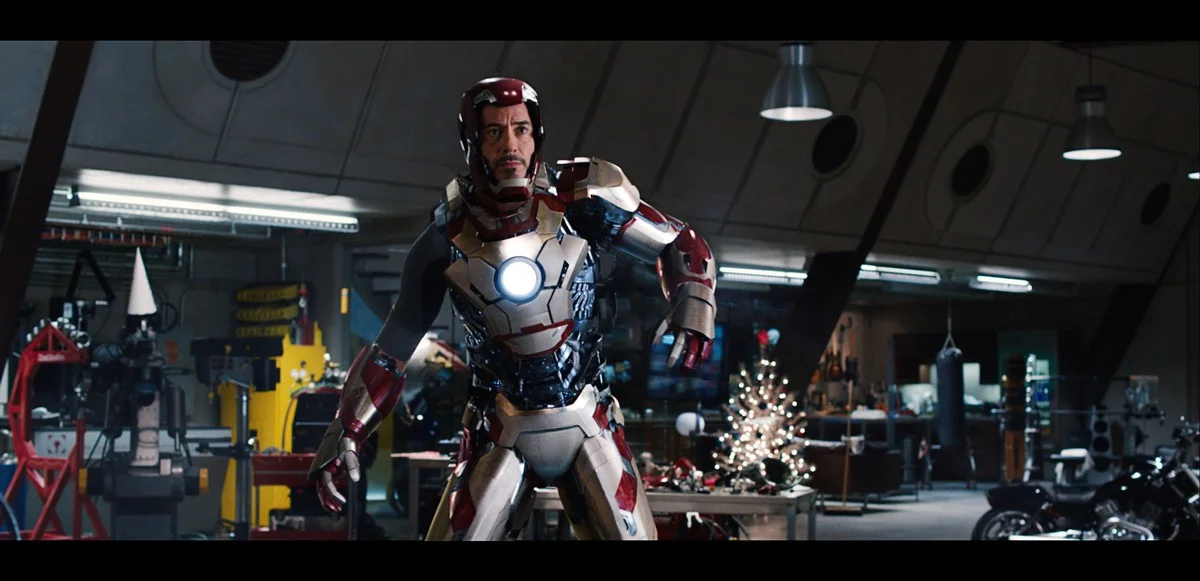
The new spectacular Iron Man 3 trailer is out.
I was helping out the texturing and look-dev teams at Trixter while ago.
Hope you like it.
Just a quick video tutorial where I talk about my process to normalize textures in Softimage. Spanish audio.
Do you like to see my tutorials in English? Send me a line.
Cheers.
It is always a bit tricky to set up Zbrush displacements in the different render engines.
If you recently moved from Mental Ray or another engine to V-Ray for Maya, maybe you should know a few things about displacement maps extracted from Zbrush.
I wrote down here a simple example of my workflow dealing with that kind of maps and V-Ray.
Just testing Vray’s SSS shader for realistic skin look-dev purposes.
I ended with the theory that would be quite simple to set-up a nice, realistic and cheap SSS shader for human and creature assets. I love the raytraced solid scatter, but with complex models I can’t get rid of some of the artifacts in the SSS channel.
I will post more quite soon.
New Iron Man 3 material including an awesome official poster and the new teaser trailer for the Super Bowl.
“Since the beginning, screenplays have been written in Courier. Its uniformity allows filmmakers to make handy comparisons and estimates, such as 1 page = 1 minute of screen time.
But there’s no reason Courier has to look terrible. We set out to make the best damn Courier ever.
We call it Courier Prime.”
Another panorama for 3D lighting which I shot in Portland Mews, Soho, in London.
As usual I shot also clean plates and colour checkers.
Inspiring interview to one of the most respectable title designer of our times.
Isle of Skye 0001
Isle of Skye 0007
Isle of Skye 0004
You can download the high resolution .exr plus clean plates here:
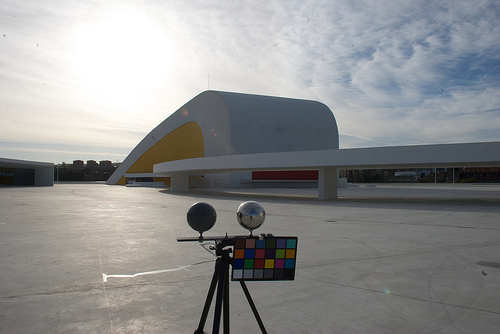
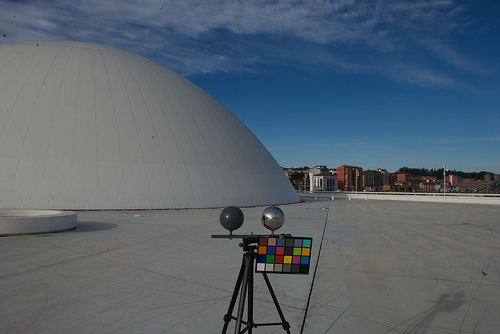
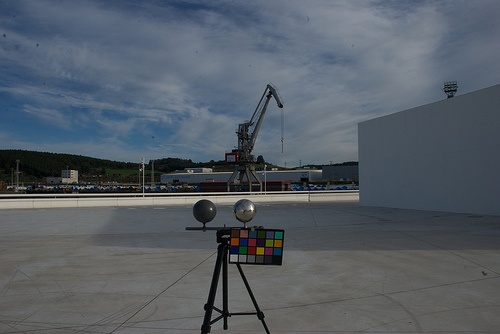
Another panorama for 3D lighting shot in Oscar Niemeyer’s building in Aviles, in the north of Spain.