Introduction to Redshift for VFX - episode 03 by Xuan Prada

Episode 03 of Introduction to Redshift for VFX, is already available on my Patreon feedhttps://www.patreon.com/elephantvfx.
It is all about surfacing shading and the video is something around 4.5 hours.

These are the topics of this episode.

  • Camera mapping

  • Redshift uber shader

  • Sub surface scattering solutions

  • Texture management

  • UDIM workflow

  • Look-dev workflow

  • Surface shading

  • Look-dev tools

  • Normal maps, bumps and displacements

  • Zbrush and Mari displacements

  • Substance Painter workflow

  • Shading user attributes

  • Look-dev exercises

Check it out on my Patreon page.

Render mask in HtoA by Xuan Prada

This is how to setup a render mask, or render patch, or whatever you want to call it, in Houdini using Arnold.
Render patches are generally used when a high cost render needs a fix that only affects to a small portion of the frame, or when most of the frame is going to be covered by a foreground plate.

In these scenarios there is no need to waste render time and render the whole frame, but just what is needed to finalize the shot.

  • This is the scene that I’m going to use for this example. Let’s pretend that we have already render 4k full range of this shot. All of the sudden we need to make some changes on the rubber toy screen left.

  • The best way to create a render mask is using Nuke. You can use an old render as template to make sure everything you need in the frame is covered by the mask. Rotopaint nodes are very useful specially if you need to animate your mask.

  • Create a camera shader and connect the render mask to its filter map.

  • Connect the shader to the camera shader input of the camera, in the Arnold tab.

  • If you render now, only the mask area will be rendered, saving us a lot of render time.

Huge limitation, that I don’t know how to fix and I’m hoping for someone to throw some light on this topic. If you are rendering with overscan, this won’t work nicely, let me show you why.

  • I’m rendering with a 120 pixels overscan, I know is generally speaking a lot, but I just want to illustrate this example very clearly.

  • Now if you render the same overscan with the render mask applied, you will get a black border around the render. Below is the render patch comped over the full frame render.

I’m pretty sure the issue is related to the wrap options of the render mask. By changing the wrapping mode you will get away of this issue in some shots, but in an example like the one on this post, there is no fix playing with the wrapping modes.

Any ideas?

You can definitely use the camera crop options and it will work perfectly fine, no issues at all. It is not as flexible as using your own textures, but it will do in most cases.

Katana Fastrack episode 06 by Xuan Prada

Episode 06 of "Katana Fastrack" is already available.

In this episode we will light the first of two shots that I've prepared for this series. A simple full CG shot that will guide you trough the lighting workflow in Katana using the lighting template that we created in the previous episode.

On top of that, we also cover the look-dev of the environment used in this shot.
We'll take a look at how to implement delivery requirements in our lighting template, such as specific resolutions based on production decisions.

We also will take a look and how to create and use interactive render filters, a very powerful feature in Katana. And finally, we will do the lighting and slapcomp of the first shot of this course.

All the info on my Patreon feed.

Lighting a full cg shot in Houdini, part 01 by Xuan Prada

Part 01 of "Lighting a full cg shot in Houdini" is out.

In this first episode I go through everything you need to convert Houdini into a powerful scene assembler, specially focused on look-dev. I will go through other assembly capabilities and lighting/render in future videos.

In this episode we will cover:

- How to organize and prepare assets in Maya to be used in Houdini for assembly and render
- Good uv workflows for vfx and animation productions
- How to assemble multiple assets in Houdini in a scene assembly fashion
- Quick look at speed texturing in Substance Painter
- How to create digital assets and presets in Houdini to re-use in your projects
- Look-dev workflow in Houdini and Arnold

All the information on my Patreon feed.

Thanks for your support,
Xuan.

Katana Fastrack episode 05 by Xuan Prada

Episode 05 of Katana Fastrack is already published. In this episode we are going to take a look at the lighting pipeline that we could find in any visual effects studio.
First, I will explain quickly what is the most common workflow when starting a vfx production, from the lighting point of view.

Then, I will explain the recipe that we are going to cook in Katana for lighting shots. And finally, we will jump into Katana to build our lighting template, a tool that we are going to be able to use on many shots and sequences in the future.

Before finishing this episode, we will try our lighting template with very simple assets, testing features like importing look files, shading override, shading edits, geometry edits, etc.

All the info on my Patreon feed.

Clarisse scatterers, part 01 by Xuan Prada

Hello patrons,

I just posted the first part of Clarisse scatterers, in this video I'll walk you through some of the point clouds and scatterers available in Clarisse. We will do three production exercises, very simple but hopefully you will understand the workflow to use these tools to create more complicated shots.

In the first exercise we'll be using the point array to create a simple but effective crowd of soldiers. Then we will use the point cloud particle system to generate the effect that you can see in the video attached to this post. A very common effect these days.
And finally we will use the point uv sampler to generate huge environments like forests or cities.

We will continue with more exercises in the second and last part of these scatterers series in Clarisse.

Check it out on my Patreon feed.

Thanks,
Xuan.

Katana Fastrack episode 04 by Xuan Prada

Katana Fastrack episode 04 is already available.
In this episode, we will finish the Ant-Man lookDev by tweaking all the shaders and texture maps created in Mari.

Then we will do a very quick slapcomp in Katana and Nuke to check that everything works as expected and looks good. We will do this by render a full motion range of Ant-Man walk cycle. And finally, we will write a Katana look file to be used by the lighters in their shots.

Check it out on my Patreon feed.

Nuke IBL templates by Xuan Prada

Hello,

I just finished recording about 3 hours of content going through a couple of my Nuke IBL templates. The first one is all about cleaning up and artifacts removal. You know, how to get rid of chunky tripods, removing people from set and what not. I will explain to you a couple of ways of dealing with these issues, both in 2D and in 3D using the powerful Nuke's 3D system.

In the second template, I will guide you through the neutralization process, that includes both linearization and white balance. Some people knows this process as technical grading. A very important step that usually lighting supervisors or sequence supervisor deal with before starting to light any VFX shot.

Footage, scripts and other material will be available to you if you are supporting one of the tiers with downloadable material.

Thanks again for your support! and if you like my Patreon feed, please help me to spread the word, I would love to get at least 50 patrons, we are not that far away!

All the info on my Patreon feed.

Katana Fastrack episode 03 by Xuan Prada

Episode 03 of my Katana series is out. We are going to be talking about expressions, macros and tools to take our look-dev template to the next level. Right after that, we will take a look at the texture channels that I painted in Mari for this character and then we will start the look-dev of Ant-Man.

We divide the look-dev in different stages, the first on is blocking, and we are going to spend quite a few time working on this today.

All the info on my Patreon feed.

Introduction to Redshift for VFX, episode 01 by Xuan Prada

I'm starting a new training series for my Patreon feed, it's called "Intro to Redshift" for visual effects. I'm kind of learning Redshift and trying to figure out how to use it within my visual effects workflow, and I'll be sharing this trip with you. In this very first episode, I'll be talking about probably the most important topics around Redshift and the base for everything that will come later global illumination and sampling.

I will go deep about these two topics, sharing with you the basic theory behind global illumination and sampling, and I will also share with you a couple of "cheat sheets" to deal with noise and gi easily in Redshift while rendering your shots.

Check the first video out on my Patreon feed.

Cheers,
Xuan.

Katana Fastrack episode 02 by Xuan Prada

Katana Fastrack episode 02 is now available for all my patrons. I cover how to create a proper look-dev template to be used in visual effects. Everything will be setup from scratch and at the end of this lesson we will have a Katana script ready to be used. In lesson 03 we'll be using this script to do all the look-dev for Ant-Man.

In Katana Fastrack episode 02 you will learn:

- How to create master look files
- How to use live groups to create light rigs
- How to create a look-dev template for production

All the info on my Patreon feed.

Katana Fastrack episode 01 by Xuan Prada

Here it is, the very first episode of my series "Katana Fastrack", available to all my exclusive patrons.
This is an introductory video where I'm going to give you an overview of what this course is all about. I hope you like it, it is going to be a lof of fun!

You will learn:

- Where Katana fits in the pipeline
- The most important concepts of Katana's workflow
- How to prepare assets for Katana
- The importance of look-dev recipes
- How to create a very basic recipe

Check it out on my Patreon feed.

Patreon: Houdini as scene assembler: Bundles, takes and rops by Xuan Prada

In this video I talk about the usage of Houdini as scene assembler. This topic will be recurrent in future posts, as Houdini is becoming a very popular tool for look-dev, lighting, rendering and layout, among others.

In this case I go trhough bundles, takes and rops and how we use them while lighting shots in visual effects projects.

You will learn:

- Bundles, takes, rops
- Alembic import
- Different ways of assign materials
- Create look-dev collections
- Generate .ass files
- Create render layers
- Create quick slap comps
- Override materials

Check it out here.

Katana, constraint lights to an alembic geometry by Xuan Prada

One of the most common situations while lighting a shot is attaching a CG light in your scene assembler to an alemic cache exported from Maya. This is very simple to do in Katana, let’s have a look at it.
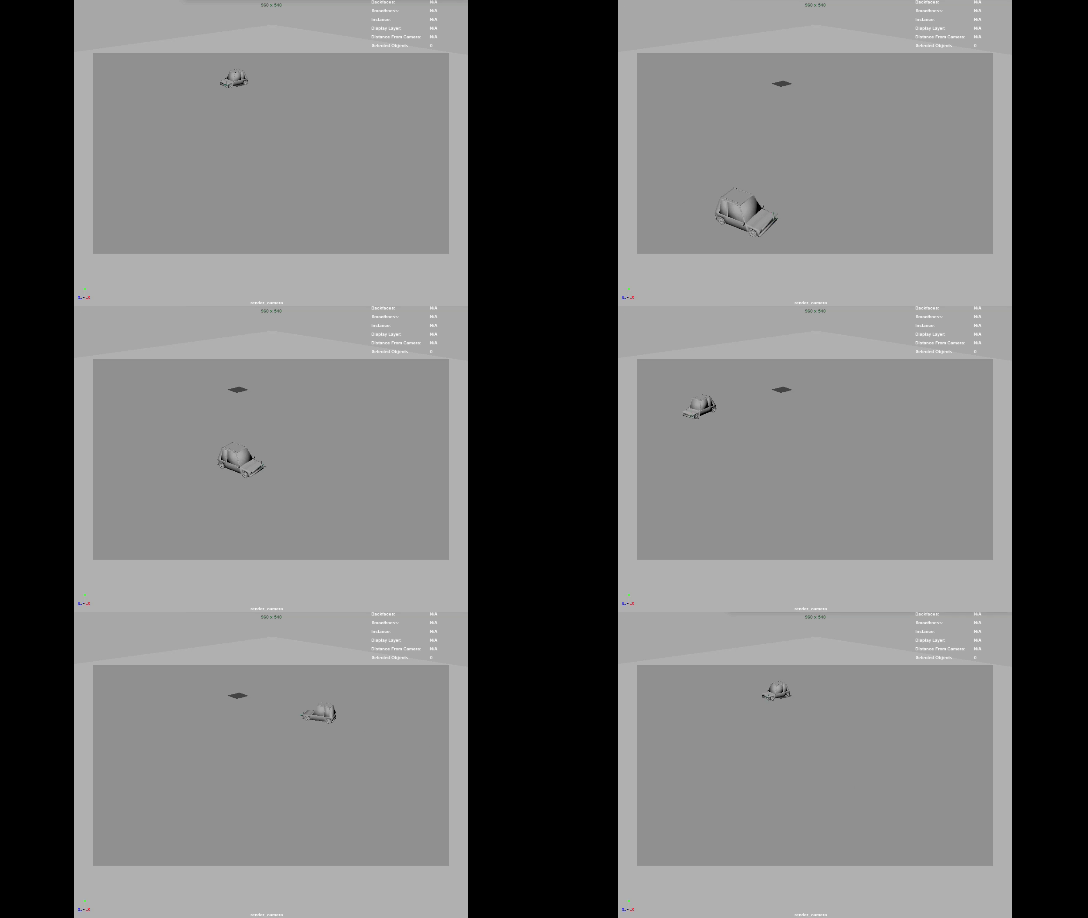
I’m using this simple animation of a car spining around.

01.gif

In most cases you need an object within the alembic cache that has the animation baked into it. The usual approach is to use a locator. To do so, snap it onto one of the lights geometry of the car and parent constrain it to the master control of the car. Then bake the animation of the locator and export it with the rest of the alembic cache to Katana.

In Katana, create a gafferThree node but do not place any lights yet. It is better to do the constraints first, if not you might have to deal with offset issues later on.
Use a parentChildConstraint node indicating the gaffer node in the basePath and the locator of the car in the target.

Now place both headlights according with the model of the car. If you press play they should follow the animation of the car perfectly.

04.gif

In case you forget to do the parentConstraint before adding lights to the gaffer, you might have to control the offset and compensate for it. To actually see the values you can add constraintResolve and a transformEdit to check the transformations.

Houdini as scene assembler part 05. User attributes by Xuan Prada

Sometimes, specially during the layout/set dressing stage artists have to decide certain rules or patterns to compose a shot. For example let’s say a football stadium. Imagine that the first row of seats is blue, the next row is red and the third row is green.
There are so many ways of doing this, but let’s say that we have thousands of seats and we know the colors that they should have. Then it is easy to make rules and patterns to allow total flexibility later on when texturing and look-deving.

In this example I’m using my favourite tool to explain 3D stuff, Lego figurines. I have 4 rows of Lego heads and I want each of those to have a different Lego face. But at the same time I want to use the same shader for all of them. I just want to have different textures. By doing this I will end up with a very simple and tidy setup, and iteration won’t be a pain.

Doing this in Maya is quite straightforward and I explained the process some time ago in this blog. What I want to illustrate now is another common situation that we face in production. Layout artists and set dresser usually do their work in Maya and then pass it on to look-dev artists and lighting td’s that usually use scene assemblers like Katana, Clarisse, Houdini, or Gaffer.

In this example I want to show you how to handle user attributes from Maya in Houdini to create texture and shader variations.

  • In Maya select all the shapes and add a custom attribute.

  • Call it “variation”

  • Data type integer

  • Default value 0

  • Add a different value to each Lego head. Add as many values as texture variations you need to have

  • Export all the Lego heads as alembic, remember to add the attributes that you want to export to houdini

  • Import the alembic file in Houdini

  • Connect all the texture variations to a switch node

  • This can be done also with shaders following exactly the same workflow

  • Connect an user data int node to the index input of the switch node and type the name of your attribute

  • Finally the render comes out as expected without any further tweaks. Just one shader that automatically picks up different textures based on the layout artist criteria